
1. Pengenalan
This manual provides essential information for setting up, operating, maintaining, and troubleshooting your TRIGKEY Mini PC S7 Pro AMD Ryzen 7 7840HS. Please read this manual thoroughly before using the device to ensure optimal performance and longevity.
2. Kandungan Pakej
Sahkan bahawa semua item terdapat dalam pakej:
- 1 x TRIGKEY Mini PC S7 Pro
- 1 x Power Adapter (EU plug)
- 1 x Manual Pengguna
- 1 x VESA Mount
- 2 x HDMI Cables (100 cm and 25 cm)
3. Produk Lebihview
Familiarize yourself with the ports and features of your Mini PC.

Rajah 3.1: Panel Hadapan Atasview
This image displays the front panel of the TRIGKEY Mini PC S7 Pro, highlighting the power button, audio jack, and USB ports for easy access.
Rajah 3.2: Panel Belakang Atasview
This image illustrates the rear panel of the TRIGKEY Mini PC S7 Pro, detailing the power input, HDMI, DisplayPort, USB, and Ethernet connections.
3.1. Front Panel Ports
- Butang Kuasa: Tekan untuk menghidupkan/mematikan peranti.
- Bicu Audio 3.5mm: Untuk fon kepala atau mikrofon.
- Type-C (10Gbps): Pemindahan data berkelajuan tinggi dan output paparan.
- USB 3.2 (10Gbps) x2: High-speed data transfer for peripherals.
- CLR CMOS: Button to clear CMOS settings (use with caution).
3.2. Port Panel Belakang
- Bicu DC: Sambungkan penyesuai kuasa di sini.
- HDMI 2.0 (4K 60Hz): Sambung ke paparan.
- DP 1.4 (Max 4K 144Hz): Sambung ke paparan.
- USB 2.0 (480Mbps): For standard peripherals.
- USB4 (40Gbps/DP1.4): High-speed data, display output, and power delivery.
- RJ45 2.5G: Untuk sambungan rangkaian berwayar.
4. Arahan Persediaan
4.1. Menyambung Peranti
- Connect your monitor(s) to the HDMI, DisplayPort, or USB4 ports using the provided HDMI cables or compatible cables.
- Sambungkan papan kekunci dan tetikus anda ke mana-mana port USB yang tersedia.
- For wired internet, connect an Ethernet cable to the RJ45 port.
4.2. Menghidupkan
- Connect the power adapter to the DC Jack on the Mini PC.
- Palamkan penyesuai kuasa ke dalam salur keluar kuasa.
- Press the Power Button on the front panel. The power LED will illuminate.
4.3. Initial Operating System Setup
The Mini PC comes with an activated OS Pro system. Upon first boot, follow the on-screen instructions to complete the initial setup, including language, region, and user account creation. The device also supports other operating systems like WOS and Ubuntu, which can be installed by the user if desired.
5. Arahan Operasi
5.1. Multi-Display Configuration
The TRIGKEY Mini PC S7 Pro supports up to three displays simultaneously, with resolutions up to 4K at 120Hz/160Hz, utilizing the HDMI, DisplayPort, and USB4 outputs. This allows for enhanced productivity and immersive visual experiences.

Figure 5.1: Triple Display Support
This image demonstrates the capability of the Mini PC to connect to and drive three independent displays, enhancing multitasking and visual workspace.
5.2. Kesambungan Rangkaian
- Wi-Fi 6: Sambungkan ke rangkaian tanpa wayar untuk akses internet berkelajuan tinggi.
- Bluetooth 5.2: Pair with wireless peripherals such as keyboards, mice, and audio devices.
- 2.5G Ethernet: For stable and high-bandwidth wired network connections.
5.3. Ciri Lanjutan
- Network Wake-up (Wake-on-LAN): Allows the Mini PC to be powered on remotely via the network.
- Power Wake-up: Configurable to automatically power on the device at a scheduled time or after a power loss.
6. Penyelenggaraan dan Peningkatan
6.1. Pembersihan
Regularly clean the exterior of the Mini PC with a soft, dry cloth. Use compressed air to clear dust from ventilation openings to maintain optimal airflow and cooling efficiency. Ensure the device is powered off and unplugged before cleaning.

Figure 6.1: CPU Silent Fan and Heat Sink
This diagram illustrates the internal cooling components, including the silent fan, heat pipe, and heat fins, designed for efficient heat dissipation.
6.2. Naik Taraf RAM
The Mini PC supports DDR5 5600MHz RAM and has two SO-DIMM slots, allowing for a maximum of 64GB RAM (32GB per slot). To upgrade, carefully open the chassis, locate the RAM slots, and install compatible DDR5 SO-DIMM modules.

Figure 6.2: DDR5 5600MHz RAM Upgrade
This image highlights the DDR5 5600MHz RAM modules, indicating the upgrade potential for system memory.
6.3. Peningkatan Storan
The device features dual PCIe 4.0 NVMe SSD slots for high-speed storage. You can upgrade or add additional M.2 2280 NVMe SSDs to expand storage capacity or improve performance. Ensure new SSDs are compatible with the PCIe 4.0 standard.

Figure 6.3: Dual PCIe 4.0 NVMe SSDs
This image illustrates the dual PCIe 4.0 NVMe SSD slots, emphasizing the high-speed and low-latency storage capabilities.
7. Penyelesaian masalah
Jika anda menghadapi masalah dengan Mini PC anda, rujuk langkah penyelesaian masalah biasa berikut:
- Tiada Kuasa: Pastikan penyesuai kuasa disambungkan dengan selamat ke kedua-dua Mini PC dan soket kuasa yang berfungsi. Cuba soket lain.
- Tiada Paparan: Check all display cable connections (HDMI, DP, USB4) to the monitor and the Mini PC. Ensure the monitor is set to the correct input source. Try connecting to a different display or using a different cable.
- Tiada sambungan internet: Untuk sambungan berwayar, periksa status kabel Ethernet dan penghala. Untuk Wi-Fi, pastikan Wi-Fi diaktifkan dalam sistem pengendalian dan anda disambungkan ke rangkaian yang betul dengan kata laluan yang betul.
- Periferi Tidak Dikesan: Cuba sambungkan persisian ke port USB yang berbeza. Pastikan pemacu dipasang jika diperlukan oleh peranti.
- Kelembapan Sistem: Check for background applications consuming resources. Ensure sufficient free storage space. Consider upgrading RAM or SSD if performance issues persist.
- Terlalu panas: Ensure the Mini PC has adequate ventilation and is not placed in an enclosed space. Clean dust from the vents.
- BIOS/CMOS Reset: If experiencing boot issues, use the CLR CMOS button on the front panel (refer to section 3.1) to reset BIOS settings to default. Power off and unplug the device before performing this action.
8. Spesifikasi
Detailed technical specifications for the TRIGKEY Mini PC S7 Pro AMD Ryzen 7 7840HS.

Figure 8.1: Gaming Performance Overview
This image presents benchmark results for various games, demonstrating the Mini PC's graphical capabilities and expected frame rates.
| Ciri | Spesifikasi |
|---|---|
| Nama Model | S7 Pro 7840HS |
| Nombor Model Item | S6 6600H |
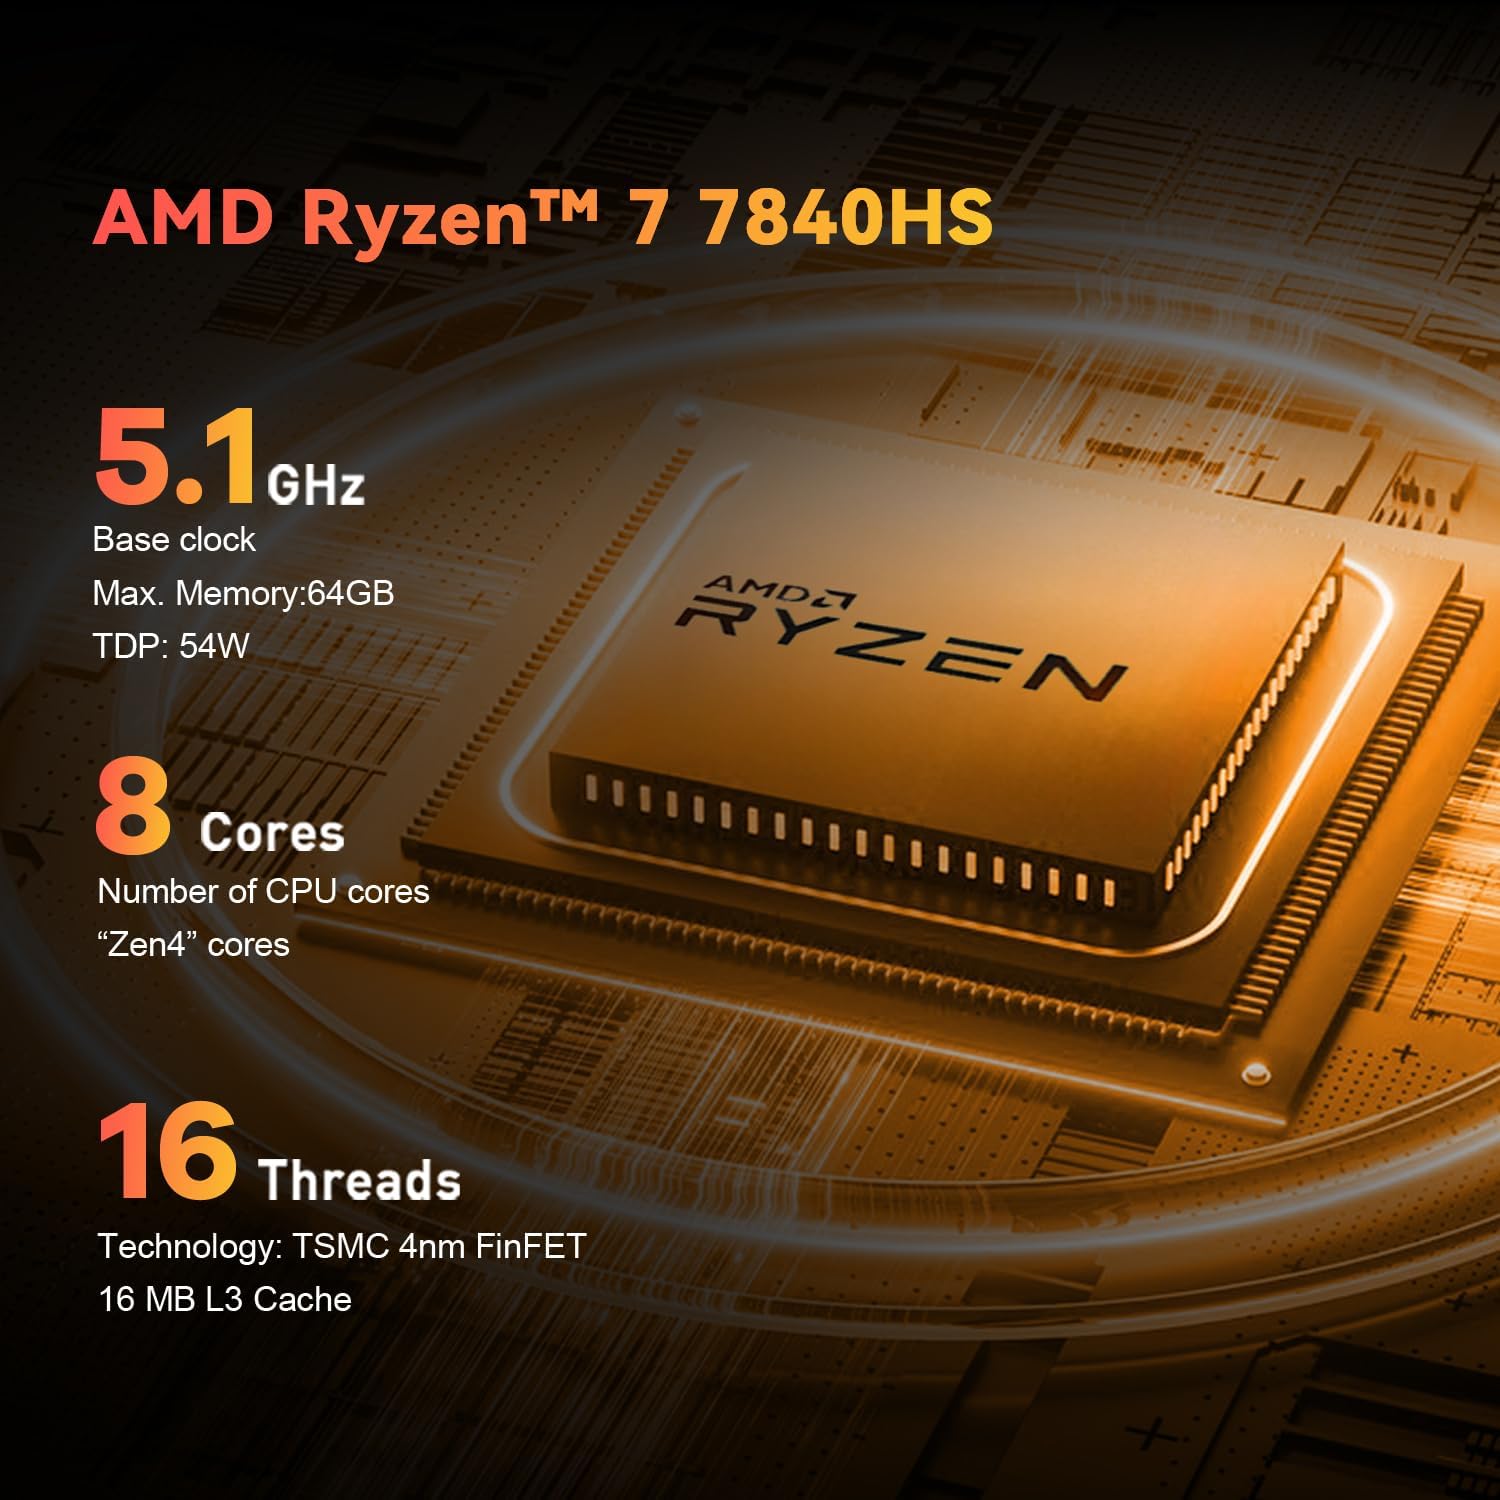
| Pemproses | AMD Ryzen 7 7840HS (8 Teras, 16 Benang, sehingga 5.1 GHz) |
| Grafik | Integrated AMD Radeon 780M (12 CUs, 2700 MHz) |
| RAM | 32GB DDR5 (5600MHz), 2 SO-DIMM slots, Max 64GB |
| Penyimpanan | 500GB PCIe 4.0 NVMe SSD, Dual M.2 2280 slots |
| Sistem Operasi | OS Pro (activated), supports WOS, Ubuntu |
| Kesambungan Wayarles | Wi-Fi 6 (802.11ax), Bluetooth 5.2 |
| Kesambungan Berwayar | RJ45 2.5G Ethernet |
| Output Video | HDMI 2.0 (4K 60Hz), DisplayPort 1.4 (Max 4K 144Hz), USB4 (DP1.4) |
| Port USB | 2 x USB 3.2 Gen2 (10Gbps), 1 x USB 2.0 (480Mbps), 1 x USB4 (40Gbps) |
| Port Audio | 1 x 3.5mm Audio Jack (HP&MIC) |
| Dimensi | 16 x 13.9 x 10.2 cm |
| Berat badan | 1.13 kg |
| Kaedah Penyejukan | Penyejukan Udara |
9. Waranti dan Sokongan
TRIGKEY provides comprehensive support for your Mini PC:
- Waranti: Waranti terhad satu tahun dari tarikh pembelian.
- Perkhidmatan Pelanggan: 24/7 personalized customer service.
- Sokongan Teknikal: Lifetime technical support is available for all TRIGKEY products.
For technical assistance or warranty claims, please refer to the contact information provided on the TRIGKEY official webtapak atau dokumentasi pembelian anda.