
pengenalan
This manual provides instructions for the setup, operation, maintenance, and troubleshooting of your Pisichen 17.3 inch Portable Monitor. This monitor features a 1600x900 HD resolution, 800:1 contrast ratio, 250 cd/m² brightness, 16:9 aspect ratio, and a 60Hz refresh rate, designed to provide an extended display for various devices.
The monitor includes multiple interfaces for broad compatibility and a built-in kickstand for convenience. It supports various display modes for enhanced productivity and entertainment.
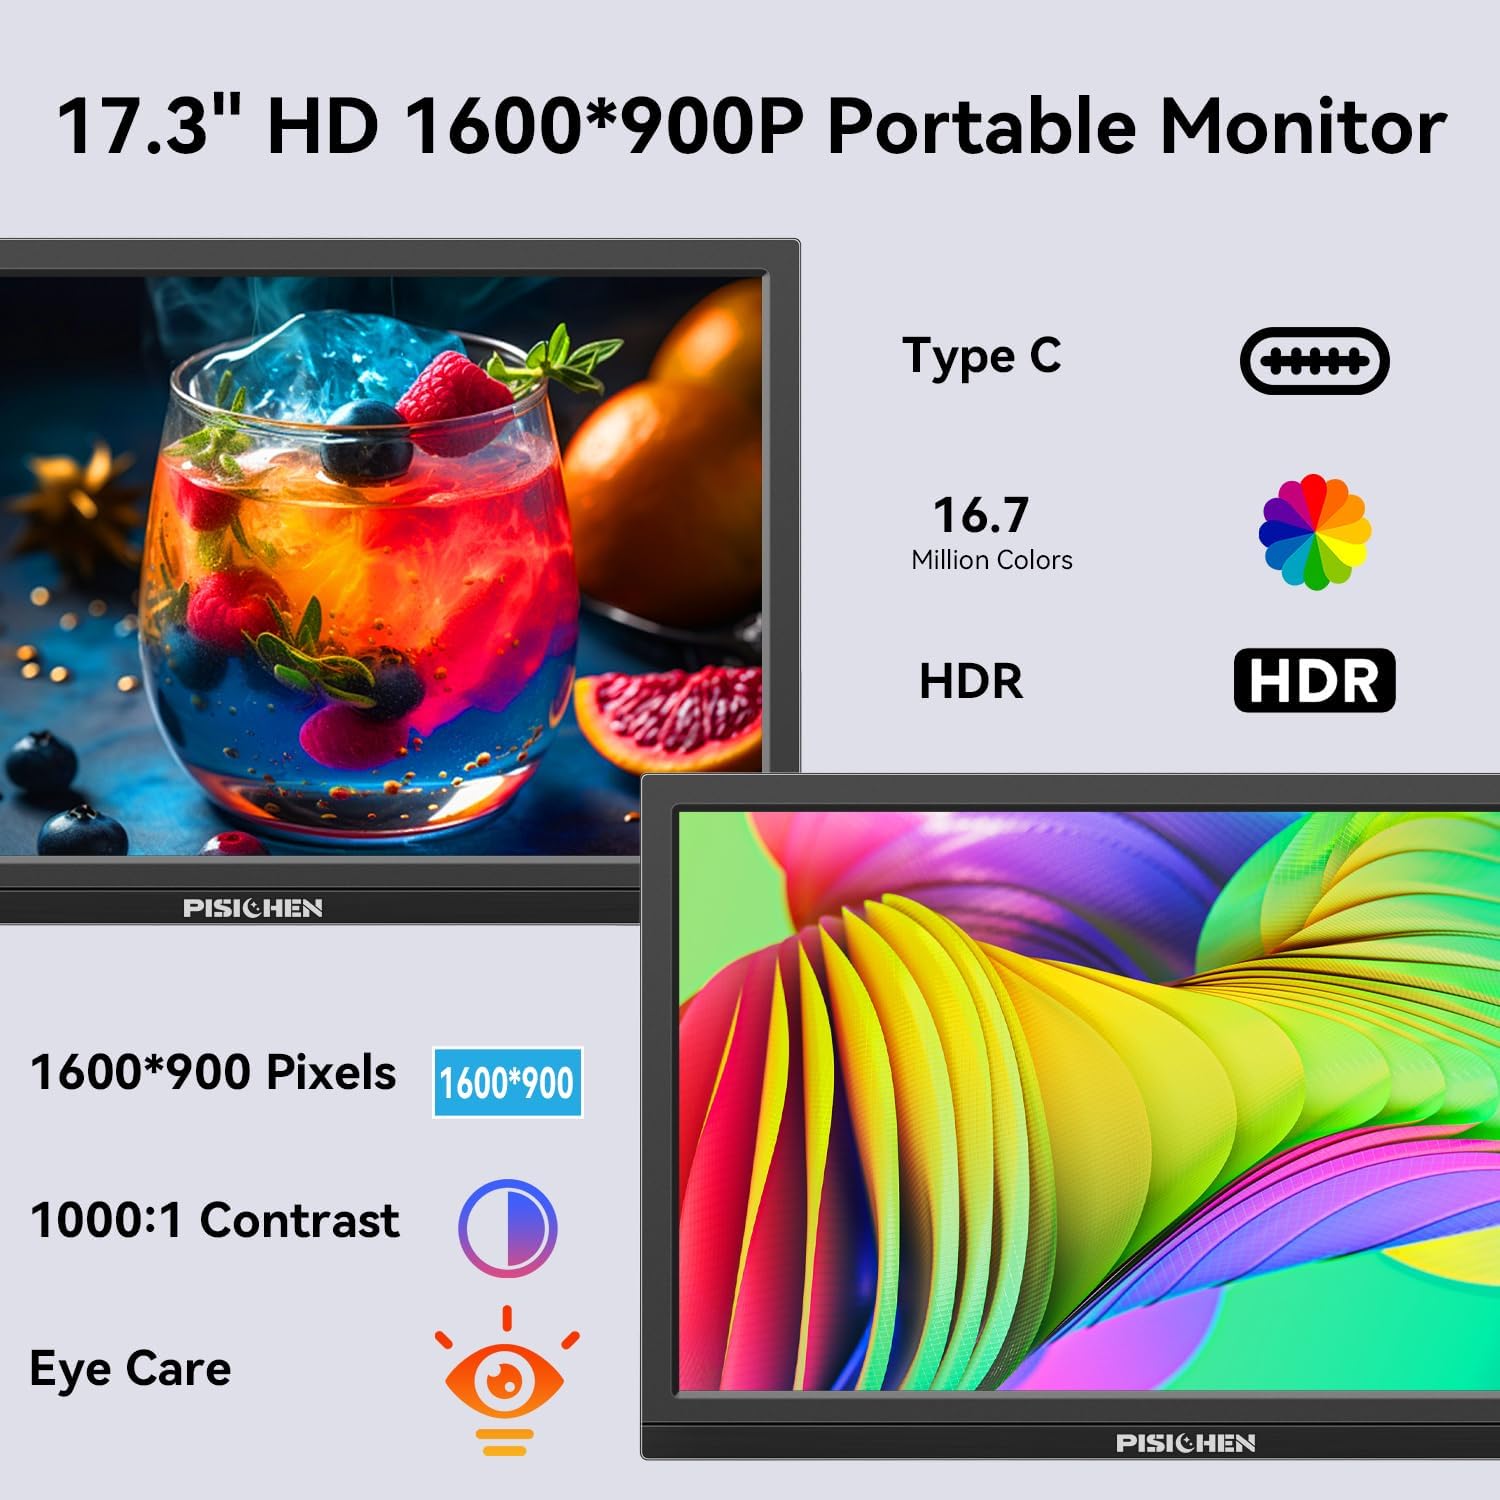
Image: The Pisichen 17.3 inch Portable Monitor highlighting its HD 1600x900 resolution, 1000:1 contrast, and eye care features.
Kandungan Pakej
Sahkan bahawa semua item terdapat dalam pakej:
- Monitor Mudah Alih 17.3 inci
- Penyesuai Kuasa DC
- Kabel HDMI ke HDMI
- Kabel USB-C ke USB-C
- Manual Pengguna (dokumen ini)

Image: The portable monitor and its accompanying accessories, including cables and power adapter.
Arahan Persediaan
1. Kuasa Penyambung
Connect the provided DC Power Adapter to the DC Power Port on the monitor and then to a power outlet. Ensure the monitor receives sufficient power for stable operation.
2. Menyambung ke Peranti
The monitor supports two primary connection methods:
- Sambungan USB-C: Use the provided USB-C to USB-C cable. Connect one end to the monitor's USB-C 3.1 port (for signal input) and the other end to a compatible USB-C 3.1 (or higher) port on your laptop, PC, or smartphone. This connection can transmit both video and power.
- Sambungan HDMI: Use the provided HDMI to HDMI cable. Connect one end to the monitor's HDMI port and the other end to the HDMI output of your device (laptop, PC, game console). When using HDMI, ensure the monitor is also connected to power via the DC power adapter.

Image: Visual guide for USB-C and HDMI connection methods, showing cable connections and power requirements.
3. Persediaan Fizikal
- Kickstand terbina dalam: The monitor features an integrated, foldable kickstand. Gently unfold it from the back of the monitor to position the screen at a desired viewing angle on a flat surface.
- Pemasangan VESA: For alternative mounting options, the monitor is equipped with standard 75x75mm VESA holes on the back. This allows for mounting to compatible desktop stands or wall mounts (mounting hardware not included).
Arahan Operasi
1. Monitor Interfaces and Controls
Familiarize yourself with the ports and control buttons located on the side of the monitor:
- Port Kuasa DC: Untuk menyambungkan penyesuai kuasa.
- Port Audio 3.5mm: Untuk menyambungkan fon kepala atau pembesar suara luaran.
- Port USB C 3.1: For video signal input and power delivery from compatible devices.
- Port USB C 2.0: Primarily for charging phones or connecting OTG devices.
- Port HDMI: For video signal input from HDMI-enabled devices.
- Brightness/Up Button: Adjusts screen brightness or navigates up in the OSD menu.
- Butang Menu/OK: Opens the On-Screen Display (OSD) menu or confirms selections.
- Volume/Down Button: Adjusts audio volume or navigates down in the OSD menu.
- Port OTG: For connecting a keyboard or mouse.

Imej: Terperinci view port dan butang kawalan monitor.
2. Mod Paparan
Monitor ini menyokong pelbagai mod paparan apabila disambungkan ke peranti yang serasi:
- Mod Pendua: Mencerminkan kandungan skrin utama anda.
- Mod Lanjutkan: Extends your desktop, providing additional screen space.
- Mod Skrin Kedua: Hanya menggunakan monitor mudah alih sebagai paparan.
These modes can typically be configured through your device's display settings (e.g., Windows Display Settings, macOS System Preferences).

Imej: Cthample of extending a smartphone's display to the portable monitor via USB-C.
3. Menu Paparan Pada Skrin (OSD).
Tekan ke Menu / OK butang untuk mengakses menu OSD. Gunakan Kecerahan / Naik dan Perlahankan suara buttons to navigate through options and adjust settings such as brightness, contrast, color temperature, and input source. Press Menu / OK again to confirm selections or exit sub-menus.
4. HDR Mode
The monitor supports HDR (High Dynamic Range) technology for improved color and contrast. This mode can be enabled or disabled through the OSD menu, if supported by your connected device and content.

Image: Visual comparison of SDR and HDR display quality.
5. Low Blue Light Feature
The monitor includes a Low Blue Light feature designed to filter harmful blue light, reducing eye strain during prolonged use. This setting can be adjusted via the OSD menu.

Image: Illustration of the Low Blue Light feature for eye protection.
Penyelenggaraan
1. Membersihkan Monitor
- Sentiasa matikan dan cabut plag monitor sebelum membersihkan.
- Gunakan kain lembut yang tidak berbulu dampdisalut dengan air atau pembersih skrin yang tidak melelas.
- Jangan sembur pembersih terus ke skrin. Sapukan pada kain terlebih dahulu.
- Avoid using harsh chemicals, alcohol, or ammonia-based cleaners, as these can damage the screen surface.
2. Penyimpanan
Apabila tidak digunakan, simpan monitor di tempat yang sejuk dan kering, jauh daripada cahaya matahari langsung dan suhu yang melampau. Jika hendak diangkut, gunakan sarung atau bekas pelindung untuk mengelakkan calar dan kerosakan.
Menyelesaikan masalah
Jika anda menghadapi masalah dengan monitor anda, rujuk kepada masalah dan penyelesaian biasa berikut:
- Tiada Isyarat / Skrin Hitam:
- Ensure all cables (power and video) are securely connected to both the monitor and the source device.
- Verify that the source device is powered on and outputting a signal.
- Check the input source setting on the monitor via the OSD menu to ensure it matches your connection (e.g., HDMI, USB-C).
- If using USB-C, confirm your device's USB-C port supports video output (DisplayPort Alternate Mode).
- Screen is Too Dim / Cannot Adjust Brightness:
- Access the OSD menu and navigate to the brightness settings. Ensure the brightness level is increased.
- Some devices may have their own display settings that override or limit monitor brightness. Check your connected device's display settings.
- Ensure the monitor is receiving adequate power. A weak power source can sometimes affect brightness.
- No Audio / Headphone Jack Not Working:
- Periksa tetapan kelantangan pada kedua-dua monitor (melalui menu OSD) dan peranti anda yang disambungkan.
- Ensure headphones or speakers are fully plugged into the 3.5mm audio port.
- Verify that the audio output on your source device is set to the portable monitor.
- Test with different headphones or speakers to rule out a faulty audio device.
- Image Distortion / Poor Picture Quality:
- Ensure the display resolution on your source device is set to the monitor's native resolution (1600x900).
- Check for damaged or loose video cables. Try a different cable if available.
- Adjust contrast and color settings in the OSD menu.
Spesifikasi
| Nombor Model | SLZJ173 |
| Saiz Skrin | 17.3 inci |
| Resolusi | 1600x900 HD |
| Nisbah Aspek | 16:9 |
| Nisbah Kontras | 800:1 |
| Kecerahan | 250 cd/m² |
| Kadar Segar Semula | 60Hz |
| Jenis Panel | TN |
| Viewsudut | 170° |
| Warna Gamut | 99% sRGB, 16.7 million colors (8-bit) |
| Ketersambungan | 1x HDMI, 1x USB-C 3.1 (signal input), 1x USB-C 2.0 (phone charging/OTG), 1x 3.5mm Audio Jack, 1x DC Power Port |
| Pembesar Suara Terbina dalam | ya |
| Gunung VESA | 75x75mm |
| Dimensi Produk | 0.3 x 12 x 8 inci (anggaran) |
| Berat Barang | 3.54 paun |
Waranti dan Sokongan
For warranty information or technical support, please contact the manufacturer, Pisichen, or the retailer from whom you purchased the product. Please have your model number (SLZJ173) and purchase details ready when contacting support.