
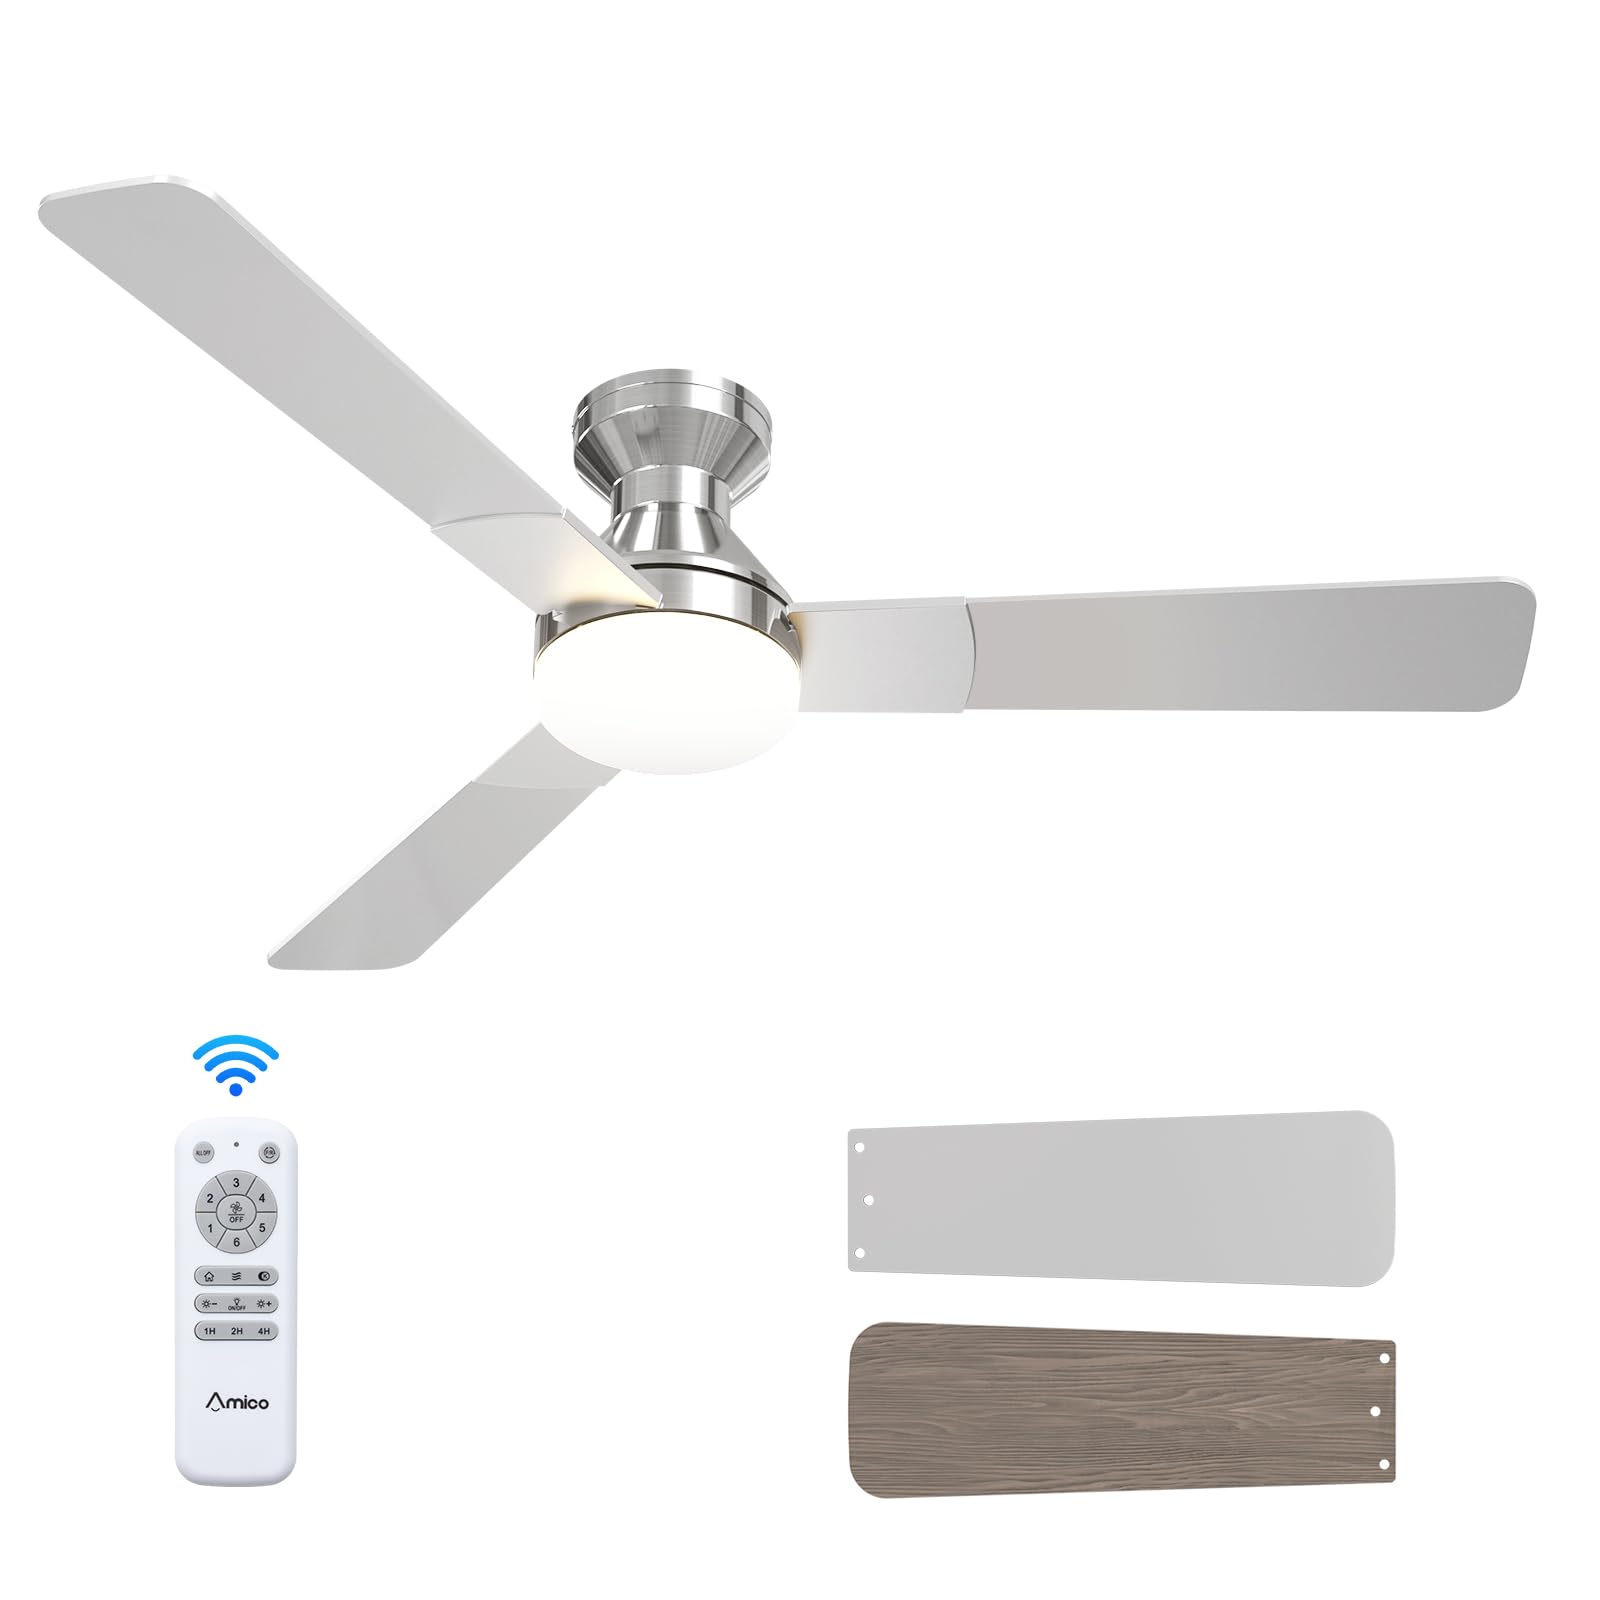
1. Maklumat Keselamatan
Before beginning installation, ensure the power supply is disconnected at the circuit breaker. All wiring must comply with national and local electrical codes. If you are unfamiliar with electrical wiring, consult a qualified electrician. Ensure the mounting structure can support the fan's weight. Maintain a minimum clearance of 7 feet from the floor to the fan blades and 18 inches from the wall to the blade tips. Do not connect the fan to a dimmer switch or fan speed switch, as this can cause operational malfunctions.
2. Kandungan Pakej
Pastikan semua komponen ada sebelum memulakan pemasangan:
- Unit Kipas Siling
- ABS Lampteduh
- Light Kit (LED)
- Perkakasan Pemasangan
- Alat Kawalan Jauh
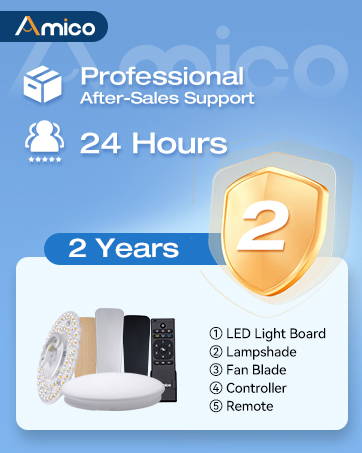
Illustration of various ceiling fan components included in the package.
Unboxing and Component Overview
Video ini memberikan penamatview of the Amico ceiling fan components as they are unboxed, highlighting the included parts and instructions for easy installation.
3. Spesifikasi Produk
| Jenama | Amico |
| Nombor Model | KFM52PLY3B02R1 |
| Saiz | 52 inci |
| warna | Nikel |
| Dimensi Produk | 52"D x 52"W x 15.7"H |
| Sumber Kuasa | Input AC 120V, motor DC |
| Bilangan Bilah | 3 |
| Bahan Bilah | Kayu Kejuruteraan |
| Jenis Cahaya | LED (boleh diganti) |
| Bilangan Kelajuan | 6 |
| Tahap Kebisingan | 35 Desibel |
| Kaedah Kawalan | Alat Kawalan Jauh |
| Penggunaan Dalaman/Luar | Dalaman, Luaran (Damp Dinilai) |
4. Pemasangan
Follow these steps for a safe and efficient installation of your Amico ceiling fan. It is recommended to have a second person assist during certain stages pemasangan.
4.1 Pemeriksaan Pra-Pemasangan
- Pastikan kuasa pada pemutus litar MATI sebelum memulakan.
- Confirm your ceiling junction box is securely mounted and capable of supporting the fan's weight (at least 35 lbs).
- Kumpulkan peralatan yang diperlukan: pemutar skru, penanggal wayar, pita elektrik, tangga.

Image illustrating the mounting bracket and electrical wiring connections for installation.
4.2 Memasang Pendakap
Attach the mounting bracket to the ceiling junction box using the provided screws. Ensure it is firmly secured to prevent wobbling.

Diagram showing the ceiling fan mounting directly to a standard ceiling junction box for easy DIY installation.
4.3 Pendawaian
Connect the fan's electrical wires to the household wiring according to the color codes: Black (Live), White (Neutral), Yellow/Green (Earth). Use wire nuts to secure connections. Ensure all connections are tight and insulated. Important: Do not connect to dimmer switches or fan speed switches to prevent operational malfunctions.

Illustration showing compatible conventional wall switches and incompatible dimmer/fan speed switches.
4.4 Attaching Motor and Blades
Carefully lift the fan motor assembly and attach it to the mounting bracket. Secure it with the designated screws. Then, attach the three fan blades to the motor housing. The blades are reversible, with a nickel finish on one side and an oak grain on the other, allowing you to choose the aesthetic that best suits your decor.

jarak dekat view of the fan motor assembly with reversible blades, showing the nickel and oak grain sides.
4.5 Memasang Kit Cahaya
Connect the LED light kit to the fan's wiring. Secure the light kit to the fan motor assembly using the provided screws. Ensure the connections are firm.
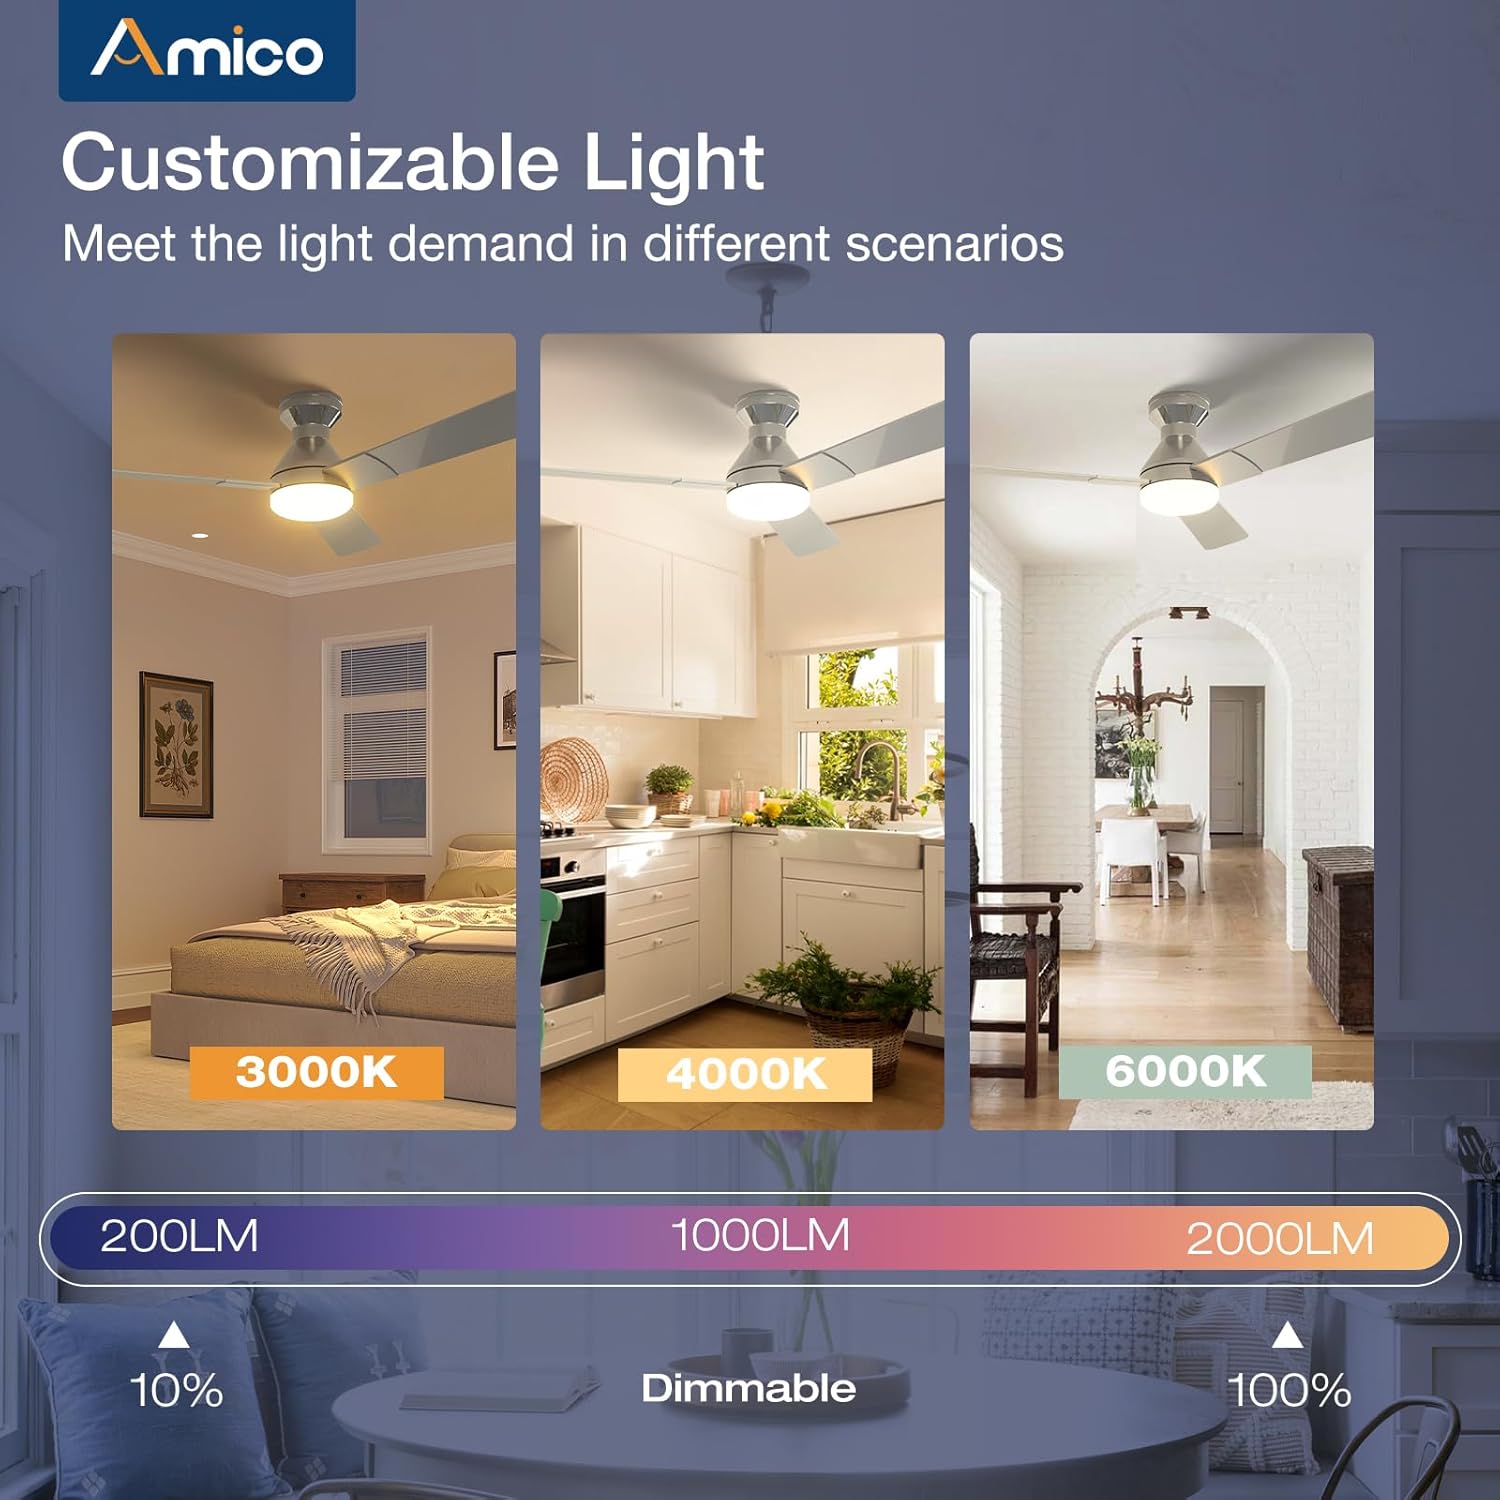
Image detailing the installation of the LED light kit onto the ceiling fan.
4.6 Perhimpunan Akhir
Lampirkan lampshade or light cover to the light kit, twisting or securing it into place as per the design. Restore power at the circuit breaker and test the fan and light functions using the remote control.

Image showing the final step of attaching the light cover to the ceiling fan.
Panduan Video Pemasangan
This video demonstrates the installation process, highlighting how easy it is to set up the Amico ceiling fan, even for remodels.
5. Arahan Operasi
Your Amico ceiling fan is designed for ease of use with a comprehensive remote control.
5.1 Fungsi Kawalan Jauh

Image of the remote control with labeled buttons for various functions.
- Butang Kuasa: Menghidupkan/mematikan kipas dan lampu.
- Kelajuan Kipas (1-6): Adjusts fan speed from gentle breeze (1) to strong wind (6).
- Fungsi terbalik: Changes the direction of blade rotation for summer (downward airflow) or winter (upward airflow) use.
- Nyala / Mati: Toggles the light independently.
- Light Brightness (+/-): Dims or brightens the light (10%-100%).
- Suhu Warna: Cycles through 3000K (warm white), 4000K (natural white), and 6000K (cool white).
- Pemasa (1H, 2H, 4H): Sets the fan and/or light to turn off automatically after the selected duration.
Remote Control Demonstration
This video demonstrates the various functions of the remote control, including fan speed, light temperature, and dimming capabilities.
5.2 Fan Speed and Airflow
The fan offers 6 adjustable speeds to suit your comfort needs, from a gentle, comfortable breeze to a strong cooling wind. The DC motor ensures powerful yet quiet operation.

Diagram illustrating the 6 adjustable fan speeds and their corresponding wind levels.
5.3 Customizable Light
The integrated LED light is dimmable from 10% to 100% and offers three color temperature options: 3000K (warm), 4000K (natural), and 6000K (cool). Adjust the light to match your activity or mood.
Image showing the three color temperature options (3000K, 4000K, 6000K) and dimmable range of the fan light.
5.4 Motor DC Boleh Diterbalikkan
The reversible DC motor allows you to change the direction of the fan blades. In summer, set the fan to rotate counter-clockwise for a downward airflow that creates a cooling effect. In winter, set it to rotate clockwise for an upward airflow that helps circulate warm air trapped near the ceiling.

Diagram illustrating the summer (cooling) and winter (warming) modes of the reversible DC motor.
5.5 Penetapan Pemasa
Utilize the timer function to automatically turn off the fan and/or light after 1, 2, or 4 hours, promoting energy efficiency and convenience, especially during sleep.

Graphic showing the 1-hour, 2-hour, and 4-hour timer settings for the fan.
5.6 Fungsi Memori
The fan and light feature memory functions. Once you select your desired light brightness, color temperature, and fan speed, these settings will be retained even after turning the unit off and on via the wall switch. This avoids the need to reset your preferences each time.

Illustration demonstrating how the fan and light settings are remembered after being turned off and on.
5.7 Operasi Senyap
Engineered for minimal noise, the fan operates at a low 35dB, comparable to the sound of falling leaves, ensuring a quiet living environment suitable for bedrooms and nurseries.

Graphic comparing the fan's low noise level (35dB) to common ambient sounds.
6. Penyelenggaraan
Penyelenggaraan tetap memastikan prestasi optimum dan jangka hayat kipas siling anda.
- Pembersihan: Lap bilah kipas dan perumah motor secara berkala dengan kain lembutamp kain. Jangan gunakan pembersih atau pelarut yang melelas.
- Penutup Cahaya: The ABS lampshade can be removed and cleaned with mild soap and water. Ensure it is completely dry before reattaching.
- Blade Screws: Check all blade attachment screws periodically to ensure they are tight.
- Kit Lampu LED: The LED light kit is replaceable. If replacement is needed, contact customer support for compatible parts.
7. Penyelesaian masalah
If you encounter any issues with your Amico ceiling fan, refer to the following common troubleshooting steps:
- Kipas Tidak Bermula:
- Check that power is supplied to the fan.
- Pastikan semua sambungan wayar selamat.
- Verify the remote control batteries are functional and correctly inserted.
- Light Does Not Work:
- Check the light kit's electrical connections.
- Ensure the light function on the remote is activated.
- Fan Wobbles:
- Ensure the mounting bracket is securely fastened to the ceiling junction box.
- Check that all blade screws are tightened.
- Verify blades are not bent or damaged.
- Alat Kawalan Jauh Tidak Menjawab:
- Gantikan bateri kawalan jauh.
- Ensure there are no obstructions between the remote and the fan's receiver.
8. Waranti dan Sokongan
Amico is committed to customer satisfaction. Your ceiling fan comes with a Waranti 24 bulan tanpa bimbangKami juga menyediakan Sokongan teknikal 24 jam to assist with any issues during use or installation.
Maklumat Hubungan:
- e-mel: support@amicolight.com
- telefon: +1 (888) 676-1042 (Monday - Friday from 9:00 AM - 5:00 PM PT)

Graphic detailing Amico's after-sales support and warranty information.