1. Pengenalan
This manual provides detailed instructions for the safe and effective use of your CAMKORY 4K 48MP Digital Camera, model DC202. Please read this manual thoroughly before operating the camera and retain it for future reference.
2. Maklumat Keselamatan
To prevent damage to the camera or injury to yourself or others, observe the following safety precautions:
- Jangan dedahkan kamera kepada air atau lembapan.
- Elakkan daripada menjatuhkan kamera atau mendedahkannya kepada hentaman yang kuat.
- Jangan cuba membuka atau mengubah suai kamera.
- Jauhkan kamera daripada medan magnet yang kuat.
- Use only approved batteries and accessories.
- Dispose of batteries and electronic components responsibly.
3. Kandungan Pakej
Sahkan bahawa semua item terdapat dalam pakej anda:
- 1 x CAMKORY 4K Digital Camera
- 1 x Manual Pengguna
- 1 x Kain Pembersih
- 1 x Membawa Beg
- 1 x USB Cable (for charging/connection)
- 1 x Kabel HDMI
- 2 x Bateri Boleh Dicas Semula
- 1 x Penutup Kanta
- Kad SD 1 x 32GB
4. Kamera Lebihview
The CAMKORY DC202 is a compact digital camera designed for ease of use, featuring 4K video recording and 48MP still image capture. It includes an optical viewfinder, autofocus, and digital image stabilization.
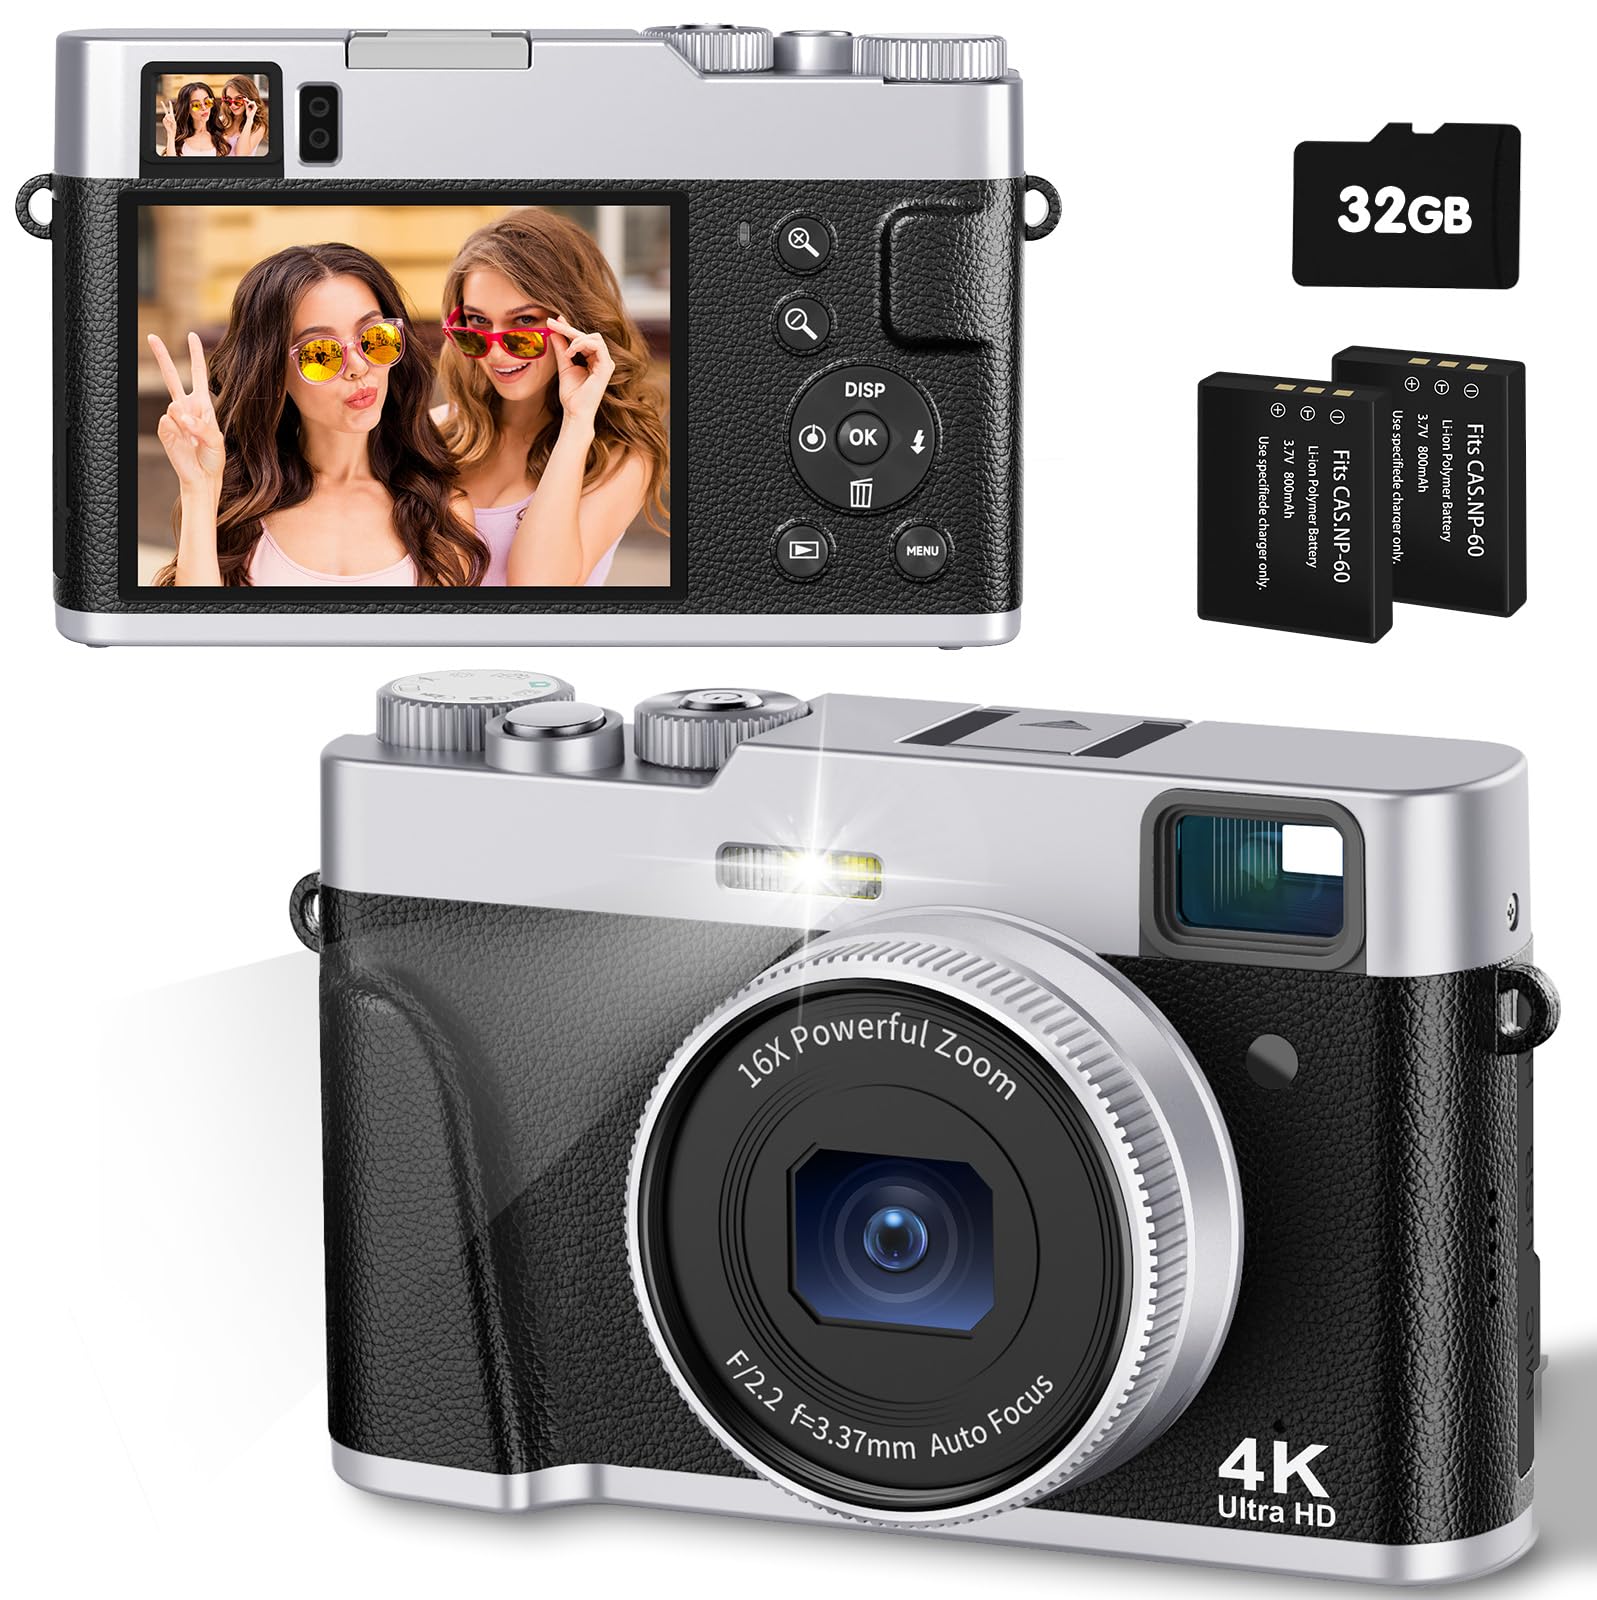
Image: The CAMKORY 4K Digital Camera, illustrating the optical viewfinder and the difference between 1080p and 4K image quality in a landscape scene.

Imej: Depan view of the camera, showing the lens, built-in flash, and the mode dial on top.

Imej: Belakang view of the camera, displaying the LCD screen and various control buttons for navigation and settings.
5. Persediaan
5.1 Pemasangan Bateri
The camera uses Lithium-polymer batteries. Ensure correct orientation when inserting the battery. The information page on the battery should face the camera screen side when inserted. Incorrect insertion may prevent the camera from powering on or charging.
5.2 Pemasangan Kad Memori
Insert the provided 32GB SD card into the memory card slot until it clicks into place. Ensure the card is inserted in the correct direction.
5.3 Mengecas Bateri
Connect the camera to a power source using the supplied USB cable. The charging indicator will illuminate. Charging is complete when the indicator turns off.
5.4 Kuasa Awal Hidup
Press and hold the power button to turn the camera on. Follow any on-screen prompts for initial setup, such as setting the date and time.
6. Mengendalikan Kamera
6.1 Hidupkan/Mati Kuasa
Press and hold the power button to turn the camera on or off.
6.2 Mengambil Foto
To take a photo, select the photo mode using the mode dial. Point the camera at your subject. Lightly press the shutter button halfway down to activate autofocus. The focus frame on the screen will change from yellow to green when focus is achieved. Press the shutter button fully to capture the image.

Image: A person using the camera, demonstrating the autofocus function on a subject.

Image: Advanced autofocus technology ensuring clear focus on subjects, contrasting with blurry results from other cameras.
6.3 Merakam Video
To record a video, select the video mode using the mode dial. Press the shutter button to start recording and press it again to stop. The camera supports 4K video recording with a pause function.
6.4 Using the Optical Viewpencari
optik viewfinder provides a clear and precise view of your subject, even in bright conditions, aiding in composition without relying solely on the LCD screen.
6.5 Operasi Kilat
The camera features an improved powerful flash. You can set the flash to automatic, on, or off depending on lighting conditions. The flash is ideal for low-light environments.

Image: A comparison showing the effect of the camera's flash in a low-light setting, with the flash off and on.
6.6 Fungsi Zum
The camera features a 16x digital zoom. Use the zoom controls to adjust the magnification of your subject.
6.7 Penstabilan Imej
The camera includes digital image stabilization to help reduce blur caused by camera shake, resulting in clearer photos and videos.
6.8 Mod Dail
The mode dial allows quick selection between different functions such as photo mode, video mode, and settings.
6.9 Ciri Istimewa
- Fungsi Makro: The advanced autofocus allows for close-up photography, capturing fine details like water droplets.
- Pemasa Kendiri: Set a delay of 2, 5, or 10 seconds before a photo is taken, useful for self-portraits or group shots.
- Slow Motion & Time-lapse: Capture dynamic scenes with slow-motion video or condense long events into short time-lapse sequences.
- Penapis: Apply one of 20 different filters to your photos for creative effects.
- WebFungsi cam: Connect the camera to a computer via USB to use it as a webkamera untuk penstriman langsung atau panggilan video.
- Smile Detection & Burst Shooting: The camera can automatically detect smiles and capture multiple images in quick succession for burst shooting.

Imej: Tayangan kolajcasing various camera features such as powerful flash, webcam capability, slow motion, time-lapse, 20 different filters, and self-timer options.
7. Main Semula dan Pemindahan Data
7.1 Viewdalam Media
Tukar ke mod main balik untukview foto dan video yang ditangkap pada skrin LCD.
7.2 Menyambung ke Komputer
Use the supplied USB cable to connect the camera to your computer. This allows for easy transfer of images and videos without requiring additional software.
7.3 Menyambung ke TV
Use the supplied HDMI cable to connect the camera to a television for viewmemaparkan foto dan video pada skrin yang lebih besar.
8. Penyelenggaraan
8.1 Pembersihan
Gently clean the lens with the provided cleaning cloth. For the camera body and screen, use a soft, dry cloth. Do not use harsh chemicals or abrasive materials.
8.2 Penyimpanan
When not in use, store the camera in its carrying bag in a cool, dry place, away from direct sunlight and extreme temperatures. Remove batteries if storing for extended periods.
9. Penyelesaian masalah
- Kamera tidak dihidupkan: Ensure the battery is correctly inserted and fully charged. Check if the battery is inserted with the information page facing the camera screen.
- Imej adalah kabur: Ensure proper focus by half-pressing the shutter button. Check lighting conditions and consider using the flash. Digital image stabilization helps, but steady hands are still recommended.
- Ralat kad memori: Ensure the SD card is correctly inserted. If the error persists, try formatting the card (this will erase all data) or use a different compatible SD card.
- Flash not working: Check flash settings to ensure it is not set to 'off'. Ensure the battery has sufficient charge.
- Tidak boleh memindahkan files ke komputer: Ensure the USB cable is securely connected to both the camera and the computer. Check the camera's connection mode settings (if applicable) to ensure it's set for data transfer.
10. Spesifikasi
| Ciri | Spesifikasi |
|---|---|
| Nombor Model | DC202 |
| Jenama | CAMKORY |
| Dimensi (L x W x H) | 12 x 3 x 7.5 cm |
| Berat badan | 140 gram |
| Effective Capture Resolution | 48 Megapiksel |
| Format Tangkapan Video | AVI (4K resolution) |
| Format Imej | JPEG |
| Teknologi Penderia Optik | CMOS |
| Saiz Penderia Optik | 1/3.2 inci |
| Zum Digital | 16x |
| Penstabilan Imej | digital |
| Autofokus | ya |
| Optik Viewpencari | ya |
| kilat | Integrated (Auto, On, Off modes) |
| Saiz Skrin | 3 Inches (IPS display) |
| Jenis Kad Memori | SD (32GB card included) |
| Ketersambungan | HDMI, USB |
| Jenis Bateri | Lithium-polymer (2 included) |
| Jenis Kawalan Pendedahan | Automatik, Manual |
| Ciri Khas | 4K Video, 48 MP Image, Easy Operation, Macro Autofocus, Optical Viewfinder, Powerful Flash, 16x Digital Zoom, Image Stabilization, Time-lapse, Slow Motion, Self-timer, 20 Filters, Live Streaming, Webcam |
11. Waranti dan Sokongan
For warranty information and technical support, please refer to the documentation included with your purchase or contact CAMKORY customer service through their official webtapak.