
1. Pengenalan
This manual provides essential information for the safe and effective use, setup, operation, and maintenance of your ESAB SWARM A30 Auto-Darkening Welding Helmet. Please read this manual thoroughly before using the helmet to ensure proper function and to prevent injury or damage.
The ESAB SWARM A30 is designed to protect your eyes and face from sparks, spatter, and harmful radiation under normal welding conditions. Its auto-darkening filter (ADF) automatically switches from a light state to a dark state when an arc is struck, and returns to the light state when welding stops.
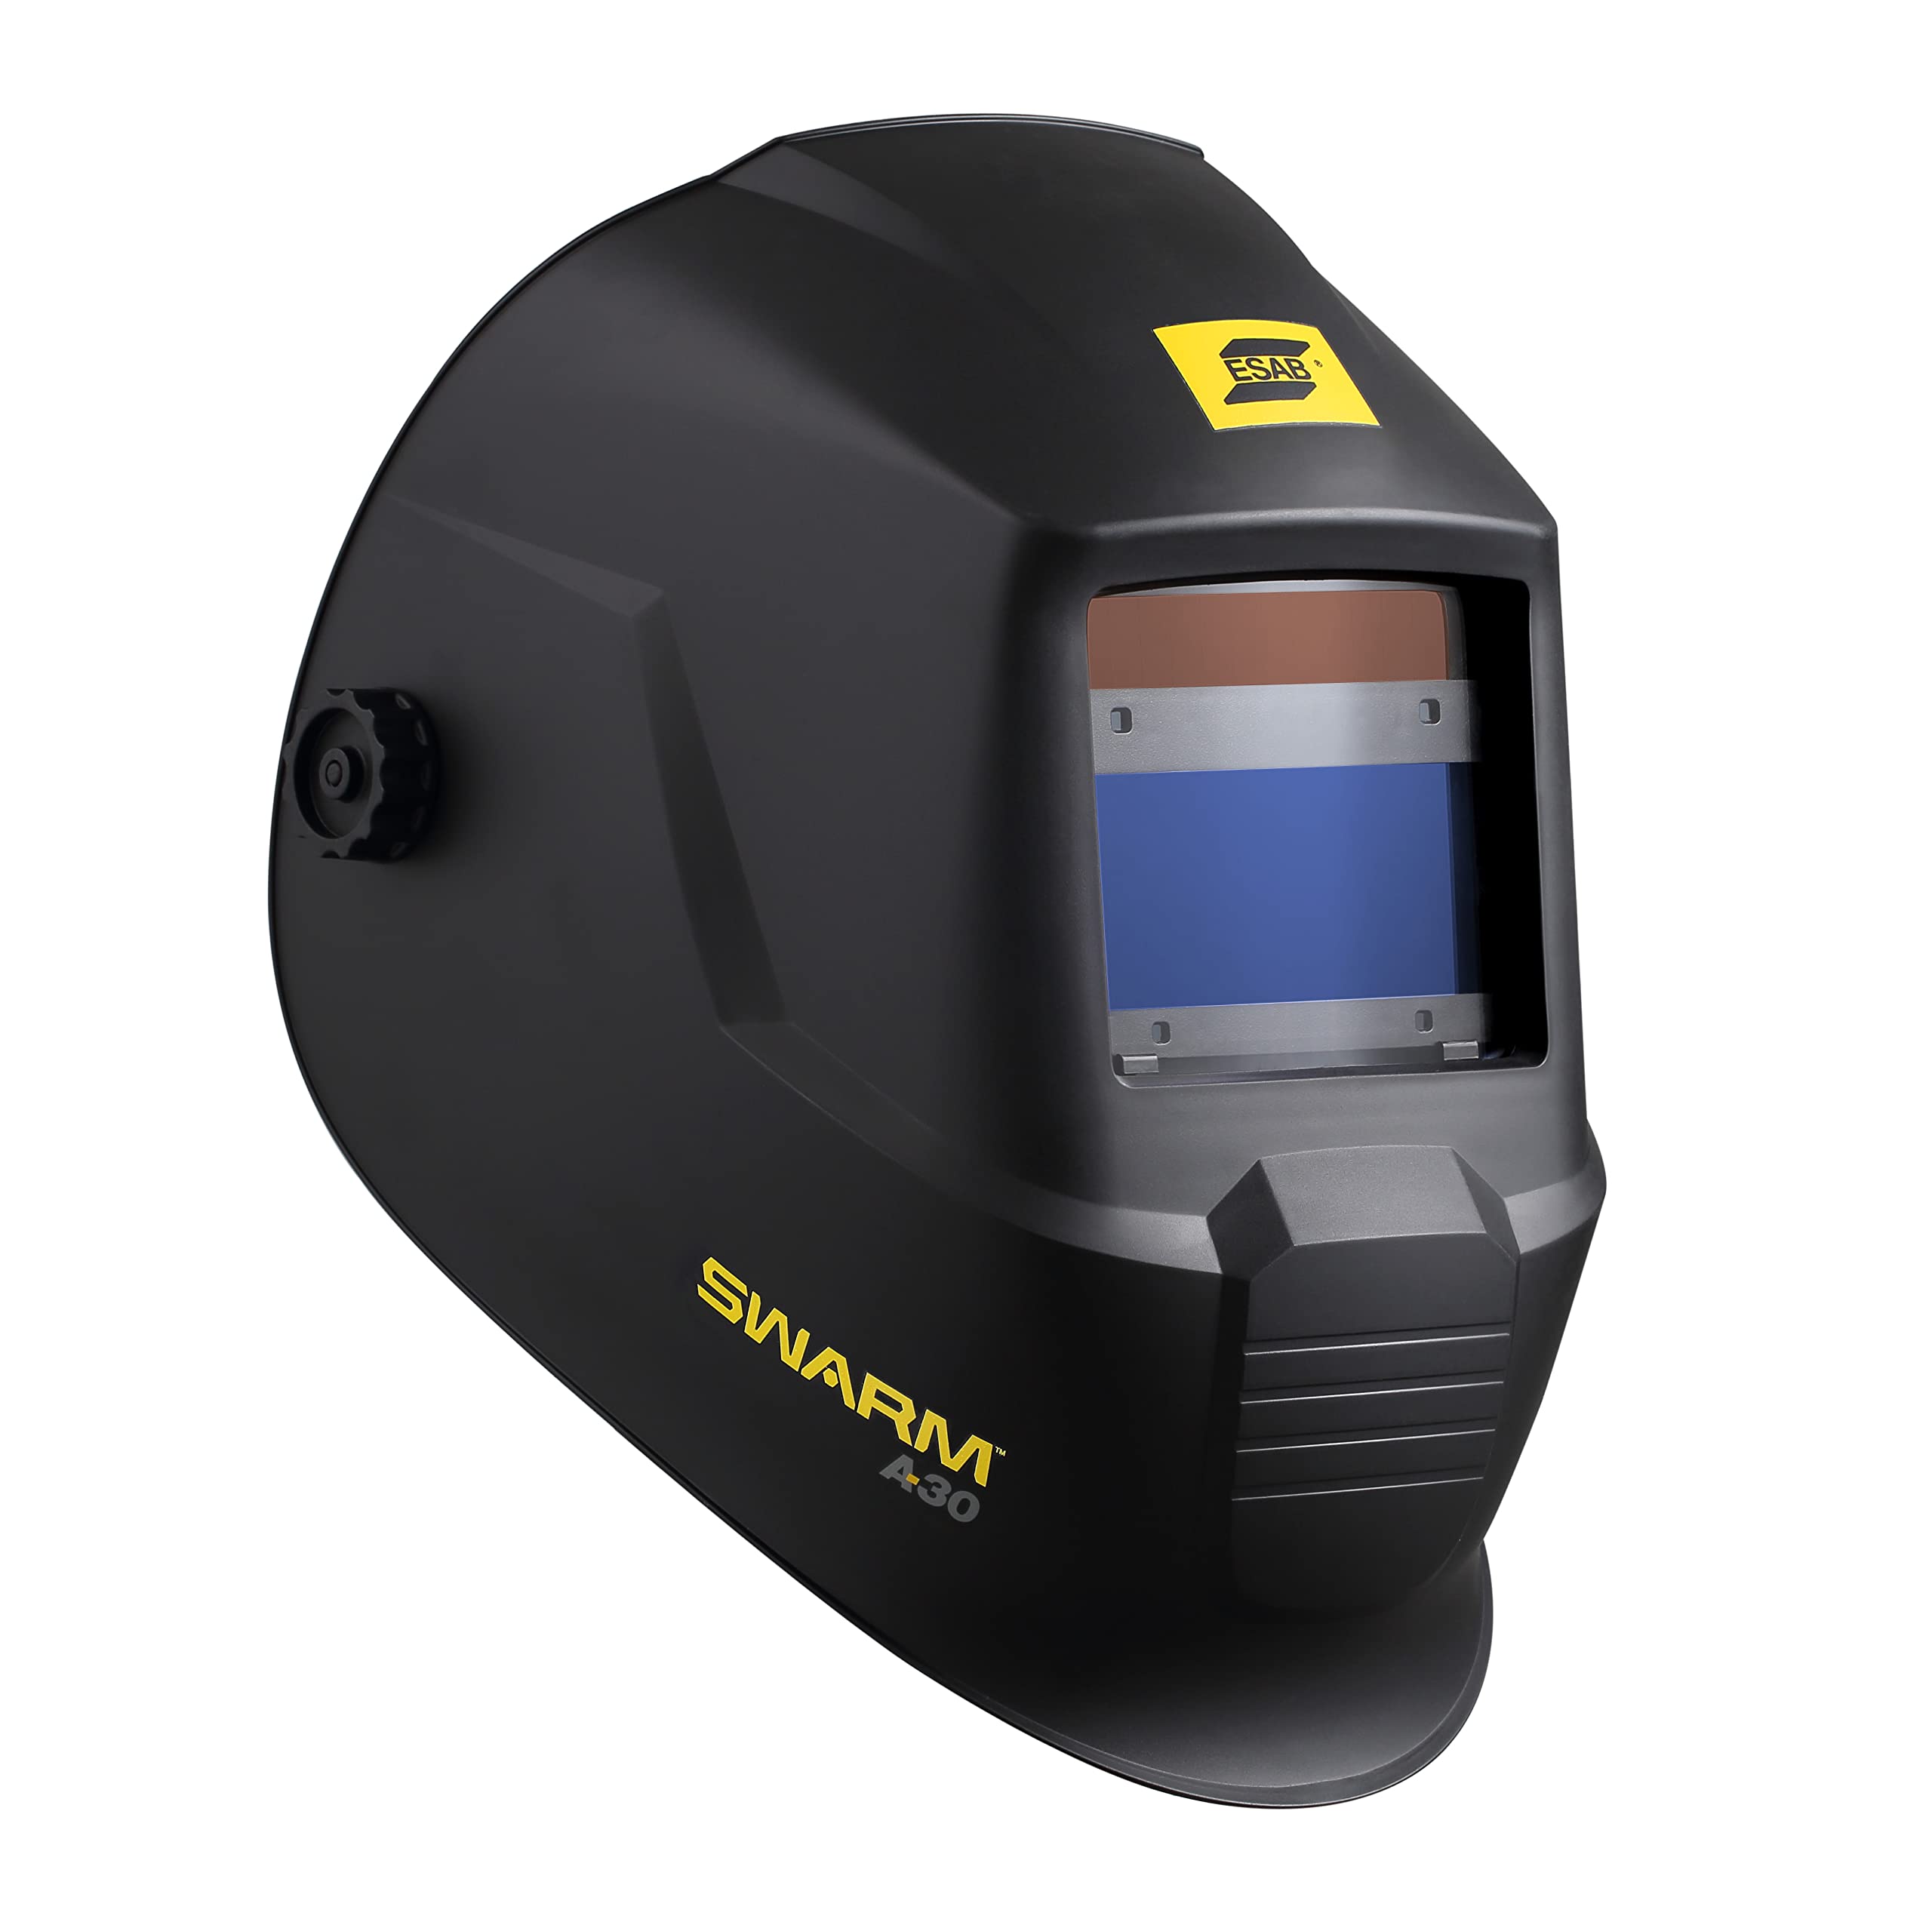
Rajah 1: Depan view of the ESAB SWARM A30 Auto-Darkening Welding Helmet. This image shows the helmet's overall design, including the auto-darkening filter window and the ESAB branding.
Langkah-langkah Keselamatan
- Sentiasa pakai peralatan pelindung diri (PPE) yang sesuai selain topi keledar kimpalan.
- Ensure the helmet is correctly adjusted and functioning before each use.
- Do not use the helmet if any part is damaged or defective.
- Never look directly at the welding arc with unprotected eyes.
- This helmet is not suitable for laser welding or overhead applications.
2. Ciri-ciri Produk
The ESAB SWARM A30 Auto-Darkening Welding Helmet incorporates several features designed for optimal performance and user comfort:
- ADF ViewKawasan: 98 x 43 mm (3.85 x 1.7 in.) for a clear view lopak kimpalan.
- Julat teduhan: DIN 4/9–13, offering versatility for various welding processes.
- Mod Kisar: Accessible via an internal switch, allowing the helmet to be used for grinding without darkening.
- CE Optical Class: 1/1/1/2, indicating high optical quality.
- Penderia Arka: 4 independent sensors for reliable arc detection.
- Masa Penukaran Cepat: 0.08 millisecond, ensuring immediate protection upon arc strike.
- Tetapan Boleh Laras: Internally-mounted and fully-adjustable delay and sensitivity settings for customized performance.
- Bateri Boleh Ganti: Uses 1 x CR2450 battery.
- Penunjuk Bateri Rendah: LED indicator to alert when battery replacement is needed.
- ADF Test Button: Allows for quick verification of ADF function.
3. Persediaan
3.1 Pemasangan Bateri
- Locate the battery compartment on the auto-darkening filter (ADF) unit.
- Buka penutup petak.
- Masukkan satu bateri CR2450, pastikan kekutuban (+/-) yang betul.
- Tutup penutup petak bateri dengan selamat.
3.2 Pelarasan Penutup Kepala
Proper headgear adjustment is crucial for comfort and stability.
- Headband Diameter: Adjust the knob at the back of the headgear to fit snugly around your head.
- Top Strap: Adjust the top strap to position the helmet correctly on your head, ensuring the viewing area is at eye level.
- Distance from Face: Adjust the side knobs to set the distance between the helmet and your face. This should allow for comfortable breathing and prevent fogging, without obstructing your view.
- Sudut Kecondongan: Adjust the tilt mechanism to find the most comfortable viewsudut ing.
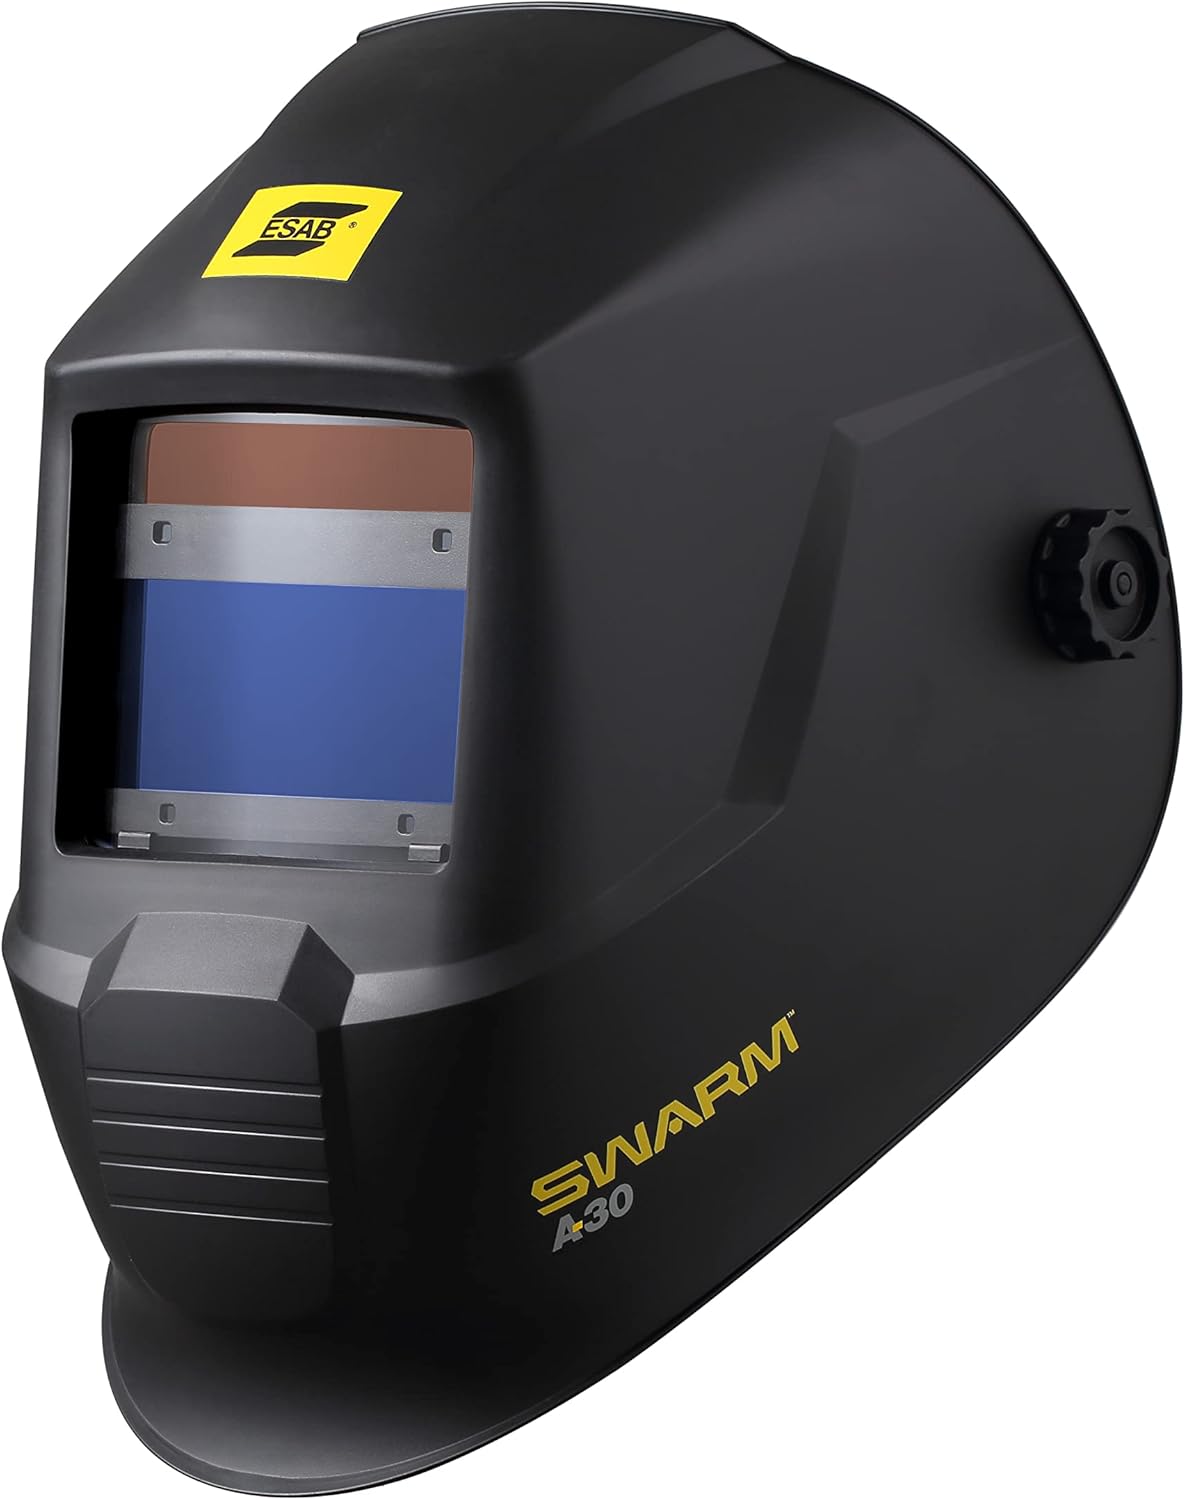
Rajah 2: Sisi view of the ESAB SWARM A30 Welding Helmet, illustrating the headgear adjustment points. This image highlights the side knobs and the overall profile daripada topi keledar.
3.3 Initial Function Test
Before welding, perform a quick test to ensure the ADF is functioning correctly.
- Press the ADF test button located on the internal control panel.
- The filter should momentarily darken and then return to its light state. If it does not, check the battery or consult the troubleshooting section.
4. Arahan Operasi
4.1 Hidupkan/Mati Kuasa
The ESAB SWARM A30 helmet features automatic power on/off. The ADF activates when exposed to light and deactivates after a period of inactivity.
4.2 Shade Adjustment
The helmet offers a variable shade range from DIN 9 to DIN 13 for welding, and DIN 4 for the light state. Adjust the shade level using the internal control knob to match your welding process and current. Refer to welding safety standards for recommended shade levels.
4.3 Pelarasan Sensitiviti
The sensitivity control adjusts how much light is required to trigger the ADF to darken. Adjust this setting using the internal knob:
- Sensitiviti Tinggi: Sesuai untuk rendah amperage welding or when the arc is partially obstructed.
- Sensitiviti Rendah: Recommended for high amperage welding or in environments with other bright light sources to prevent false triggering.
4.4 Pelarasan Kelewatan
The delay control determines how long the filter remains dark after the welding arc extinguishes before returning to the light state. Adjust this setting using the internal knob:
- Kelewatan Pendek: For quick, repetitive tack welding.
- Long Delay: Recommended for high amperage welding to protect against afterglow from the weld puddle.
4.5 Grind Mode
To activate grind mode, locate the internal switch and set it to the 'Grind' position. In this mode, the ADF remains in its light state (DIN 4) and will not darken, providing eye protection from grinding debris without the filter activating. Remember to switch back to 'Weld' mode before resuming welding operations.

Rajah 3: Bahagian lain view of the ESAB SWARM A30 Welding Helmet. This perspective shows the sleek design and the external adjustment knob for the headgear.
5. Penyelenggaraan
5.1 Pembersihan
- Clean the helmet shell with a mild soap and water solution. Avoid harsh solvents.
- Clean the outer and inner cover lenses with a soft, clean cloth and a non-abrasive lens cleaner. Do not use abrasive materials or solvents that could scratch the lenses.
- Regularly inspect the headgear for wear and tear.
5.2 Penggantian Kanta
Replace scratched or damaged outer and inner cover lenses immediately to maintain optical clarity and protection.
- Remove the retaining frame or clips holding the cover lens in place.
- Carefully remove the old lens.
- Insert a new, clean cover lens, ensuring it is seated correctly.
- Reattach the retaining frame or clips.
5.3 Penggantian Bateri
When the low battery indicator LED illuminates, replace the CR2450 battery as described in Section 3.1. Always use a fresh, high-quality CR2450 battery.
6. Penyelesaian masalah
If you encounter issues with your ESAB SWARM A30 helmet, refer to the following table for common problems and solutions.
| Masalah | Kemungkinan Punca | Penyelesaian |
|---|---|---|
| ADF does not darken when arc is struck. | Low battery; sensors obstructed; sensitivity too low; grind mode active. | Replace battery; clean sensors; increase sensitivity; switch out of grind mode. |
| Poor visibility through the filter. | Cover lenses scratched or dirty; incorrect shade setting. | Clean or replace cover lenses; adjust shade setting. |
| ADF flickers or darkens intermittently. | Low battery; sensitivity too high; other light sources interfering. | Replace battery; decrease sensitivity; shield from other light sources. |
| Low battery indicator LED is on. | Bateri lemah. | Gantikan bateri CR2450. |
7. Spesifikasi
| Ciri | Spesifikasi |
|---|---|
| Model | SWARM A30 |
| ADF ViewKawasan Kawasan | 98 x 43 mm (3.85 x 1.7 inci) |
| Teduh Negeri Cahaya | DIN 4 |
| Dark State Shade Range | DIN 9–13 |
| Kelas Optik | 1/1/1/2 |
| Penderia Arka | 4 |
| Masa Bertukar | 0.08 ms |
| Kawalan Kelewatan | Adjustable (Internal) |
| Kawalan Sensitiviti | Adjustable (Internal) |
| Mod Kisar | Yes (Internal Switch) |
| Bekalan Kuasa | 1 x CR2450 Battery (Replaceable) |
| Penunjuk Bateri Rendah | Ya (LED) |
| bahan | Keluli Aloi |
| Berat Barang | 1.9 paun |
| Dimensi Produk (P x L x T) | 1"L x 1"W x 1"Th (Note: These dimensions appear to be placeholder values and may not reflect the actual helmet size.) |
| Komponen yang Disertakan | Welding Helmet and Batteries |
8. Waranti dan Sokongan
For warranty information and technical support, please refer to the documentation provided with your purchase or visit the official ESAB webtapak. Simpan bukti pembelian anda untuk tuntutan waranti.
If you require further assistance or have questions not covered in this manual, please contact ESAB customer service.