1. Produk Lebihview
This document provides detailed instructions for the installation, maintenance, and troubleshooting of the Generic Replacement Upper Needle Seal Silicone Gasket. This gasket is designed to restore optimal performance to compatible Cuisinart Single Serve Brewer Coffee Makers by ensuring a proper seal around the upper piercing needle.

Figure 1: Generic Replacement Upper Needle Seal Silicone Gasket.
Ciri-ciri Utama:
- Bahan Silikon Berkualiti Tinggi: Engineered for durability and a secure seal.
- Penggantian Langsung: Designed to fit specific Cuisinart Single Serve Brewer models.
- Restores Brewer Functionality: Helps prevent leaks and ensures proper coffee extraction.
2. Keserasian
This replacement upper needle seal silicone gasket is specifically designed for the following Cuisinart Single Serve Brewer models:
- SS-10
- SS-10P1
- SS-5
- SS-5W
- SS-700
- SS-700ENW
- SS-6
- SS-780
- SS-780PC
Important: Please verify your coffee maker's model number before purchasing and installing this replacement part. This gasket is not compatible with models not listed above.
3. Arahan Pemasangan
Follow these steps to replace the upper needle seal silicone gasket in your Cuisinart Single Serve Brewer. Always ensure the coffee maker is unplugged before performing any maintenance or installation.
- Unplug the Brewer: Disconnect the coffee maker from the power outlet.
- Open the Brewer Head: Lift the handle to open the brewing chamber where the coffee pod is inserted.
- Remove the Pod Holder Assembly: Carefully lift out the entire pod holder assembly. This usually involves pulling it straight up.
- Locate the Old Gasket: The upper needle seal gasket is typically located around the piercing needle at the top of the brewing chamber. It may be visible as a small silicone ring.
- Remove the Old Gasket: Gently pry out the old gasket using a small, non-abrasive tool (e.g., a plastic pry tool or a toothpick). Be careful not to damage the surrounding plastic or the needle.
- Bersihkan Kawasan: Thoroughly clean the area where the gasket sits to remove any coffee grounds or residue.
- Install the New Gasket: Place the new silicone gasket into position, ensuring it sits snugly and evenly around the upper piercing needle.
- Reassemble the Brewer: Reinsert the pod holder assembly into the brewing chamber. Close the brewer head.
- Test the Brewer: Plug the coffee maker back in. Perform a water-only brew cycle (without a coffee pod) to check for leaks and proper water flow.
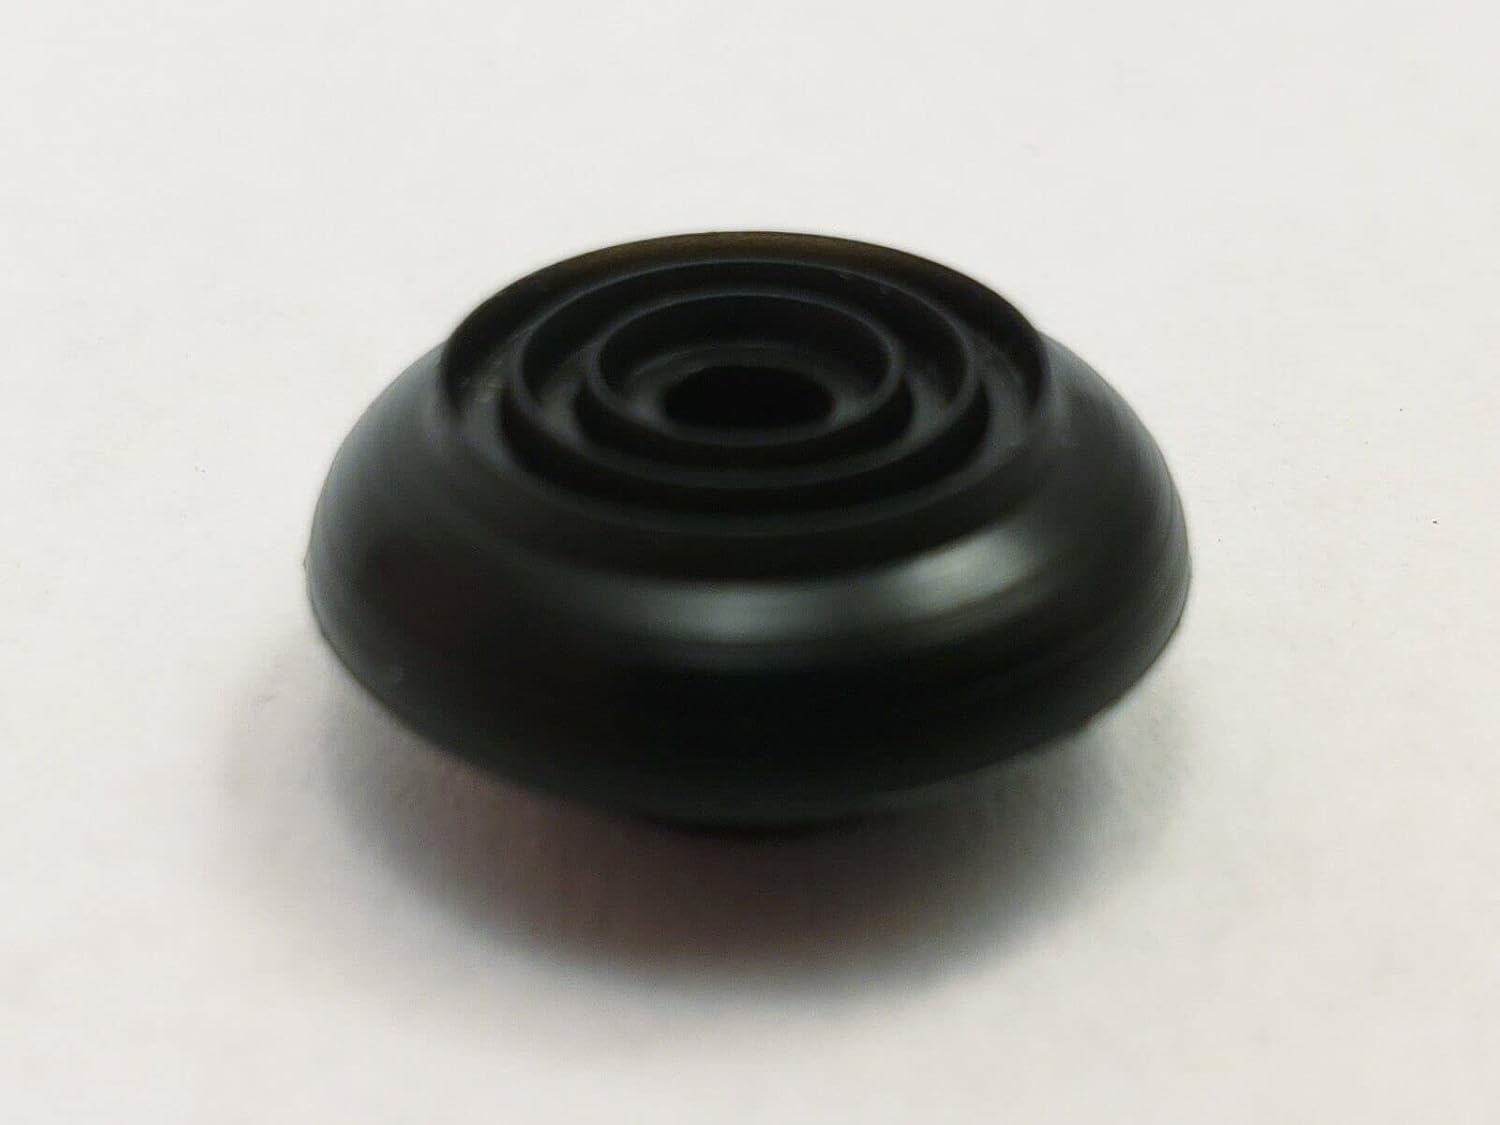
Rajah 2: Jarak dekat view of the replacement silicone gasket, showing its design for a secure fit.
Related Video Resource:
Video 1: This video demonstrates the replacement of a brew basket and spring-loaded stopper kit in a coffee maker. While not specifically for the needle seal gasket, it illustrates the general process of disassembling and reassembling internal components of a single-serve brewer, which may be helpful for visual guidance during gasket replacement.
4. Penyelenggaraan
Regular cleaning of your coffee maker's internal components, including the needle seal, is essential for maintaining optimal performance and extending the life of your brewer. Coffee grounds and mineral deposits can accumulate and affect the seal's effectiveness.
- Bilasan Harian: After each use, remove the pod holder and rinse it under warm water.
- Pembersihan Mingguan: Once a week, remove the pod holder and the drip tray. Wash them with warm, soapy water. Use a small brush or a straightened paper clip to gently clear any coffee grounds from the upper and lower piercing needles.
- Pemeriksaan gasket: Periodically inspect the silicone gasket for signs of wear, cracking, or hardening. Replace it if any damage is observed.
- Mengurangkan: Follow your Cuisinart brewer's descaling instructions regularly to remove mineral buildup from internal components.

Rajah 3: Bahagian bawah view of the silicone gasket, highlighting its sealing surface.
5. Penyelesaian masalah
If you experience issues after replacing the gasket, consider the following common problems and solutions:
- Leaks from the Brewing Head:
- Ensure the new gasket is seated correctly and evenly around the needle.
- Check for any remaining coffee grounds or debris preventing a tight seal.
- Verify that the pod holder assembly is fully inserted and locked into place.
- Improper Pod Piercing or Water Flow:
- Inspect the upper and lower piercing needles for clogs. Clean them gently with a straightened paper clip.
- Confirm that the pod holder assembly is not damaged or warped.
- Ensure the water reservoir is properly seated and filled.
- Serbuk Kopi dalam Cawan:
- This can indicate an issue with the pod itself or a damaged lower piercing needle/filter. While the upper gasket helps, check other components.
- Ensure the gasket is not torn or improperly installed, which could allow grounds to bypass the seal.
6. Spesifikasi Produk
| Jenama | Generik |
| bahan | silikon |
| warna | Hitam |
| Berat Barang | 2 auns |
| Dimensi Produk | 1 x 1 x 1 inci |
| Compatible Coffee Maker Types | Single Serve Drip Coffee Machines (Cuisinart SS-10 series and others listed in Compatibility section) |
7. Waranti dan Sokongan
As a generic replacement part, specific warranty information may vary. Please refer to the seller or the product listing for details regarding return policies or any applicable guarantees. For further assistance with installation or troubleshooting, contact the seller directly or consult your Cuisinart coffee maker's original instruction manual.


