pengenalan
Thank you for choosing Brightown Snowflake Solar Pathway Lights. This manual provides essential information for the proper setup, operation, and maintenance of your new solar lights. Please read these instructions carefully before use and retain them for future reference.
Kandungan Pakej
Pastikan semua item ada dalam pakej anda:
- 4 x 12 LED Snowflake Solar Firefly Lights
- 4 x Pancang Tanah
- 1 x Manual Pengguna (dokumen ini)
Persediaan dan Pemasangan
Follow these steps to assemble and install your solar pathway lights:
- Sambungkan Pancang: Attach the metal ground stake to the bottom of the solar panel unit. Ensure it is securely fastened.
- Aktifkan Suis: Locate the power switch on the underside of the solar panel. Slide the switch to the 'ON' position for continuous operation or 'FLASH' for flashing mode.
- Pilih Lokasi: Choose an outdoor location that receives direct sunlight for 6-8 hours daily. This ensures optimal charging and lighting performance. Avoid areas under trees or shadows.
- Masukkan ke dalam Tanah: Tolak lampu yang telah dipasang ke dalam tanah dengan lembut. Pastikan panel solar diletakkan menghadap matahari secara langsung.
- Laraskan Sudut Panel Suria: The solar panel can be adjusted to optimize sunlight reception. Angle it towards the sun for maximum charging efficiency.

Video: Installation Guide for Brightown Snowflake Solar Lights. This video demonstrates the simple steps to connect the stake, activate the light, and install it in your garden, including adjusting the solar panel for optimal sunlight.
Arahan Operasi
Your Brightown Snowflake Solar Pathway Lights are designed for automatic and efficient operation.
- Hidup/Mati Automatik: The lights feature an intelligent light control system. They will automatically turn on at dusk and turn off at dawn, provided the switch is in the 'ON' or 'FLASH' position.
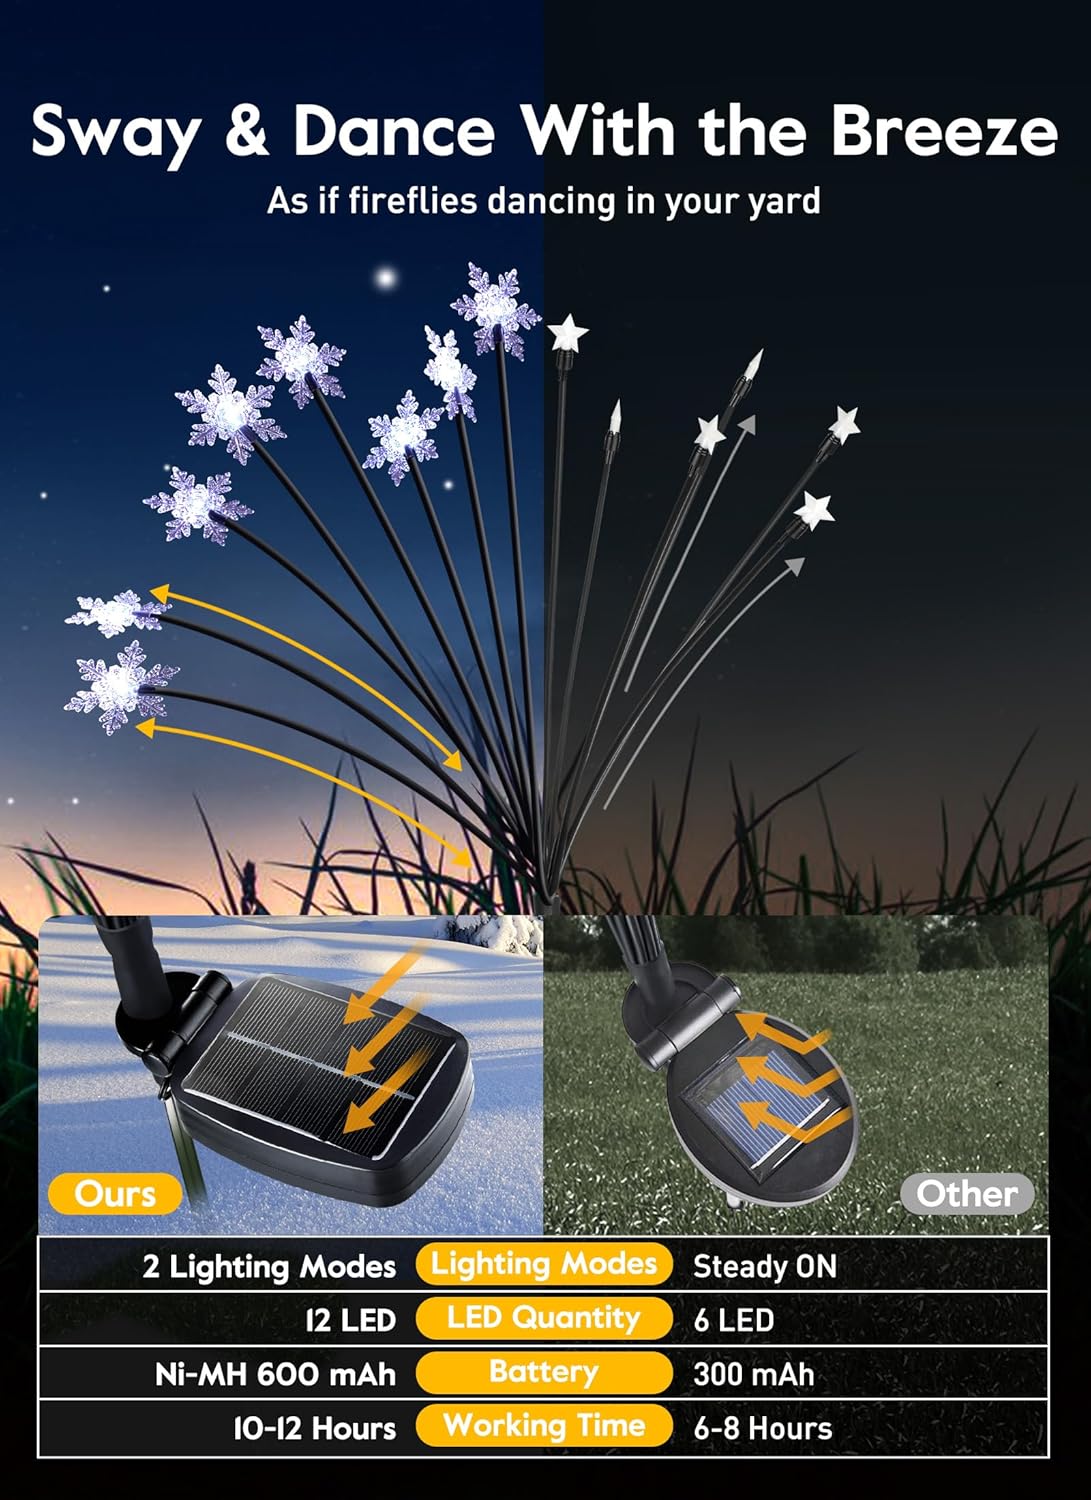
- mengecas: The built-in 1.2V, 600mAh Ni-MH battery charges during the day (4-6 hours for a full charge) via the solar panel.
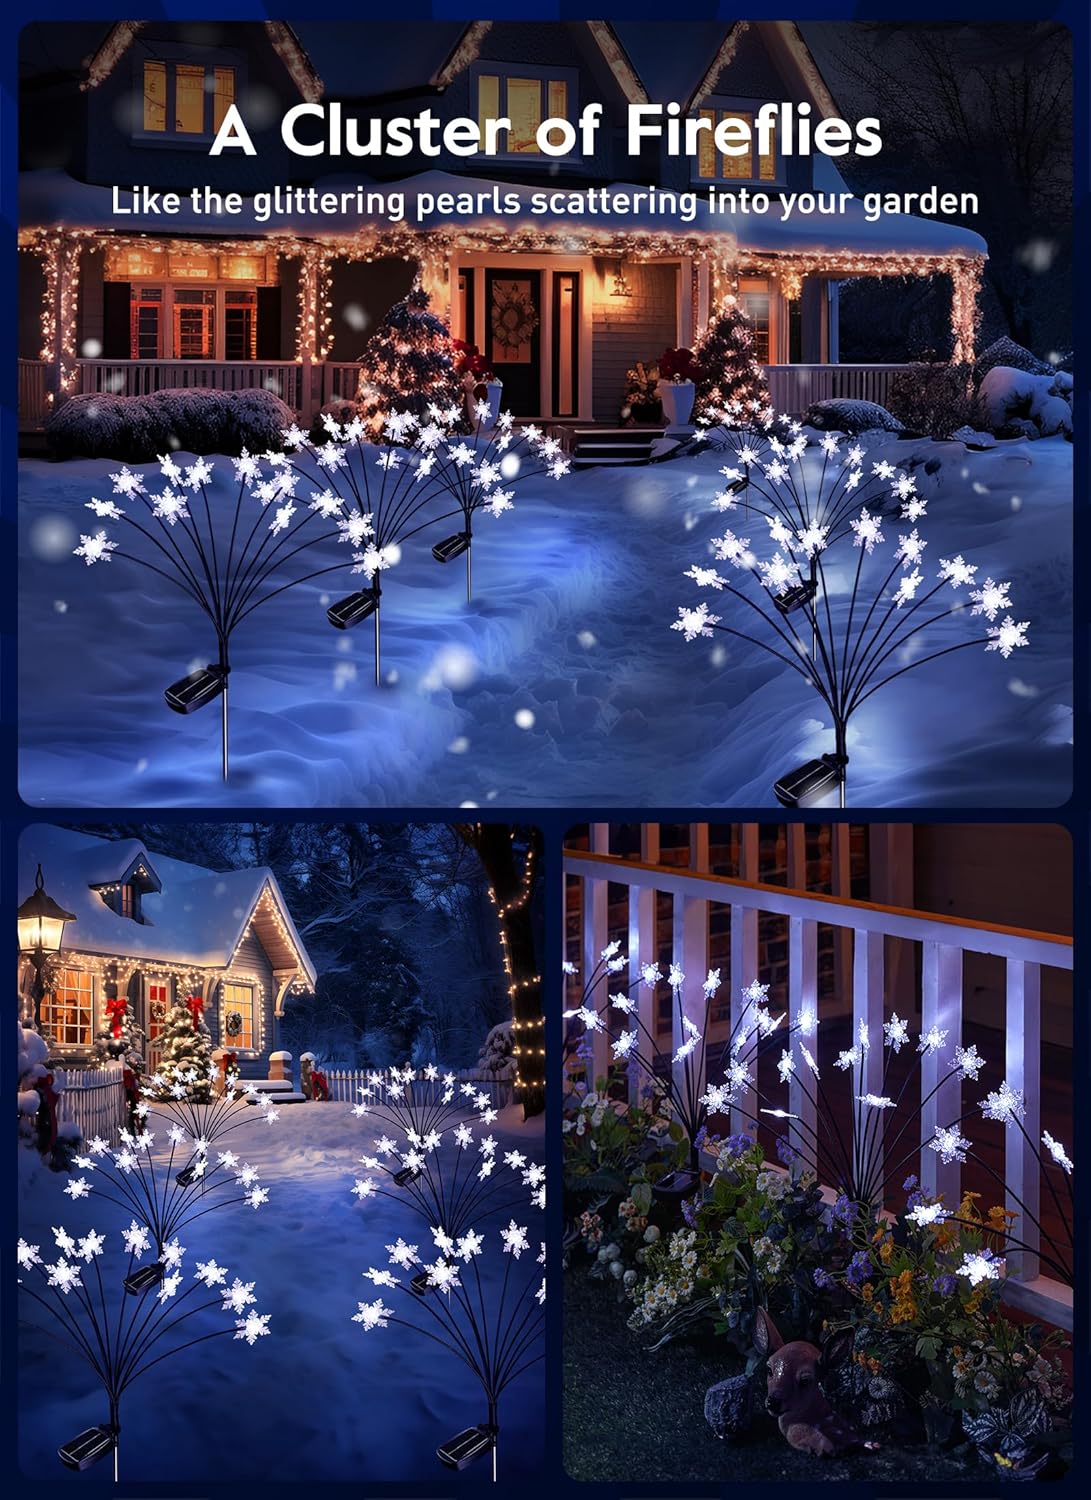
- Tempoh Pencahayaan: A full charge provides 10-12 hours of illumination at night.
- Mod Pencahayaan: You can select between two lighting modes:
- Tetap Hidup: For a constant glow.
- kilat: For a dynamic, twinkling effect.

Penyelenggaraan
To ensure the longevity and optimal performance of your solar lights, follow these maintenance tips:
- Membersihkan Panel Suria: Kerap mengelap panel solar dengan lembut, damp cloth to remove dust, dirt, or debris. A clean panel ensures efficient sunlight absorption and charging.
- Penjagaan Bateri: The built-in Ni-MH battery is designed for long-term use. If the lights' performance significantly decreases over time, the battery may need replacement. Refer to the manufacturer for compatible replacement batteries.
- Penyimpanan Musim Sejuk: During prolonged periods of low sunlight or harsh winter conditions, you may choose to bring the lights indoors. Clean them thoroughly and store them in a dry place.
Menyelesaikan masalah
If your solar lights are not functioning as expected, try the following solutions:
- Lampu Tidak Dihidupkan:
- Ensure the power switch on the solar panel is in the 'ON' or 'FLASH' position.
- Verify the solar panel is receiving direct sunlight for at least 6-8 hours during the day.
- Check for any obstructions (e.g., leaves, dirt) on the solar panel and clean it if necessary.
- Test the lights in a completely dark environment to ensure the light sensor is not detecting ambient light.
- Tempoh Pencahayaan Pendek:
- The solar panel may not be receiving enough direct sunlight. Relocate the light to a sunnier spot.
- The solar panel might be dirty. Clean it as described in the Maintenance section.
- The battery may not be fully charged due to insufficient sunlight or an aging battery.
- Lights Appear Dim:
- Pastikan panel solar bersih dan menerima cahaya matahari yang mencukupi.
- The battery might be low. Allow for a full day of charging.
Spesifikasi
Key technical details for your Brightown Snowflake Solar Pathway Lights:
| Jenama | Brighttown |
| Model | B0DK97JS6V |
| Warna Cerah | Putih Hangat |
| Bilangan LED | 12 per light (48 total for 4-pack) |
| Bateri | 1.2V, 600mAh Ni-MH |
| Masa Mengecas | 4-6 jam (cahaya matahari langsung) |
| Masa Berjalan | 10-12 jam (selepas cas penuh) |
| Gred Kalis Air | IP65 |
| bahan | Polikarbonat |
| Dimensi (L x W x H) | 1"L x 5"W x 15"H (per light) |
| Mod Pencahayaan | Teruskan, Kilat |


Maklumat Keselamatan
- Produk ini direka untuk kegunaan luaran sahaja.
- Do not attempt to disassemble or modify the product, as this may void the warranty and cause damage.
- Jauhkan daripada api terbuka atau sumber haba yang melampau.
- Ensure the ground stake is firmly inserted to prevent the light from falling over.
Waranti dan Sokongan
For warranty information or technical support, please refer to the product packaging or contact Brightown customer service directly. Keep your purchase receipt as proof of purchase.