
1. Pengenalan
This manual provides essential information for the safe and effective use of your Lovskoo Mini Video Projector. Please read these instructions thoroughly before operating the device and retain them for future reference.
2. Maklumat Keselamatan
- Jangan dedahkan projektor kepada hujan atau lembapan untuk mengelakkan kebakaran atau kejutan elektrik.
- Jangan buka casing. Rujuk semua servis kepada kakitangan yang berkelayakan.
- Pastikan pengudaraan yang betul. Jangan sekat bukaan pengudaraan.
- Gunakan hanya penyesuai kuasa yang dinyatakan untuk peranti ini.
- Elakkan pendedahan mata secara langsung kepada kanta projektor semasa peranti beroperasi.
- Jauhkan projektor daripada sumber haba dan cahaya matahari langsung.
3. Kandungan Pakej
Sahkan bahawa semua item terdapat dalam pakej:
- Lovskoo Mini Video Projector (Host)
- Kabel Kuasa USB
- Alat Kawalan Jauh
- Manual Pengguna
4. Produk Lebihview
Familiarize yourself with the components and dimensions of your projector.

Rajah 4.1: Depan view of the Lovskoo Mini Video Projector.

Figure 4.2: Dimensions of the Lovskoo Mini Video Projector (approximately 4.3 x 1.9 x 3.5 inches).
The projector features a compact design with a lens at the front and control buttons on the top surface. Connectivity ports are located on the sides or rear, typically including USB and a 3.5mm audio output.
5. Persediaan
Follow these steps to set up your projector for first use:
- Sambungan Kuasa: Connect the provided USB power cable to the projector's micro USB input and then to a compatible 5V 2A power source (e.g., a wall adapter or power bank).
- penempatan: Place the projector on a stable, flat surface. Ensure there are no obstructions in front of the lens. The recommended projection distance is 2-13.1 feet for a 14-100 inch screen size. For optimal viewing, a 9.32 feet distance is suggested for a 100-inch display.
- Hidupkan kuasa: Tekan butang kuasa pada projektor atau alat kawalan jauh untuk menghidupkan peranti.
- Pelarasan Fokus: Adjust the focus ring (if available) near the lens until the projected image is clear and sharp.
Video 5.1: This video demonstrates the projector's capability to display various screen sizes (40" to 60") and shows the projector in different color variants. It illustrates the projection distance and how the image scales.
6. Beroperasi
Once powered on, the projector will display its main interface. Use the remote control or the buttons on the projector to navigate menus and select input sources.
6.1 Kawalan Asas
- Butang Kuasa: Menghidupkan atau mematikan projektor.
- Butang Navigasi: Used to move through menu options (Up, Down, Left, Right).
- Butang OK/Masuk: Mengesahkan pilihan.
- Butang Kembali/Keluar: Returns to the previous menu or exits the current function.
- Butang Kelantangan: Melaraskan tahap output audio.
6.2 Ketersambungan
The projector supports various input methods:
- Input USB: Connect a USB drive to play media files secara langsung.
- Output Audio 3.5mm: Sambungkan pembesar suara luaran atau fon kepala untuk audio yang dipertingkatkan.
- Sambungan Telefon Mudah Alih: Connect your Android or iOS phone to the projector to mirror content. Specific connection methods (e.g., wired screen mirroring) may vary by phone model and require additional adapters (not included).

Figure 6.1: The projector can be powered by a mobile power supply (power bank) for portable use.
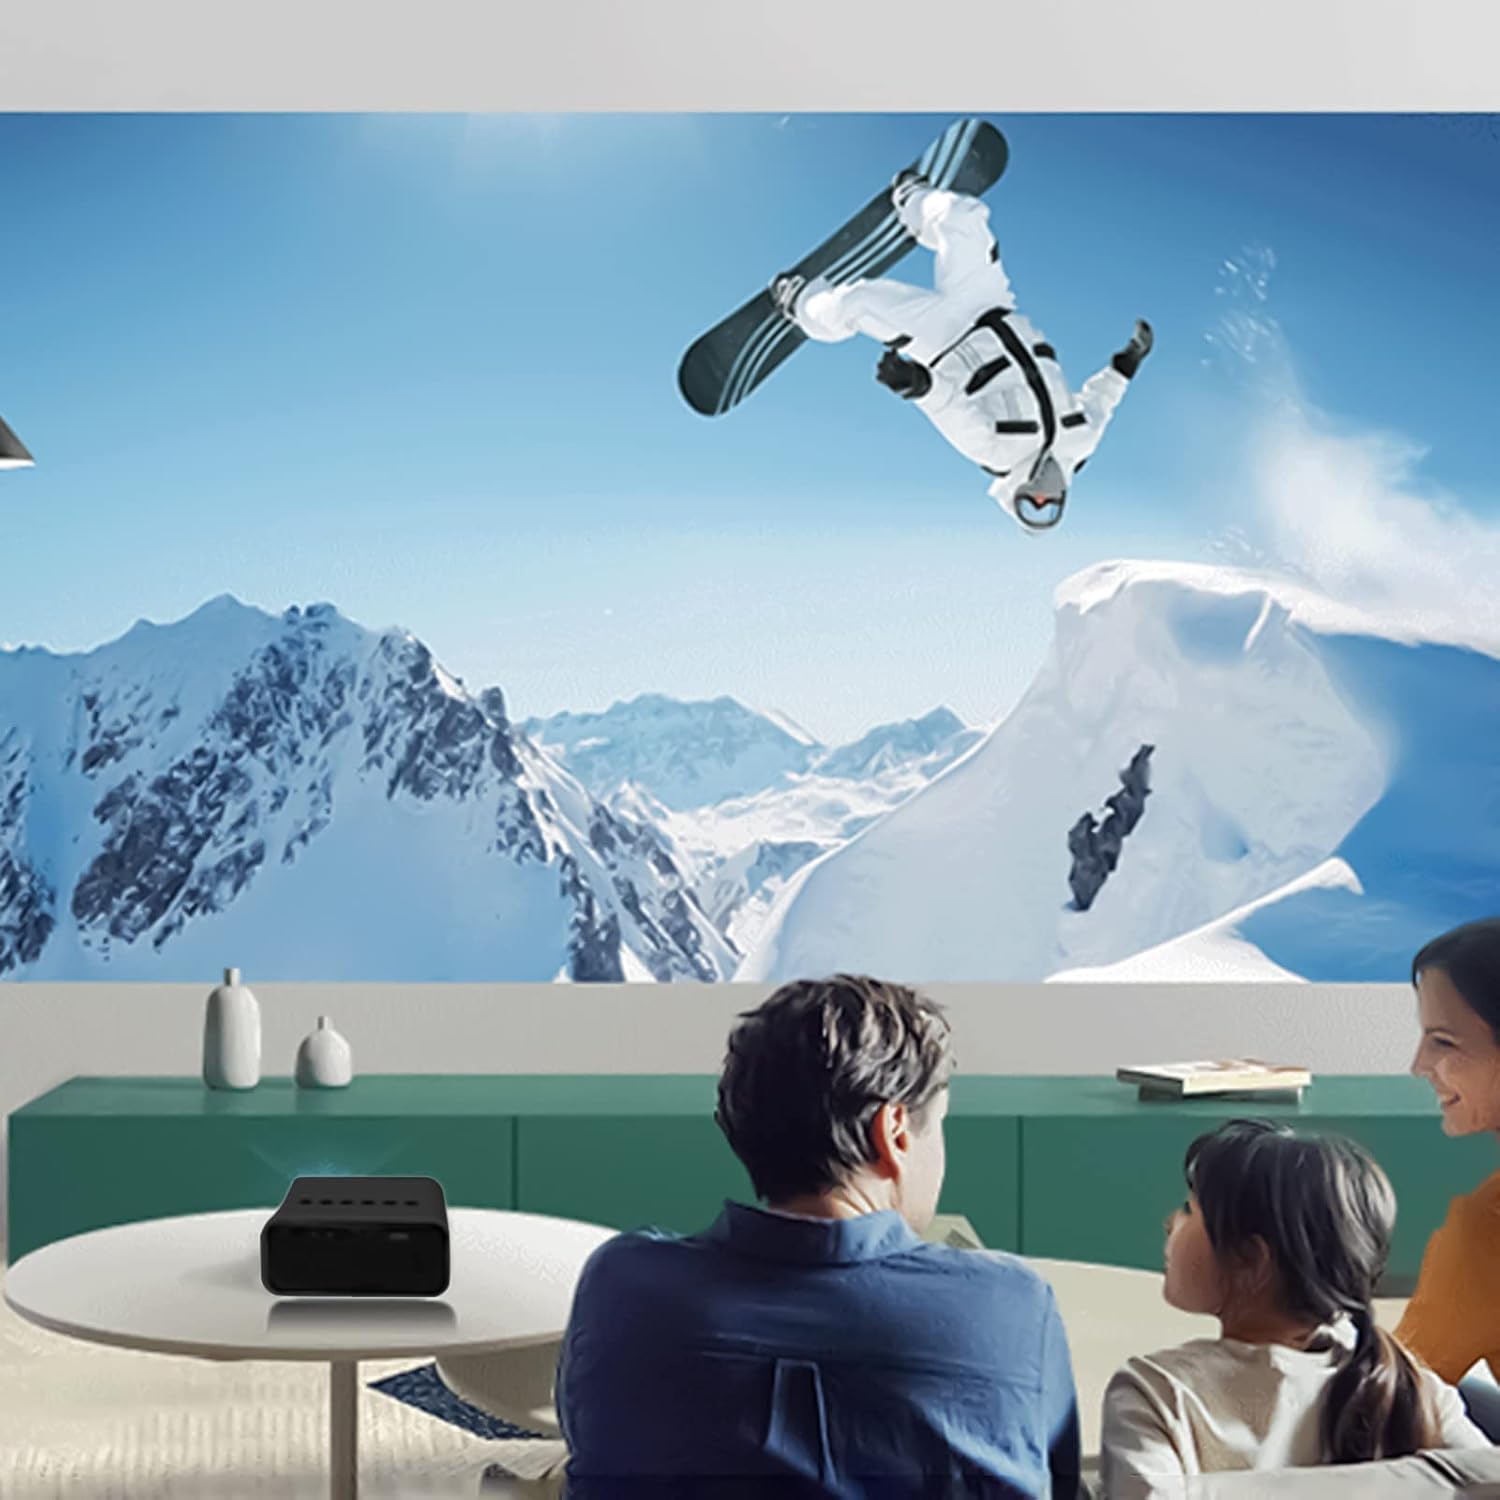
Gambar 6.2: Cthample of indoor projection setup.

Gambar 6.3: Cthample of outdoor projection setup, ideal for camping.
7. Penyelenggaraan
Penyelenggaraan yang betul memastikan jangka hayat dan prestasi projektor anda.
- Pembersihan Kanta: Gunakan kain lembut dan bebas lin yang direka khusus untuk kanta optik untuk mengelap kanta projektor dengan perlahan. Jangan gunakan pembersih yang melelas atau kekerasan yang berlebihan.
- Penyingkiran habuk: Periodically clean the projector's exterior with a soft, dry cloth. Ensure ventilation openings are free from dust and debris.
- Storan: Apabila tidak digunakan, simpan projektor di tempat yang sejuk dan kering, jauh dari cahaya matahari langsung dan suhu yang melampau.
8. Penyelesaian masalah
Jika anda menghadapi masalah dengan projektor anda, rujuk kepada masalah dan penyelesaian biasa berikut:
| Masalah | Kemungkinan Punca | Penyelesaian |
|---|---|---|
| Tiada Kuasa | Power cable not connected properly; faulty power source. | Ensure the USB power cable is securely connected. Try a different power adapter or USB port. |
| Tiada Imej | Incorrect input source selected; lens cap on; focus issue. | Select the correct input source (e.g., USB). Remove any lens cap. Adjust the focus. |
| Imej Kabur | Out of focus; incorrect projection distance. | Adjust the focus ring. Ensure the projector is within the recommended projection distance. |
| Tiada Bunyi | Volume too low; external speakers not connected or faulty. | Increase the volume. Check external speaker connections if used. |
9. Spesifikasi
Key technical specifications for the Lovskoo Mini Video Projector:
- model: Projektor Video Mini
- Resolusi yang Disokong: 1080P HD (1920 x 1080 Max)
- Resolusi Asli: 320 x 180
- Teknologi Paparan: LCD TFT
- Saiz Unjuran: 14-100 inci
- Jarak Unjuran: 2-13.1 kaki
- Kehidupan LED: Sehingga 30,000 jam
- Penggunaan Kuasa: 10 W
- Voltage/Semasa: 5V 2A
- Mod Kawalan: Manual buttons / Remote control
- Antara muka: USB x 1, 3.5mm Audio Output x 1, Micro USB (Power Input)
- Dimensi: Approximately 4.3 x 1.9 x 3.5 inches (11 x 4.7 cm)
- Berat: Kira-kira 11.3 auns
- Pembesar Suara Terbina dalam: ya
10. Waranti dan Sokongan
For warranty information and customer support, please refer to the documentation provided at the time of purchase or contact Lovskoo customer service through their official channels. Keep your purchase receipt as proof of purchase.