
APEXFORGE X1C
Manual Pengguna Aras Laser Garisan Silang APEXFORGE X1C
Model: X1C | Brand: APEXFORGE
pengenalan
Thank you for choosing the APEXFORGE X1C Cross Line Laser Level. This manual provides essential information for the safe and effective operation, maintenance, and troubleshooting of your device. Please read it thoroughly before use and keep it for future reference.
Kandungan Pakej
Selepas membongkar, sila sahkan bahawa semua item yang disenaraikan di bawah ada dan dalam keadaan baik:
- 1 x Green Cross Line Laser Level
- 1 x Kabel Pengecas Jenis-C
- 1 x 2.2Ah Rechargeable Battery
- 1 x Plat Sasaran
- 1 x Beg Mudah Alih
- 1 x 360° Magnetic Bracket
- 1 x Manual Pengguna

Image: The APEXFORGE X1C Laser Level with its complete set of accessories, including the charging cable, battery, target plate, portable bag, and magnetic bracket.
Persediaan
Mengecas Bateri
The APEXFORGE X1C features a large-capacity 2200 mAh rechargeable battery. Before first use, or when the battery indicator shows low power, charge the device using the provided Type-C cable.
- Connect the Type-C cable to the charging port on the laser level.
- Connect the other end of the cable to a compatible USB power source (e.g., wall adapter, power bank).
- The battery indicator lights on the device will show the charging status.
- Peranti boleh digunakan semasa mengecas.

Imej: Jarak dekat view of the APEXFORGE X1C Laser Level highlighting the Type-C charging port.
Memasang Peranti
The X1C comes with a 360° magnetic bracket for versatile mounting options.
- Attach the laser level to the magnetic bracket using the 1/4" mounting screw on the bottom of the device.
- The strong magnets on the bracket allow it to be securely attached to metal surfaces.
- Alternatively, the bracket can be hung on a nail or screw for non-magnetic surfaces.

Image: The APEXFORGE X1C Laser Level attached to its magnetic pivoting bracket, demonstrating its mounting versatility.
Mod Pengendalian
The APEXFORGE X1C offers two primary operating modes to suit different leveling needs:
1. Mod Meratakan Kendiri
This mode is ideal for quick and accurate leveling on surfaces that are slightly uneven.
- To activate, slide the pendulum lock switch to the unlocked position.
- The laser will self-level within an inclination of 4°.
- If the surface inclines beyond 4°, the laser beams will flash rapidly to indicate that it is out of the self-leveling range. Adjust the device's position until the beams stop flashing.
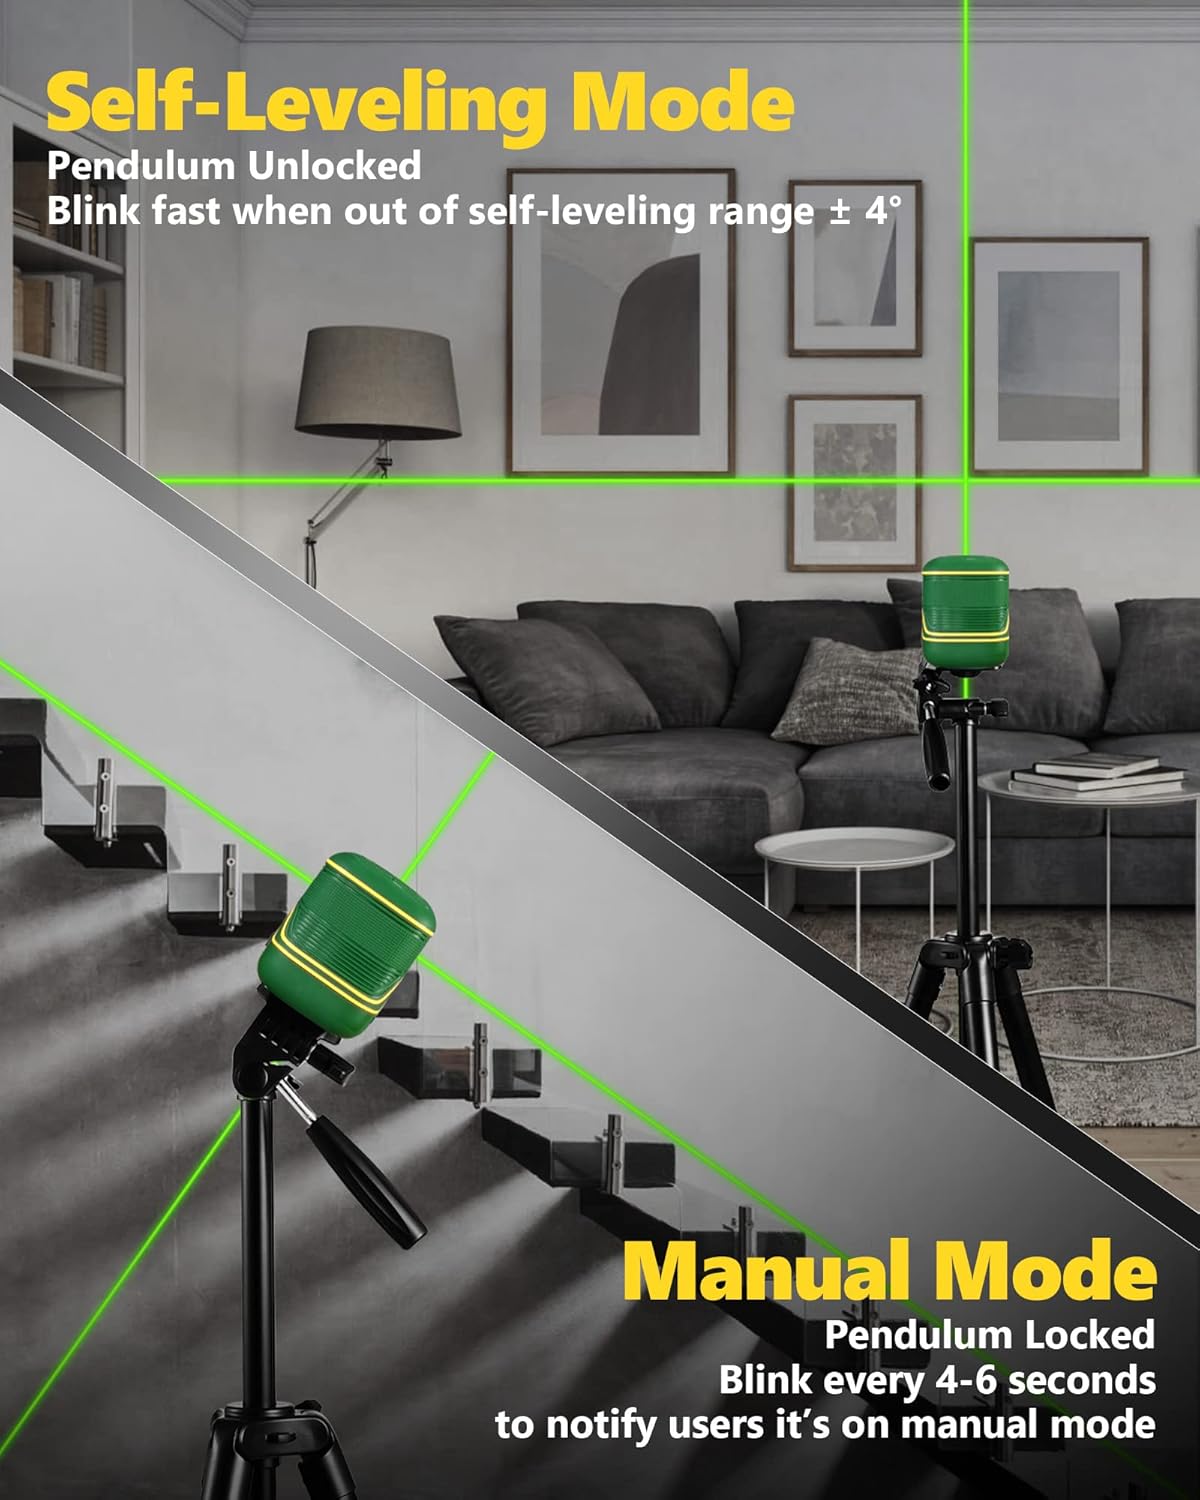
Image: Illustration showing the laser level in both self-leveling mode (pendulum unlocked) and manual mode (pendulum locked), projecting lines on a staircase.
2. Mod Manual
Use manual mode when you need to project lines at any angle, such as for stair railing installation or decorative patterns.
- To activate, slide the pendulum lock switch to the locked position.
- The laser beams will be locked, allowing you to tilt the device to any desired angle.
- In manual mode, the laser beams will blink every 4-6 seconds to remind the user that it is not self-leveling.
Mod Nadi
Pulse mode extends the working range of the laser level, especially useful for outdoor or bright environments when paired with a laser receiver (not included).
- To enable or disable pulse mode, long-press the power button on the top of the device.
- When pulse mode is active, the indicator light will be on.
- In pulse mode, the working range can extend up to 147 feet (45 meters).

Image: Diagram illustrating the extended working range of the laser level when in pulse mode and used with an optional laser receiver.
Brightness Adjustment and Battery Indicator
The power button also allows for brightness adjustment and displays the battery level.
- Short press the power button to cycle through different brightness levels of the laser beam.
- The battery level is indicated by the illuminated bars next to the battery icon on the control panel.

Imej: Terperinci view of the control panel, showing the power level indicator, pulse mode indicator, operation button, Type-C charging port, and pendulum lock/unlock switch.
Ciri-ciri Utama
High Accuracy & Green Beam Visibility
The X1C utilizes green laser beams, which are significantly brighter and more visible than traditional red beams, especially in well-lit conditions.
- The working range is up to 100 feet (30 meters) indoors.
- High accuracy of +/- 1/9 inch at 33 feet (10 meters).
- Green beams are less susceptible to interference and offer superior clarity.

Image: Visual comparison demonstrating the higher visibility of a green laser beam (520nm) compared to a red laser beam (635nm).
Durable & Compact Design (IP54)
Designed for rugged use, the X1C is built to withstand challenging job site conditions.
- Palm-sized and lightweight for easy portability.
- Covered by TPR soft rubber for enhanced grip and protection.
- IP54 rated: Provides protection against dust ingress and splashing water from any direction.
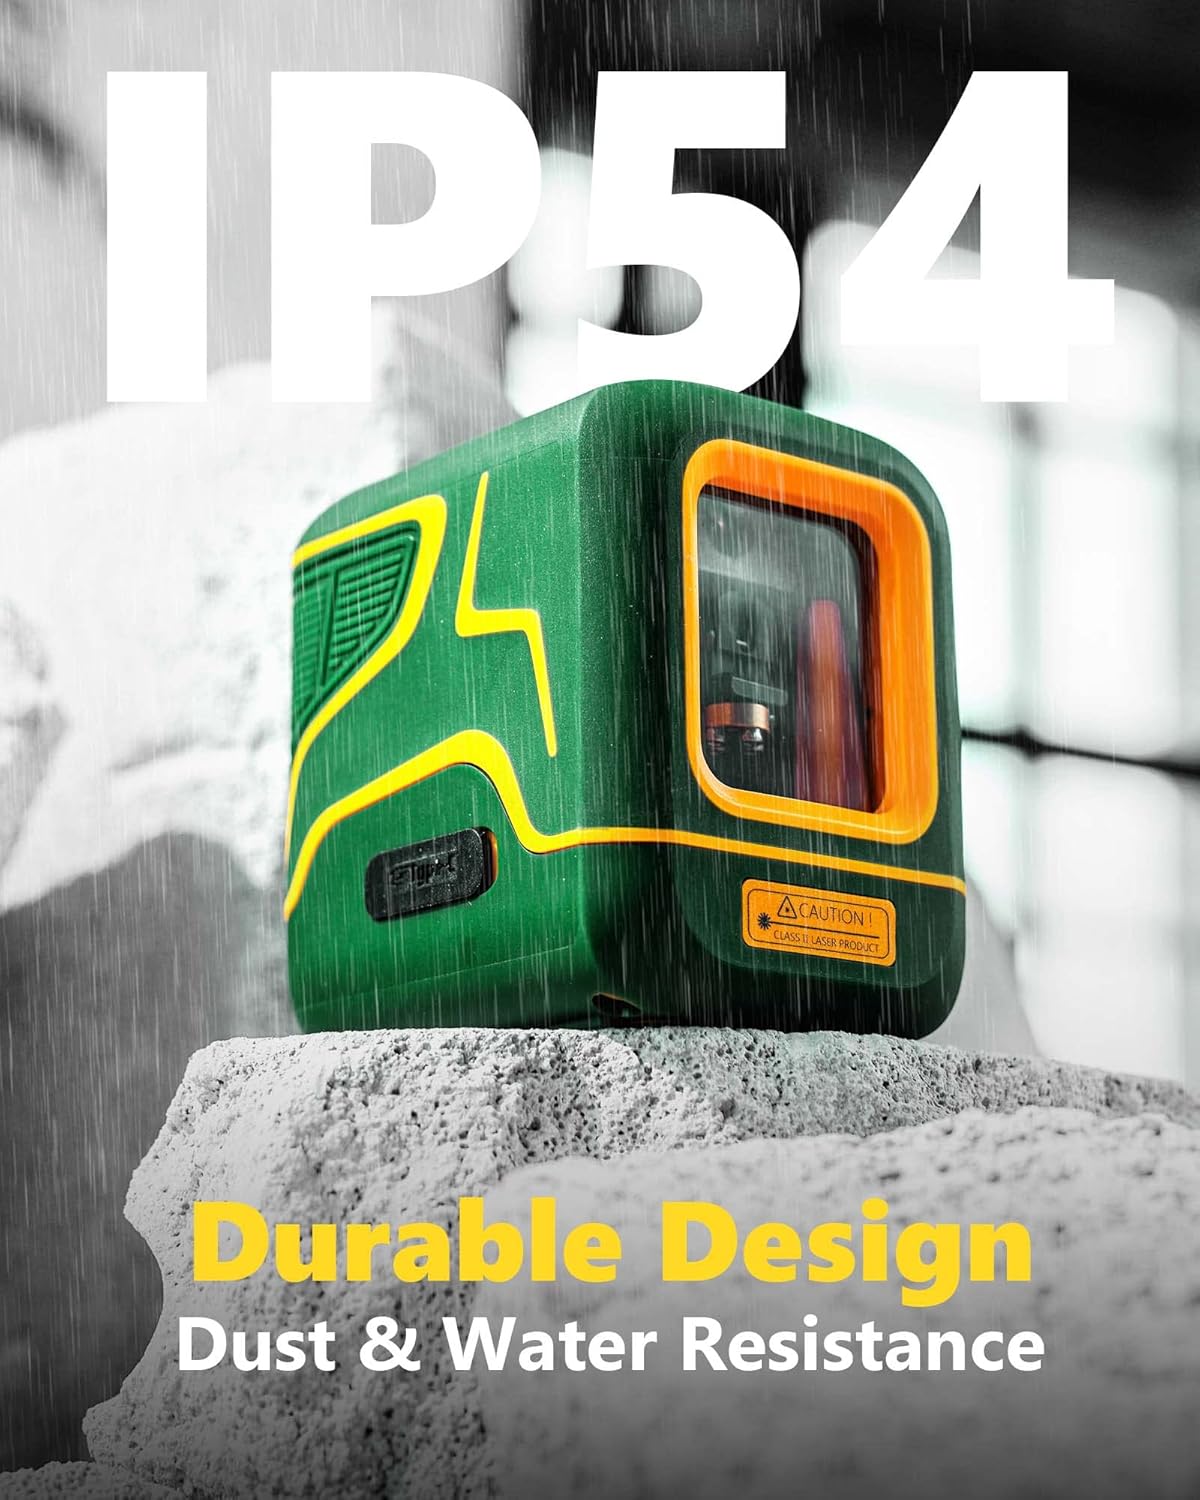
Image: The APEXFORGE X1C Laser Level with water droplets, illustrating its IP54 rating for dust and water resistance.
Penyelenggaraan
To ensure the longevity and optimal performance of your APEXFORGE X1C Laser Level, follow these maintenance guidelines:
- Pembersihan: Lap peranti dengan kerap dengan lembut, damp cloth. Do not use harsh chemicals or abrasive cleaners. Ensure the laser windows are clean for clear beam projection.
- Storan: When not in use, store the device in its portable bag in a cool, dry place, away from direct sunlight and extreme temperatures. Ensure the pendulum lock is engaged during storage and transport to protect the internal components.
- Penjagaan Bateri: Charge the battery regularly, even if the device is not in frequent use, to maintain battery health. Avoid completely draining the battery before recharging.
- Elakkan Kesan: Despite its durable design, avoid dropping or subjecting the device to severe impacts, as this can affect its calibration and internal mechanisms.
Menyelesaikan masalah
If you encounter issues with your APEXFORGE X1C Laser Level, refer to the following common problems and solutions:
| Masalah | Kemungkinan Punca | Penyelesaian |
|---|---|---|
| Laser beam is dim or not visible. | Low battery; dirty laser window; bright ambient light. | Charge the battery; clean the laser window; use in a darker environment or activate pulse mode with a receiver. |
| Laser beams are flashing rapidly in self-leveling mode. | Device is out of self-leveling range (>4° inclination). | Place the device on a flatter surface or adjust its position until the flashing stops. |
| Laser beams are blinking every 4-6 seconds. | Device is in manual mode. | This is normal behavior for manual mode. If self-leveling is desired, unlock the pendulum. |
| Peranti tidak dihidupkan. | Battery is completely drained; pendulum lock engaged. | Charge the battery; ensure the pendulum lock is in the unlocked position to power on. |
Spesifikasi
| Atribut | Perincian |
|---|---|
| Jenama | APEXFORGE |
| Nombor Model | X1C |
| bahan | Rubber, Thermoplastic Elastomers |
| warna | hijau |
| Mod Operasi | Automatic (Self-Leveling) / Manual |
| Berat Barang | 1.19 paun |
| Dimensi Produk | 0.03 x 2.95 x 2.36 inci |
| Jenis Bateri | 1 bateri Lithium Ion (termasuk) |
| Sumber Kuasa | Dikuasakan Bateri |
| Ciri Khas | Green-line, Self-leveling, Pulse Mode, Rechargeable |
| Penarafan IP | IP54 (Kalis Air, Kalis Habuk, Kalis Hentakan) |
| Julat Kerja | Up to 100 feet (indoors), Up to 147 feet (with receiver in pulse mode) |
| Ketepatan | +/- 1/9 inch at 33 feet |
Waranti dan Sokongan
For detailed warranty information and customer support, please refer to the official APEXFORGE user manual included in your package or visit the official APEXFORGE store.
- Manual Pengguna Rasmi (PDF): Muat turun PDF
- Visit the APEXFORGE Store: APEXFORGE Store on Amazon
Ask a question about this manual
Ask about setup, troubleshooting, compatibility, parts, safety, or missing instructions. Manuals+ will review the question and use this page’s manual context to help answer it.