
1. Pengenalan
This manual provides detailed instructions for the setup, operation, maintenance, and troubleshooting of your ELECROW 10.1 Inch Touchscreen Monitor. Please read this manual thoroughly before using the product to ensure proper functionality and to prevent damage.
The ELECROW 10.1 inch portable monitor features a 1280x800 IPS display, offering clear visuals and wide viewing angles. It supports touch input and is compatible with various devices and operating systems, including Raspberry Pi, Jetson Nano, Banana Pi, PC, and Windows.
2. Persediaan
2.1 Kandungan Pakej
Sahkan bahawa semua item yang disenaraikan di bawah disertakan dalam pakej anda:
- 1x 10.1 inch Touch Display
- 1x HD to HD Cable
- 2x USB cable (USB A to Micro USB)
- 1x HD to Mini HD Adapter
- 1x Screw Pack (4x Small Copper Pillars, 4x M2.5 Screws)
- 2x Bracket (Pro Stand)
- 1x Pemutar Skru
- 1x Manual Pengguna

Image: All components included in the ELECROW 10.1 Inch Touchscreen Monitor package.

Imej: Terperinci view of the monitor, cables, stand, and tools.
2.2 Fizikal Overview dan Sambungan
Familiarize yourself with the monitor's ports and dimensions.

Image: Monitor dimensions and port layout.

Image: Close-up of the monitor's rear panel showing port functions and mounting points.
2.3 Menyambung Monitor
The monitor connects via HDMI for video signal and USB for power and touch functionality. Ensure your device has compatible ports.
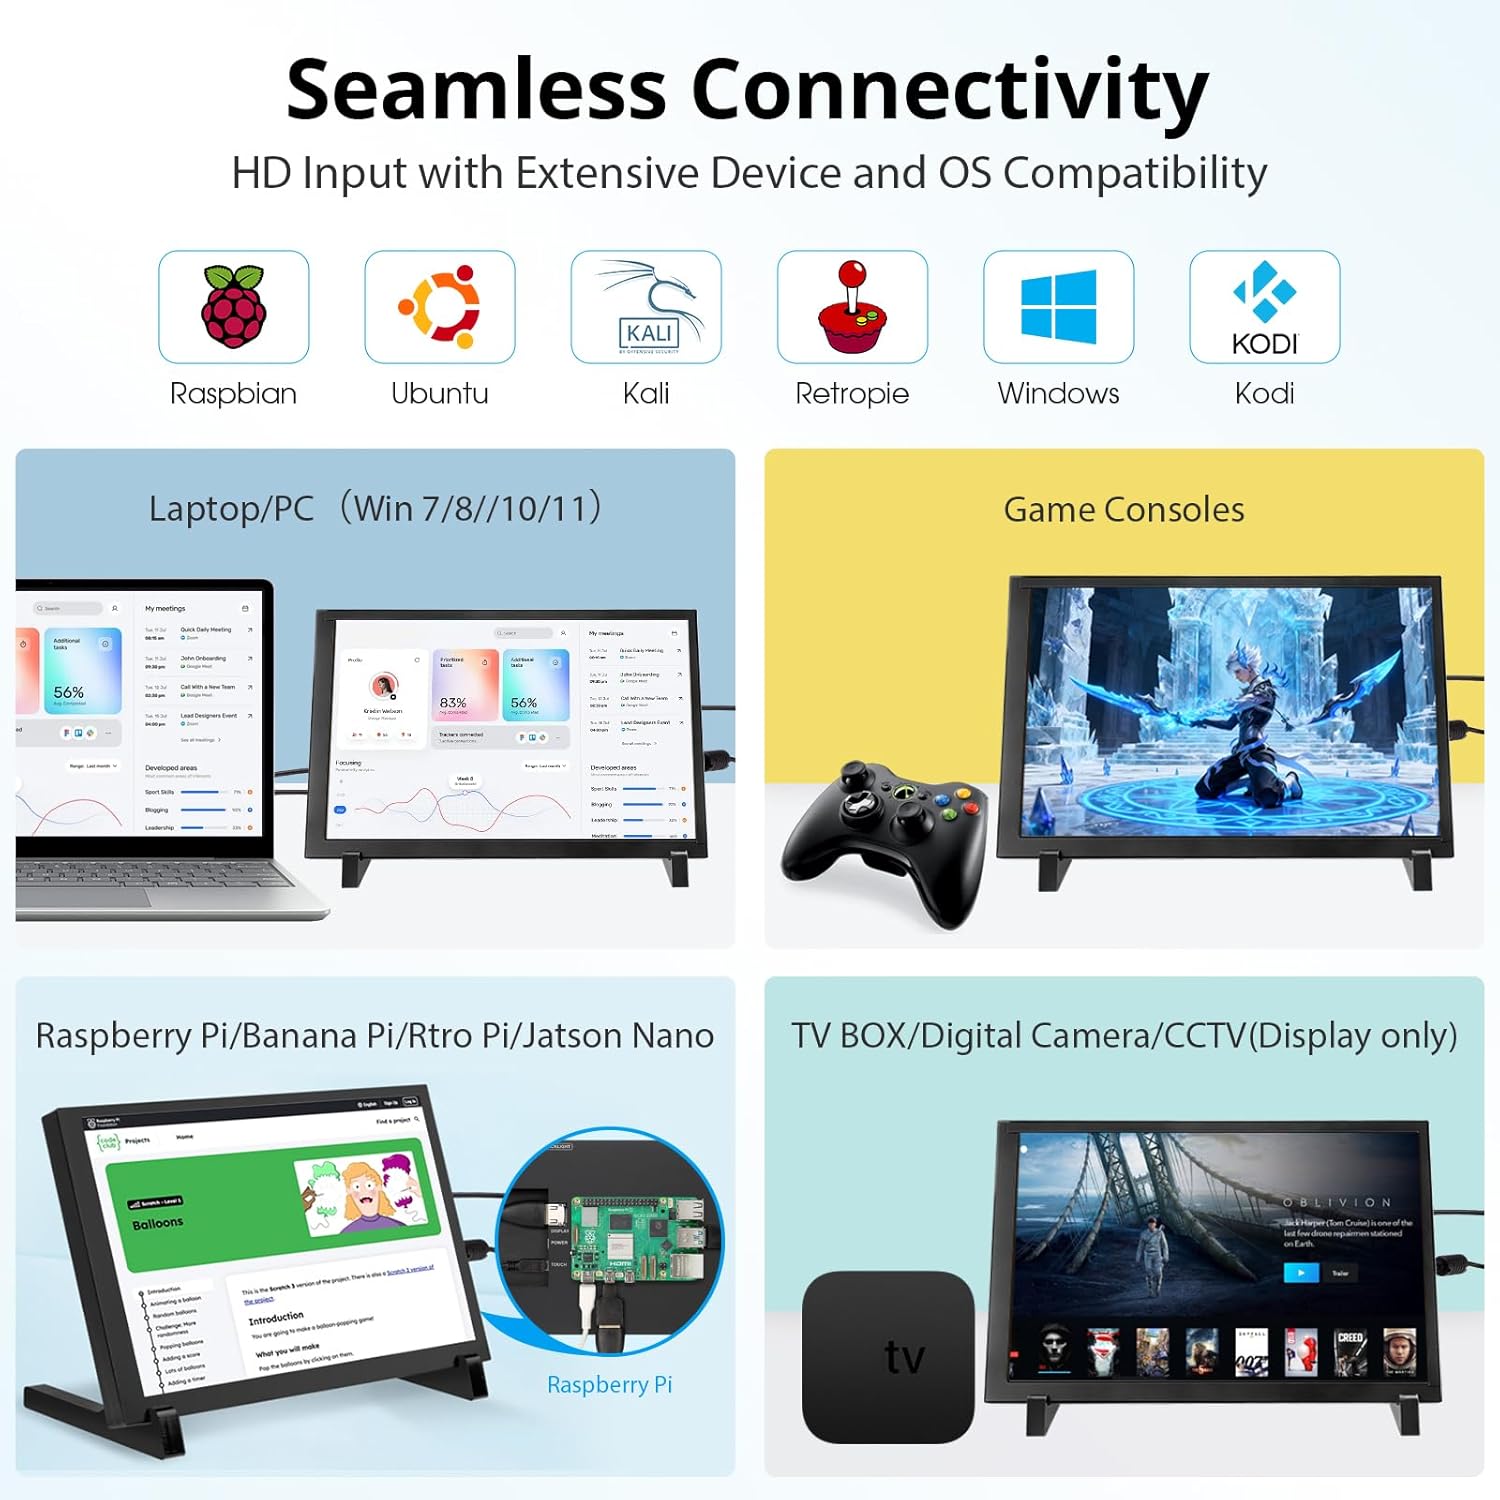
Imej: Selesaiview of compatible devices and operating systems.
2.3.1 Connecting to Raspberry Pi
Connect the monitor to your Raspberry Pi using the provided HDMI cable for video and a USB cable for power and touch. For Raspberry Pi 4/5, use the included HD to Mini HD adapter if necessary. The monitor supports single-point touch on Raspberry Pi OS (Raspbian), Ubuntu, and Kali Linux.

Image: Raspberry Pi connection setup.
2.3.2 Menyambung ke PC/Komputer riba
Connect the monitor to your PC or laptop using an HDMI cable for video and a USB cable for power and touch. The monitor supports 5-point touch on Windows 11/10/8/7 systems.

Image: PC/Laptop connection setup.
2.3.3 Menyambung ke Peranti Lain
The monitor is compatible with Jetson Nano, Banana Pi, Beaglebone, and game consoles. Use appropriate HDMI and USB connections for these devices.

Image: Jetson Nano connection setup.
2.4 Pilihan Pemasangan
The monitor includes a stand for desktop use and features four mounting holes on the back for integration with Raspberry Pi or wall mounting.
2.4.1 Using the Included Stand
Attach the two bracket pieces to the bottom of the monitor to form a stable stand for desktop placement.
2.4.2 Mounting Raspberry Pi Behind the Display
The monitor is designed to allow a Raspberry Pi to be mounted directly behind it, creating a compact setup. Use the provided screws and copper pillars to secure the Raspberry Pi to the designated mounting holes.

Image: Raspberry Pi mounted discreetly behind the display.

Image: Integrated Raspberry Pi and monitor setup.
2.5 Selesai Persediaanview Video
Video: An official ELECROW overview and demonstration of the 10.1 Inch 1280x800 IPS LCD Touchscreen Monitor, showcasing its features and basic setup.
3. Arahan Operasi
3.1 Hidupkan/Mati Kuasa
Once connected to a power source via the USB cable, the monitor will automatically power on. To power off, disconnect the USB power cable. Some operating systems may offer display power management options.
3.2 Kefungsian Skrin Sentuh
The monitor features a capacitive touchscreen. The number of touch points supported depends on the connected operating system:
- Windows (11/10/8/7): Supports 5-point multi-touch.
- Raspberry Pi OS (Raspbian), Ubuntu, Kali Linux, Win10 IoT: Supports single-point touch.

Image: 5-point multi-touch in action.

Image: Multi-touch gestures supported.
3.3 Kualiti Paparan
The 1280x800 IPS LCD panel provides a wide 178-degree viewsudut dan pembiakan warna yang tepat.

Image: Display resolution comparison.

Image: Wide viewing angle demonstration.
3.4 Aplikasi Serbaguna
The monitor can be used for various purposes beyond its primary function with development boards, including:
- As a second monitor for PC/Laptops.
- As a digital photo frame.
- For home monitoring displays (CCTV).
- As a display for gaming consoles.

Imej: Cthamples of versatile display applications.

Image: Monitor used for gaming.

Image: Monitor used for home monitoring.
4. Penyelenggaraan
4.1 Membersihkan Skrin
Untuk membersihkan skrin, lap perlahan-lahan menggunakan kain lembut dan tidak berbulu. Untuk kotoran degil, lap sedikitampen the cloth with water or a screen-safe cleaning solution. Avoid using harsh chemicals, abrasive materials, or excessive moisture, as these can damage the screen surface.
4.2 Penjagaan Am
- Jauhkan monitor daripada cahaya matahari langsung, sumber haba dan suhu yang melampau.
- Elakkan menjatuhkan atau mendedahkan monitor kepada hentaman yang kuat.
- Do not attempt to disassemble the monitor. Unauthorized disassembly will void the warranty.
- Pastikan pengudaraan yang betul semasa digunakan.
5. Penyelesaian masalah
5.1 Tiada Paparan / Skrin Hitam
- Semak Kuasa: Ensure the monitor is receiving power via the USB cable and the power source is active.
- Check HDMI Connection: Verify that the HDMI cable is securely connected to both the monitor and the source device. Try a different HDMI cable if available.
- Source Device Output: Confirm that your source device (e.g., Raspberry Pi, PC) is configured to output video to the connected HDMI port.
- Keserasian Resolusi: Ensure the source device's output resolution is compatible with the monitor (1280x800).
5.2 Fungsi Sentuh Tidak Berfungsi
- Check USB Touch Connection: Ensure the USB cable for touch functionality is securely connected from the monitor's 'TOUCH' port to a USB data port on your source device.
- Pemasangan Pemandu: For some operating systems (especially Linux distributions), specific drivers or configuration might be required for touch input. Refer to the documentation for your specific OS and device (e.g., Raspberry Pi documentation for touchscreen setup).
- Keserasian OS: Confirm your operating system supports touch input with this monitor. Windows systems generally offer multi-touch, while Linux-based systems often require specific setup for single-touch.
5.3 Isu Kualiti Imej
- Kualiti Kabel: A faulty HDMI cable can cause image distortion or flickering. Try a different cable.
- Resolusi Sumber: Ensure the source device is outputting at the monitor's native resolution (1280x800) for optimal clarity.
6. Spesifikasi
| Ciri | Spesifikasi |
|---|---|
| Jenama | ELEKTRIK |
| Nama Model | DIS85101D |
| Saiz Skrin | 10.1 inci |
| Resolusi | 1280x800 |
| Resolusi Asli | 1280x800 piksel |
| Nisbah Aspek | 16:10 |
| Jenis Paparan | LCD |
| Teknologi Paparan | IPS |
| Penerangan Permukaan Skrin | Berkilat |
| Nisbah Kontras | 2000:1 |
| Kadar Segar Semula | 60 Hz |
| Viewsudut | 178 darjah |
| Kecerahan | 250 cd/m² |
| Masa Tindak Balas | 8 milisaat |
| Teknologi Ketersambungan | HDMI, USB |
| Jumlah Port HDMI | 1 |
| Jumlah Port USB | 2 (Micro USB for power, Micro USB for touch/power) |
| Penggunaan Kuasa | 5.29 watt |
| Voltage | 5 volt |
| Berat Barang | 521 g |
| Dimensi Item (D x W x H) | 1.6"D x 6.2"W x 9.4"H |
| Jenis Pemasangan | Desk Mount, Wall Mount (4 mounting holes) |
| Peranti Serasi | Raspberry Pi 3/3B+/4B/5, Jetson Nano, Banana Pi, Beaglebone, PC (Windows, Linux, Ubuntu) |
7. Maklumat Waranti
This ELECROW 10.1 Inch Touchscreen Monitor comes with a Waranti Pengeluar 1 Tahun. Please retain your proof of purchase for warranty claims. The warranty covers defects in materials and workmanship under normal use. It does not cover damage caused by misuse, accidents, unauthorized modifications, or improper installation.
8. Sokongan Pelanggan
For technical assistance, troubleshooting not covered in this manual, or warranty inquiries, please contact ELECROW customer support through the retailer where you purchased the product or visit the official ELECROW webtapak untuk maklumat hubungan.