
1. Pengenalan
This manual provides detailed instructions for the proper use and maintenance of your CAMMHD D1 Body Camera. Please read this manual thoroughly before operating the device to ensure correct functionality and to prevent damage.
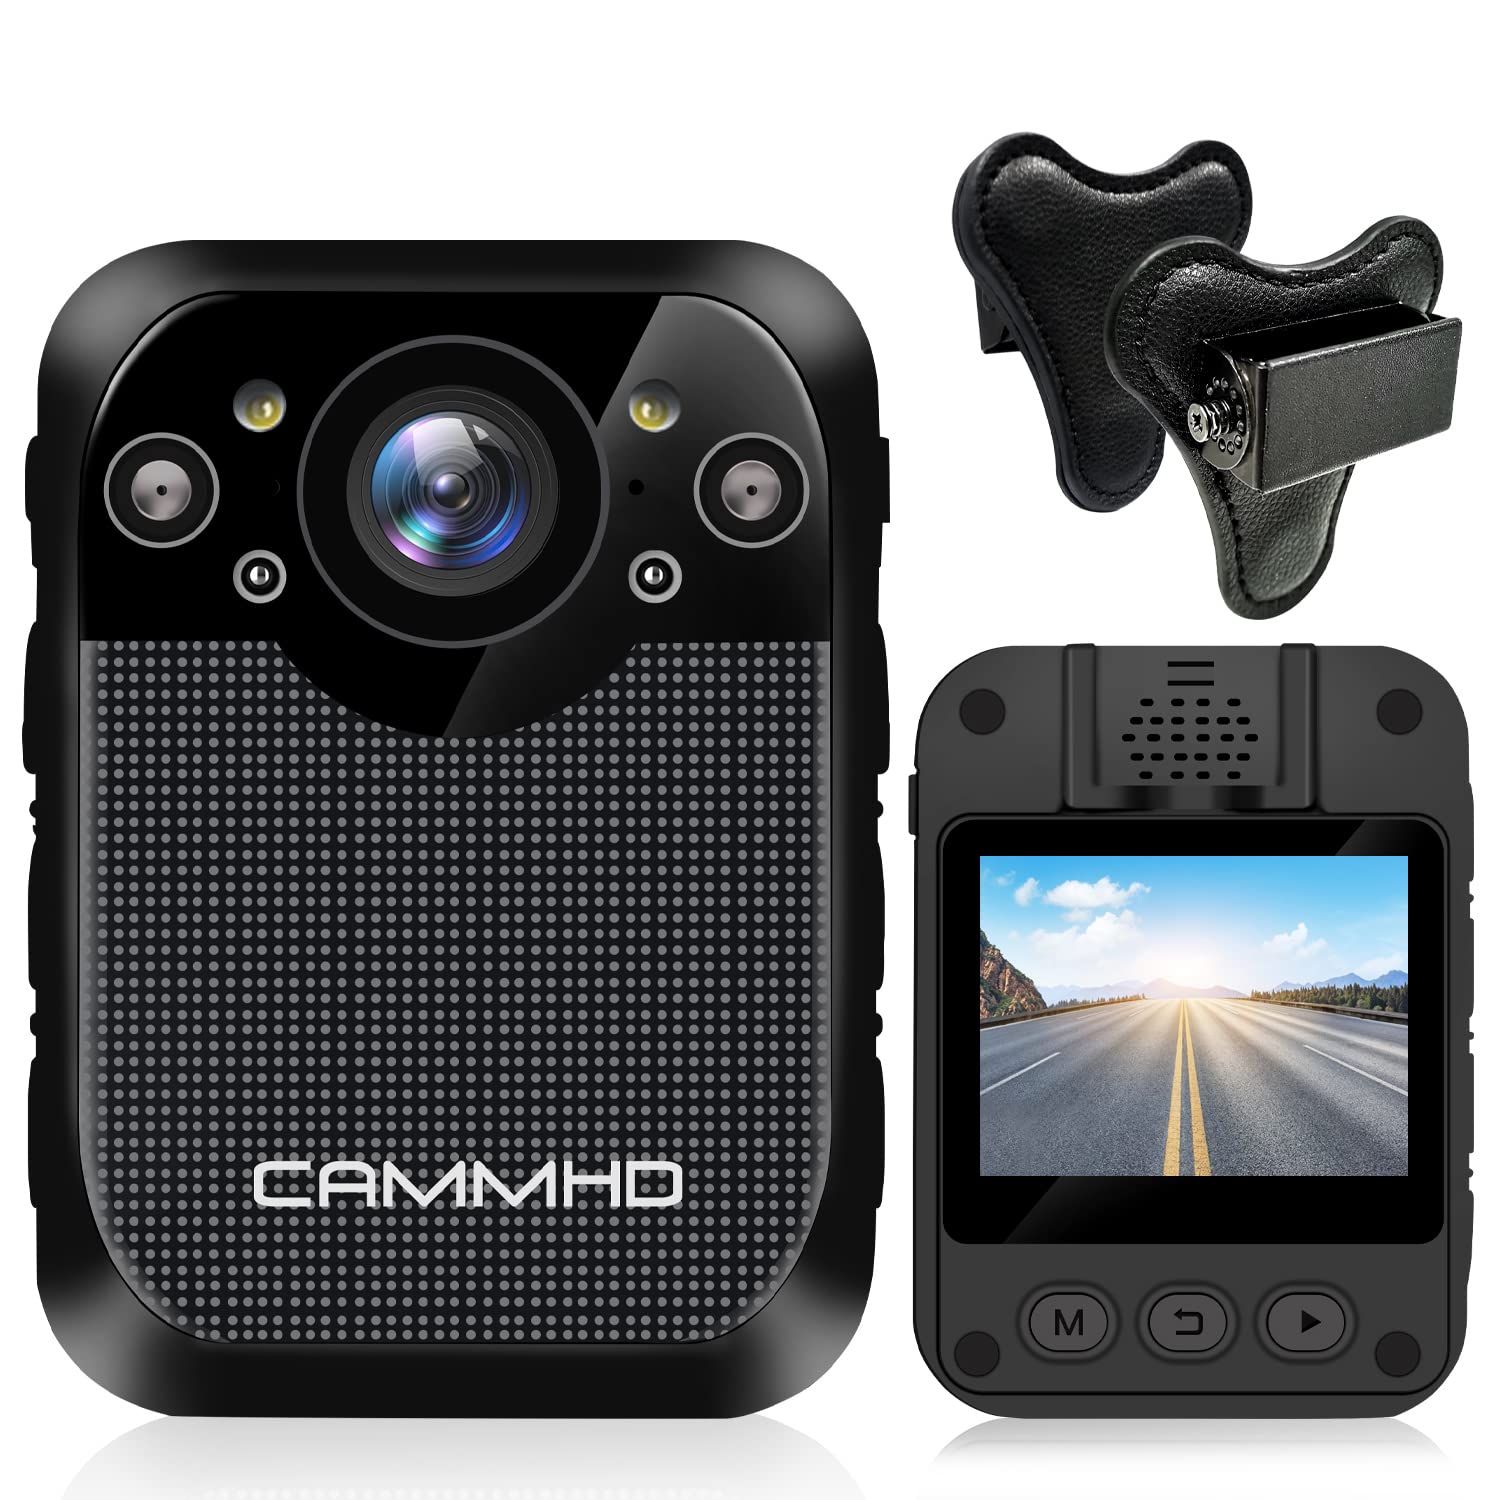
Imej: Depan view of the CAMMHD D1 Body Camera.
2. Kandungan Pakej
Sahkan bahawa semua item yang disenaraikan di bawah disertakan dalam pakej anda. Jika ada item yang hilang atau rosak, sila hubungi sokongan pelanggan.
- CAMMHD D1 Body Camera
- Magnet Mount
- Pengecas USB
- Kabel USB
- 360° Rotating Shoulder Clip
- Manual Pengguna

Image: All components included in the CAMMHD D1 Body Camera package.
3. Produk Lebihview
Familiarize yourself with the camera's buttons and ports.

Image: Labeled diagram of the CAMMHD D1 Body Camera's external features and controls.
- Butang Penggera
- Kilat Merah dan Biru
- Butang Video
- Night Vision Indicator
- Lampu LED
- Antaramuka USB
- Butang Foto
- Butang Audio
- Butang Hidup/Mati Kuasa
4. Persediaan
4.1 Mengecas Bateri
Before first use, fully charge the camera's built-in 3000mAh lithium battery. Connect the camera to the USB charger using the provided USB cable. A full charge typically takes approximately 3 hours. The camera can record for up to 8 hours (at 1080p resolution) on a full charge.

Image: Visual representation of the camera's 3000mAh battery, 8-hour recording capability, and 3-hour charging time.
4.2 Memasang Kamera
The CAMMHD D1 Body Camera comes with a magnet mount and a 360° rotating shoulder clip for secure attachment.
Using the Magnet Mount:
The magnet mount allows for flexible positioning and angle adjustment.

Image: The adjustable 45-degree angle clips for the body camera mount.
Attaching with the Shoulder Clip:
Follow these steps to attach the camera using the shoulder clip:
- Separate the two parts of the clip.
- Insert the body camera into the 'outside' clip.
- Place the 'inside' clip under your clothing.
- Adjust the screw to set the desired recording angle.

Image: Step-by-step instructions for attaching the body camera with the shoulder clip.
5. Arahan Operasi
5.1 Hidupkan/Mati Kuasa
- Hidupkan kuasa: Press and hold the Power On/Off button (9) until the screen illuminates.
- Matikan: Press and hold the Power On/Off button (9) until the device shuts down.
5.2 Rakaman Video
The camera supports 1296P HD video resolution with a 160° wide-angle lens.
- Mulakan Rakaman: Press the Video button (3) once to begin video recording. A red indicator light will typically flash.
- Hentikan Rakaman: Press the Video button (3) again to stop recording.

Image: The camera's display indicating 1296P Full HD video recording capability.
5.3 Tangkapan Foto
- Ambil Foto: Press the Photo button (7) once to capture a still image.
5.4 Rakaman Audio
- Start Audio Recording: Press the Audio button (8) once to begin audio-only recording.
- Stop Audio Recording: Press the Audio button (8) again to stop audio recording.
5.5 Penglihatan Malam
The camera features automatic infrared night vision with 4 infrared lamps, capable of capturing clear footage up to 10 meters (32 feet) in low-light conditions.
- Pengaktifan Automatik: Night vision activates automatically in low light.
- Pengaktifan Manual: You can also press the Night Vision button (4) to manually toggle infrared night vision.

Image: Demonstration of the camera's automatic infrared night vision capability.
5.6 Rakaman Gelung
The camera includes 32GB of internal memory. When the memory capacity is reached, the camera automatically overwrites the oldest files untuk meneruskan rakaman.

Image: Explanation of loop recording and the camera's 32GB internal storage.
5.7 Main semula dan File Pemindahan
- Main Balik Pada Peranti: Use the camera's 2-inch display and navigation buttons to review video dan foto yang dirakam.
- Computer Playback/Transfer: Connect the camera to a computer using the USB cable. The camera will appear as a removable disk, allowing you to transfer files.
6. Penyelenggaraan
- Pembersihan: Use a soft, dry cloth to clean the camera body. For the lens, use a specialized lens cleaning cloth. Do not use harsh chemicals or abrasive materials.
- Storan: Simpan kamera di tempat yang sejuk dan kering jauh dari cahaya matahari langsung dan suhu yang melampau.
- Penjagaan Bateri: Untuk memanjangkan hayat bateri, elakkan daripada menyahcas sepenuhnya bateri dengan kerap. Cas kamera dengan kerap, walaupun tidak digunakan untuk tempoh yang lama.
7. Penyelesaian masalah
| Masalah | Kemungkinan Punca | Penyelesaian |
|---|---|---|
| Kamera tidak dihidupkan. | Low battery or faulty battery. | Charge the camera for at least 3 hours. If the issue persists, contact support. |
| Cannot record video/photo. | Memory full or recording error. | Ensure loop recording is enabled or transfer files to free up space. Restart the camera. |
| Kualiti video yang lemah pada waktu malam. | Night vision not active or insufficient ambient light for IR. | Ensure night vision is enabled (auto or manual). Ensure no obstructions block the IR lamps. |
| Kamera tidak bertindak balas. | Gangguan perisian. | Press and hold the Power On/Off button for 10-15 seconds to force a restart. |
8. Spesifikasi
| Ciri | Perincian |
|---|---|
| Model | D1 |
| Resolusi Tangkapan Video | 1296p, 1080p, 720p |
| Piksel Foto | Pekel 34 Million |
| Kanta Sudut Lebar | 160° |
| Kapasiti Bateri | Bateri Litium 3000mAh |
| Masa Rakaman | Up to 8 hours (1080p) |
| Masa Mengecas | lebih kurang 3 jam |
| Memori Dalaman | 32GB (Built-in) |
| Julat Penglihatan Malam | Sehingga 10m (32 kaki) |
| Saiz Skrin | 2 Inci |
| Tahap Ketahanan Air | Kalis air |
| Ciri Khas | Motion Detection, Night Vision, Portable |
| Teknologi Ketersambungan | Tanpa wayar |
| Penstabilan Imej | Dinamik |
| Jenis Fokus | Fokus Manual |
9. Waranti dan Sokongan
For warranty information or technical support, please refer to the contact details provided with your purchase documentation or visit the official CAMMHD webtapak. Sila simpan bukti pembelian anda untuk tuntutan waranti.