
pengenalan
The LOOK Keo 2 Max Vision Pedals are designed for road cycling, offering enhanced visibility through integrated lighting, efficient power transfer, and adjustable tension. This manual provides instructions for the proper installation, operation, and maintenance of your pedals to ensure optimal performance and safety.
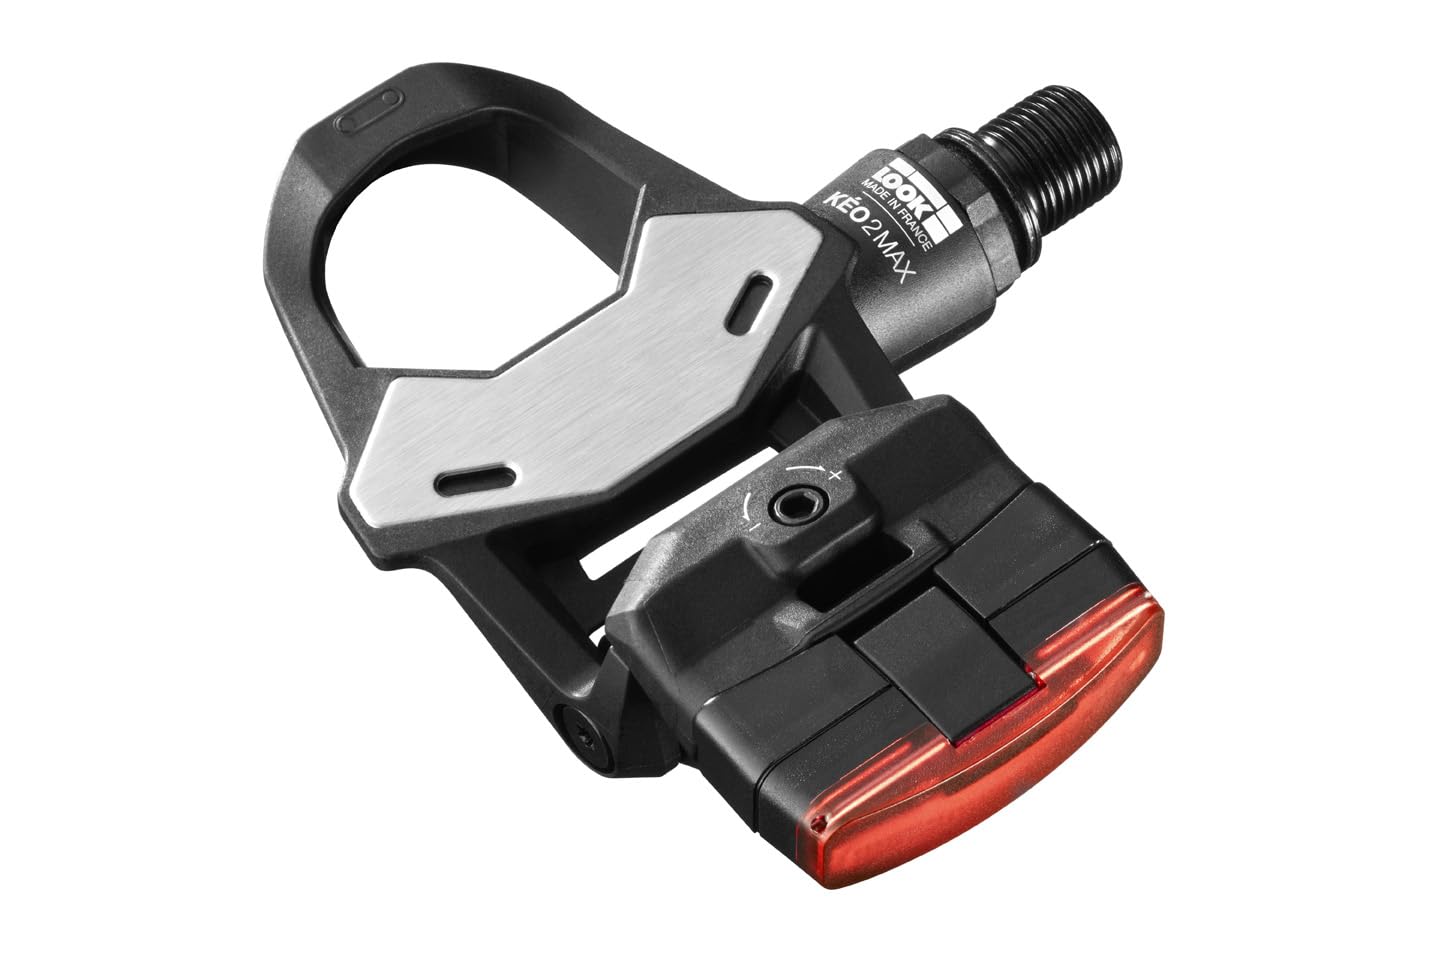
Imej: Bersudut view of a single LOOK Keo 2 Max Vision pedal, highlighting the integrated red light at the rear.
Ciri-ciri utama termasuk:
- Pencahayaan Bersepadu: Dual lights for increased visibility up to 1 km, with up to 40 hours of battery autonomy.
- Maximum Power Transfer: A 500 mm² stainless steel surface ensures efficient power transmission.
- Pembinaan Tahan Lama: Chromoly+ spindle for enhanced strength and longevity.
- Ketegangan boleh laras: Cleat retention tension can be adjusted between 8 and 12.
- Tahan Air: IPX7 rated for reliable performance in various weather conditions.
Persediaan
This section details the installation process for your LOOK Keo 2 Max Vision Pedals.
Apa yang ada dalam Kotak
Your package includes the pedals and this instruction manual.

Image: All components of the LOOK Keo 2 Max Vision Pedals package, including the pedals, cleat covers, mounting hardware, and USB charging cable.
Pemasangan Pedal
- Pastikan lengan engkol anda bersih dan bebas daripada serpihan.
- Identify the left (L) and right (R) pedals. The right pedal has a standard thread, and the left pedal has a reverse thread.
- Sapukan sedikit gris pada benang pedal.
- Thread the right pedal clockwise into the right crank arm.
- Thread the left pedal counter-clockwise into the left crank arm.
- Tighten both pedals securely using an appropriate pedal wrench. Do not overtighten.
Light Module Installation and Charging
The light modules are designed for plug-and-play installation.

Image: A visual guide demonstrating the simple snap/push fastening system for integrating the light module into the pedal.
- Align the light module with the designated slot on the pedal body.
- Gently push until it clicks into place, ensuring a secure fit.
- To charge the lights, connect the provided USB cable to the charging port on each light module and to a USB power source.
- A full charge provides up to 40 hours of autonomy.

Imej: Dari dekat view of the charging connections for the integrated pedal lights.
Arahan Operasi
Understand how to use your Keo 2 Max Vision Pedals effectively.
Integrated Light Operation
The integrated lights enhance your visibility on the road.

Image: A close-up of the control button on the Keo 2 Max Vision pedal, used to turn the lights on/off and change modes.
- Hidupkan/Mati Kuasa: Press and hold the button on the light module to turn the lights on or off.
- Pemilihan Mod: Short press the button to cycle through different lighting modes (e.g., steady, flashing).
- Penunjuk Bateri: A small LED indicator on the module shows the battery level.

Image: A detailed diagram highlighting the features of the integrated light module, including its fastening system, LED output, control button, and battery indicator.
Cleat Engagement and Release
The Keo 2 Max Vision pedals use a clipless system. Ensure your cleats are properly installed on your cycling shoes.
- Pertunangan: Position the front of your cleat over the front of the pedal mechanism, then push down firmly with your heel until you hear a click.
- Keluaran: To disengage, twist your heel outwards away from the bicycle.
Adjustable Tension
The cleat retention tension can be adjusted to suit your preference and riding style.
- Locate the tension adjustment screw on the rear of the pedal body.
- Use an Allen key to turn the screw: turn clockwise to increase tension (harder release) or counter-clockwise to decrease tension (easier release).
- The tension range is between 8 and 12. Adjust both pedals equally.
Video: Official LOOK CYCLE video demonstrating the features and use of the Look Keo Vision Pedals.
Penyelenggaraan
Regular maintenance ensures the longevity and optimal performance of your pedals.
- Pembersihan: Regularly clean your pedals with a damp cloth to remove dirt and road grime. Avoid using harsh chemicals.
- Pelinciran: Periodically apply a small amount of bicycle-specific grease to the pedal axles and cleat retention mechanism to ensure smooth operation and prevent corrosion.
- Pemeriksaan: Routinely check the pedals for any signs of wear, damage, or loose components. Pay attention to the spindle, pedal body, and light modules.
- Cleat Condition: Inspect your cleats regularly for wear. Worn cleats can affect engagement and release, and should be replaced.
Menyelesaikan masalah
This section addresses common issues you might encounter with your pedals.
- Lampu Tidak Berfungsi: Ensure the light modules are fully charged. Check that they are securely installed in the pedal body. If issues persist, contact customer support.
- Difficulty Engaging/Releasing: Check your cleat tension settings. If tension is too high, decrease it. Ensure cleats are clean and not excessively worn. Lubricate the pedal mechanism if necessary.
- Bunyi Luar Biasa: Inspect pedals for loose parts. Ensure pedals are securely tightened to the crank arms. Clean and lubricate moving parts.
Spesifikasi
| Ciri | Perincian |
|---|---|
| Jenama | LIHAT |
| Nombor Model | 25988 |
| Jenis Basikal | Basikal Jalan Raya |
| bahan | Unisex Adults Compound |
| Spindle Material | Chromoly+ |
| Contact Surface Area | 500 mm² |
| Adjustable Tension | 8 hingga 12 |
| Light Visibility | Sehingga 1 km |
| Light Autonomy | Sehingga 40 jam |
| Tahan Air | IPX7 |
| Komponen yang Disertakan | Pedals, Manual |
Waranti dan Sokongan
LOOK Cycle products are manufactured to high standards and come with a manufacturer's warranty. For specific warranty details, please refer to the documentation included with your purchase or visit the official LOOK Cycle webtapak.
For technical support, spare parts, or any other inquiries, please contact LOOK Cycle customer service through their official channels. Keep your proof of purchase for warranty claims.