
1. Pengenalan
This manual provides detailed instructions for the safe and effective operation of your VANPO Digital Torque Screwdriver, Model VP027. This precision instrument is designed for accurate torque management in various applications, including electronics, machinery, and precision equipment. Please read this manual thoroughly before use and retain it for future reference.

Image 1.1: The VANPO Digital Torque Screwdriver, its assortment of screwdriver bits, and the protective storage case.
2. Apa yang ada di dalam Kotak
Selepas membuka pakej, sahkan bahawa semua komponen ada:
- 1x VANPO Digital Torque Screwdriver (Model VP027)
- 20x Screwdriver Bits (S2 material)
- 2x Bateri AAA
- 1x Auxiliary Screwdriver (for battery compartment)
- 1x Product Manual (this document)
- 1x Protective Case Box
3. Ciri-ciri Utama
- Pengukuran Tepat: Digital display with an accuracy of ±2%. Supports four measurement units: N-m, kgf-cm, lbf-ft, and lbf-in.
- Value Memory: Features 6 preset modes for commonly used torque values. In PEAK mode, it automatically records torque data, storing up to 500 sets for review.
- Quick Release Design: The ratchet head incorporates a quick-release mechanism for efficient bit changes and secure retention. Includes 20 S2 screwdriver bits.
- Makluman Boleh Didengar dan Visual: Provides a buzzer sound and LED indicator (red/green lights) to notify when approaching or reaching the preset torque, preventing under-tightening or over-tightening.
- Pembinaan Tahan Lama: The screwdriver head is made from hardened chrome vanadium steel. The handle is designed for comfortable grip, and the screen is robust.
4. Persediaan
4.1. Pemasangan Bateri
- Locate the battery compartment cover at the base of the handle.
- Use the auxiliary screwdriver to loosen the screw securing the battery cover.
- Remove the cover and insert two AAA batteries, ensuring correct polarity (+/-).
- Pasang semula penutup bateri dan ketatkan skru.

Image 4.1: Illustration of the battery installation process, showing the compartment, batteries, and auxiliary screwdriver.
4.2. Pemasangan Bit
- Pilih bit pemutar skru yang sesuai untuk tugas anda.
- Insert the bit into the quick-release chuck at the end of the screwdriver.
- Ensure the bit is fully seated and securely held by the chuck.

Image 4.2: The quick-release mechanism allows for easy and secure insertion of screwdriver bits.
5. Arahan Operasi
5.1. Hidupkan/Mati Kuasa
- Untuk menghidupkan, tekan butang U butang.
- The device will automatically power off after 5 minutes of inactivity to conserve battery.
5.2. Pemilihan Unit
The screwdriver supports four measurement units: N-m, kgf-cm, lbf-ft, and lbf-in.
- Tekan ke M butang untuk mengitari unit yang tersedia.
- Select the desired unit for your application.

Image 5.1: The digital display clearly shows the selected measurement unit and torque value.
5.3. Setting Torque Value
- Gunakan ^ (Naik) dan v (Down) buttons to adjust the target torque value.
- The value will increase or decrease with each press. Hold the button for faster adjustment.
5.4. Track Mode vs. Peak Mode
The screwdriver offers two operational modes:
- Mod Trek: Displays the real-time torque value as it is applied. The display resets when the torque is removed.
- Mod Puncak: Captures and displays the maximum torque value achieved during the tightening process. This value remains on the screen until cleared.
- Untuk bertukar antara mod, tekan butang U button for 1 second to enter "Mode". Then press U again to enter the Peak/Track change mode. Use ^ or v to toggle, then press U untuk mengesahkan.
- To clear the peak torque value in Peak Mode, press the C butang.

Image 5.2: The display differentiates between real-time torque (Track) and maximum torque (Peak) readings.
5.5. Preset Modes (M1-M6) and Data Storage
The device allows for storing up to 6 preset torque values and records up to 500 sets of data in Peak mode.
- Tetapan Pratetap: The manual states that changing the torque value with the up or down button automatically stores the new value in the currently selected preset register. To access different preset registers (M1-M6), refer to the detailed instructions in the included product manual.
- Ingat Data: In "Mode" (press U for 1 second), select "Dat" mode using ^ or v, kemudian tekan U untuk masuk. guna ^ or v to browse stored data points.

Image 5.3: The screwdriver supports multiple preset torque values and extensive data storage.
5.6. Buzzer and LED Indicators
The device provides feedback during operation:
- When the applied torque reaches 85%-90% of the preset value, the LED lights will flash green, and a short beep will sound.
- When the applied torque reaches 100% of the preset value, the LED lights will flash red, and a continuous long beep will sound.
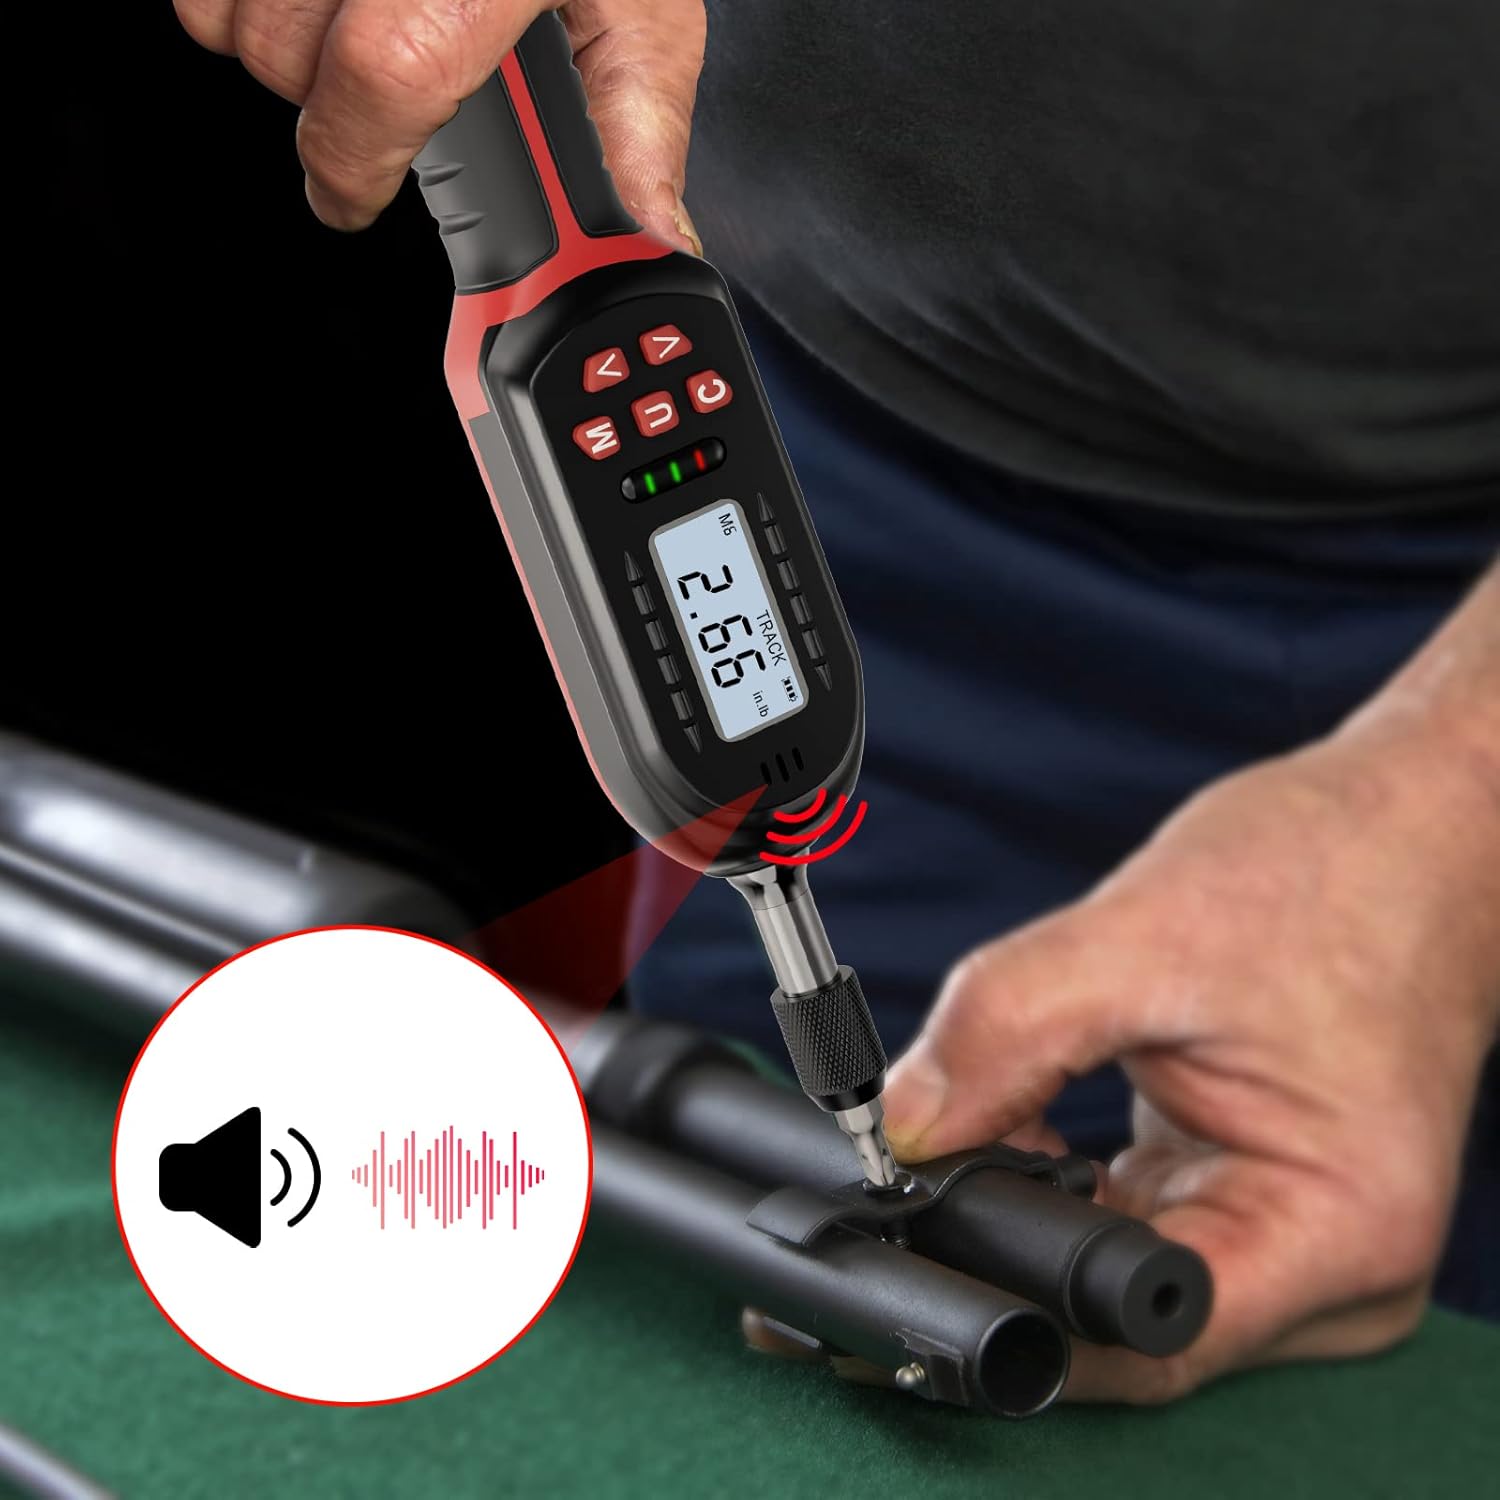
Image 5.4: Visual and audible alerts guide the user to achieve the correct torque.
5.7. Fungsi Kunci
To prevent accidental changes to settings, the device features a lock function.
- Tekan dan tahan butang U button for approximately 3 seconds to lock or unlock the settings. A lock icon will appear/disappear on the display.

Image 5.5: The lock icon confirms that the current settings are protected from unintended modifications.
6. Penyelenggaraan
- Pembersihan: Wipe the screwdriver with a soft, dry cloth. Do not use abrasive cleaners or solvents.
- Storan: Store the screwdriver and bits in the provided protective case in a dry, cool environment away from direct sunlight and extreme temperatures.
- Penggantian Bateri: Gantikan bateri apabila penunjuk bateri rendah muncul pada paparan. Sentiasa gunakan bateri alkali AAA yang baharu.
- Penentukuran: For continued accuracy, periodic calibration by a qualified service center is recommended.

Image 6.1: Proper storage in the case helps protect the tool and ensures its longevity, aided by automatic sleep mode.
7. Penyelesaian masalah
- Peranti tidak dihidupkan:
- Periksa sama ada bateri dipasang dengan betul dengan polariti yang betul.
- Gantikan dengan bateri AAA baharu.
- Bacaan tidak tepat:
- Ensure the correct measurement unit is selected.
- Verify the bit is fully seated in the chuck.
- Consider professional calibration if accuracy issues persist.
- Buzzer/LED not activating:
- Confirm the target torque value is set correctly and within the device's range.
- Periksa tahap bateri.
- Difficulty with battery compartment cover:
- Ensure the cover is aligned precisely before attempting to close and screw it in. Avoid forcing it to prevent damage.
8. Spesifikasi
| Spesifikasi | Perincian |
|---|---|
| Nombor Model | VP027 |
| Julat Tork | 2.66-53.1 in-lbs / 0.3-6 Nm |
| Ketepatan | ±2% (Clockwise) |
| Unit Pengukuran | N-m, kgf-cm, lbf-ft, lbf-in |
| Paparan | LCD Digital |
| Penyimpanan Data | Up to 500 sets (Peak Mode) |
| Mod Pratetap | 6 kumpulan |
| Sumber Kuasa | 2x AAA Batteries (Alkaline) |
| Pemadaman Automatik | 5 minit tidak aktif |
| bahan | Chrome Vanadium Steel (head), Metal (body) |
| Berat Barang | 0.93 Kilogram / 2.05 paun |
| Panjang Item | 14 Inci |
9. Waranti dan Sokongan
VANPO products are manufactured to high-quality standards. For warranty information, technical support, or service inquiries, please refer to the contact details provided with your purchase documentation or visit the official VANPO webtapak. Simpan bukti pembelian anda untuk tuntutan waranti.