
1. Pengenalan
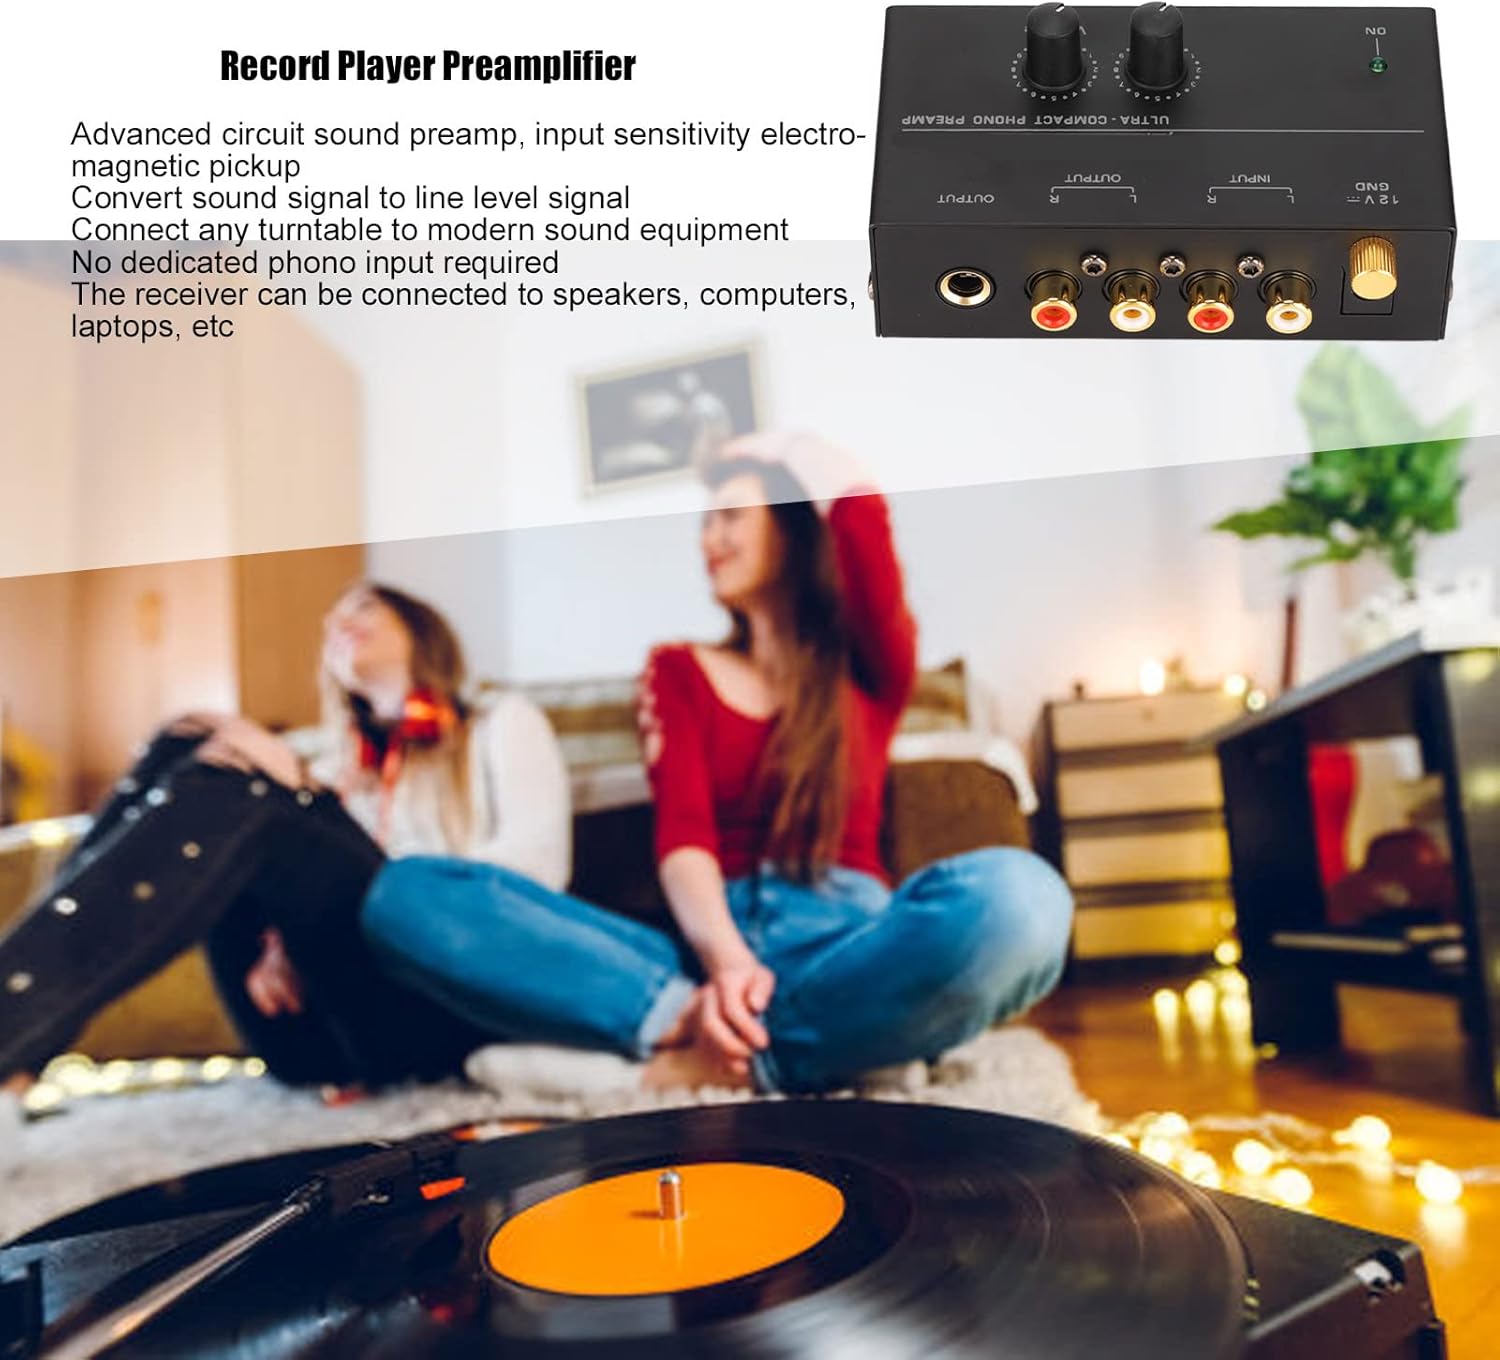
The Dilwe PP500 Phono Turntable Preamplifier is designed to convert a phono signal to a line-level signal, enabling connection of a turntable to modern audio equipment that lacks a dedicated phono input. This device features low-noise operation and adjustable gain for optimal sound performance.
2. Produk Lebihview
The PP500 is a compact phono preamplifier featuring stereo RCA input and output, a ground terminal, and adjustable level and volume controls. It is powered by a DC 12V adapter.
Imej 2.1: Depan view of the Dilwe PP500 Phono Turntable Preamplifier, highlighting its compact design and controls.
Ciri-ciri Utama:
- Mudah Digunakan: Features a DC 12V power adapter and gain adjustment on input and output for optimal volume.
- Bunyi Rendah: Provides excellent sound performance with an output of 2V (PP) maximum at 10K ohms.
- Sensitive Input: Converts phono signals to line-level with input sensitivity for electromagnetic pickups.
- Aplikasi luas: Connects any turntable to modern sound equipment (speakers, computers, laptops) without a dedicated phono input.
- Pasang dan Main: Stereo input and output for easy connection of turntables to input and ground, and preamp to receiver output.
3. Maklumat Keselamatan
- Pastikan penyesuai kuasa serasi dengan vol tempatan andatage.
- Jangan dedahkan peranti kepada air atau kelembapan berlebihan.
- Elakkan meletakkan peranti berhampiran sumber haba atau di bawah cahaya matahari langsung.
- Jangan cuba membuka atau membaiki peranti ini sendiri. Rujuk kepada kakitangan yang berkelayakan.
- Jauhkan daripada kanak-kanak.
4. Kandungan Pakej
Sila tandai kotak untuk item berikut:
- 1 x Dilwe PP500 Phono Preamp
- 1 x Penyesuai Kuasa 12V DC
- 1 x Manual Pengguna (dokumen ini)
- kabel RCA

Image 4.1: The Dilwe PP500 Preamplifier shown with its included power adapter.
5. Persediaan
Follow these steps to connect your Dilwe PP500 Phono Turntable Preamplebih hidup:
- Connect Turntable to Input: Use RCA cables to connect the output of your turntable to the INPUT (L/R) jacks on the PP500 preamplebih hidup.
- Sambungkan Wayar Tanah: Attach the ground wire from your turntable to the GND terminal on the PP500. This helps reduce hum and noise.
- Connect Preamp to Receiver/Amplebih hidup: Use RCA cables to connect the OUTPUT (L/R) jacks of the PP500 to a line-level input (e.g., AUX, CD, TAPE) on your receiver, amplifier, powered speakers, computer, or laptop. Do not connect to a phono input on your receiver, as this will result in distorted sound.
- Sambungkan Penyesuai Kuasa: Plug the DC 12V power adapter into the 12V power input jack on the PP500, then plug the adapter into a wall outlet. The 'ON' indicator light should illuminate.

Image 5.1: The PP500 Preamplifier showing its input, output, and ground connections for easy setup.

Imej 5.2: Terperinci view of the rear panel connections on the PP500, including RCA inputs, outputs, ground terminal, and power input.
6. Arahan Operasi
Once all connections are made and the unit is powered on, you can begin playing your records.
- Hidupkan kuasa: Ensure the 'ON' indicator light is illuminated.
- Laraskan Tahap: Gunakan TINGKAT knob to adjust the input gain. This helps match the output level of your turntable to the preamplifier's input for optimal signal quality.
- Laraskan Kelantangan: Gunakan JILID knob to control the overall output volume of the preamplifier. Adjust this in conjunction with your receiver/ampkawalan kelantangan liifier.
- Peletakan Optimum: For best results and to minimize unwanted noise and interference, place the preamplifier as close as possible to your turntable.

Imej 6.1: Jarak dekat view of the Level and Volume control knobs, allowing fine-tuning of audio output.

Image 6.2: The PP500 Preamplifier emphasizing its dual gain adjustment and low noise operational amplifier for excellent sound.
7. Penyelenggaraan
- Pembersihan: Gunakan kain lembut dan kering untuk membersihkan bahagian luar unit. Jangan gunakan pembersih cecair atau pelarut.
- Storan: When not in use for extended periods, disconnect the power adapter and store the unit in a cool, dry place.
- Pengudaraan: Pastikan pengudaraan yang betul di sekeliling unit untuk mengelakkan terlalu panas.
8. Penyelesaian masalah
- Tiada Bunyi:
- Check all cable connections (turntable to preamp, praamp to receiver, power adapter).
- Ensure the PP500 is powered on (green 'ON' light illuminated).
- Verify the input selection on your receiver/amplifier is set to the correct input connected to the PP500.
- Adjust the LEVEL and VOLUME knobs on the PP500 and the volume on your receiver/amplebih hidup.
- Hum atau Bunyi:
- Ensure the turntable's ground wire is securely connected to the GND terminal on the PP500.
- Try moving the PP500 away from other electronic devices that might cause interference.
- Check for loose or damaged RCA cables.
- Bunyi Herot:
- Ensure the PP500 is connected to a line-level input (e.g., AUX, CD) on your receiver, not another phono input. Connecting to a phono input will result in over-amppengubahsuaian dan penyelewengan.
- Adjust the LEVEL and VOLUME knobs on the PP500 to prevent signal clipping.
- Only One Channel Working:
- Check the RCA cable connections for both left (L) and right (R) channels from the turntable to the preamp, and from the preamp to the receiver. Ensure they are fully inserted and not damaged.
- Test with different RCA cables if possible.
- Keserasian:
- The PP500 is designed for record player systems. It cannot be connected to any other music system that does not output a phono-level signal.
9. Spesifikasi
| Ciri | Spesifikasi |
|---|---|
| Jenis Item | Phono Praamp |
| bahan | logam |
| warna | Hitam |
| Nama Model | PP500 |
| Skop Permohonan | Record Player Systems |
| Keluaran Voltage (Maksimum) | 2V (PP) at 10K ohms |
| Bekalan Kuasa | Penyesuai DC 12V |
| Ciri Khas | Dapatkan Pelarasan |
| Komponen yang Disertakan | kabel RCA |
| Dimensi Pakej | 5.91 x 3.66 x 3.62 inci |
| Berat Barang | 10.9 auns |
| Peranti Serasi | Penceramah, Amplifiers, Computers, Laptops |
10. Waranti dan Sokongan
Maklumat Waranti: Please refer to the retailer or manufacturer's official website for specific warranty details and terms of service.
Sokongan Teknikal: For technical assistance or further inquiries, please contact Dilwe customer service through their official channels or the retailer where the product was purchased.