
1. Pengenalan
This manual provides detailed instructions for the installation, operation, and maintenance of your ZEVNI Black Vanity Light. Please read this manual thoroughly before installation and retain it for future reference. This 4-light vanity light is designed for modern spaces, featuring a metal construction with a rectangle backplate and a horizontal arm, complemented by clear cylinder glass shades.
2. Maklumat Keselamatan
AMARAN: Risiko renjatan elektrik. Putuskan sambungan kuasa pada kotak fius atau pemutus litar sebelum pemasangan atau servis.
- All electrical connections must be in accordance with local codes and ordinances, and the National Electric Code (NEC).
- Rujuk juruelektrik bertauliah jika anda tidak pasti tentang proses pemasangan.
- Kendalikan komponen kaca dengan berhati-hati untuk mengelakkan pecah.
- Pastikan permukaan pelekap boleh menyokong berat lekapan.
- Jangan melebihi wat maksimumtage dinyatakan untuk mentol.
3. Kandungan Pakej
Sahkan bahawa semua komponen hadir sebelum memulakan pemasangan:
- Lampu Meja Solek (1)
- Clear Glass Shades (4)
- Kit Perkakasan Pemasangan (1)
- Manual Arahan (1)
Nota: Mentol tidak disertakan dan mesti dibeli secara berasingan.
4. Spesifikasi
| Jenama | ZEVNI |
| Nama Model | Cahaya Vanity Hitam |
| Dimensi Produk | 27"L x 6"W x 8"H |
| Dimensi Kanopi | 6" x 4.7" x 1" |
| Shade Dimensions (each) | 4" x 4" x 6" |
| bahan | Logam, Kaca |
| Selesai | Hitam |
| Bilangan Lampu | 4 |
| Pangkalan Mentol | E26 (Asas Sederhana) |
| Max Wattage setiap Mentol | 40W |
| Voltage | 120 Volt |
| Boleh dimalapkan | Yes (with compatible dimmer switch and dimming bulbs, not included) |
| Jenis Pemasangan | Lekap di dinding |

Figure 1: Product Dimensions. This diagram illustrates the overall length (27 inches), width (6 inches), and height (8 inches) of the vanity light, along with individual shade dimensions and canopy measurements.
5. Persediaan dan Pemasangan
Sebelum Anda Bermula:
- Matikan kuasa pada pemutus litar atau kotak fius.
- Ensure you have all necessary tools (screwdriver, wire strippers, electrical tape, etc.) and safety equipment (safety glasses).
Langkah Pemasangan:
- Pasang Plat Pemasangan: Secure the mounting plate to the junction box in the wall using the provided screws. Ensure it is firmly attached.
- Sambungan Wayar: Connect the fixture's wires to the corresponding house wires. Connect the black wire (live) to the black wire, the white wire (neutral) to the white wire, and the ground wire to the ground wire. Use wire nuts to secure connections and wrap with electrical tape for added safety.
- Lekapan Lekapan: Carefully align the fixture with the mounting plate and secure it using the provided screws. Ensure the fixture is flush against the wall. The fixture can be mounted with shades facing up or down.
- Pasang Lorek Kaca: Gently attach each clear glass shade to the fixture. Ensure they are securely fastened but do not overtighten.
- Masukkan Mentol: Screw in four E26 base bulbs (max 40W each, not included) into the sockets. Type T bulbs are recommended.
- Pulihkan Kuasa: Hidupkan semula kuasa pada pemutus litar.
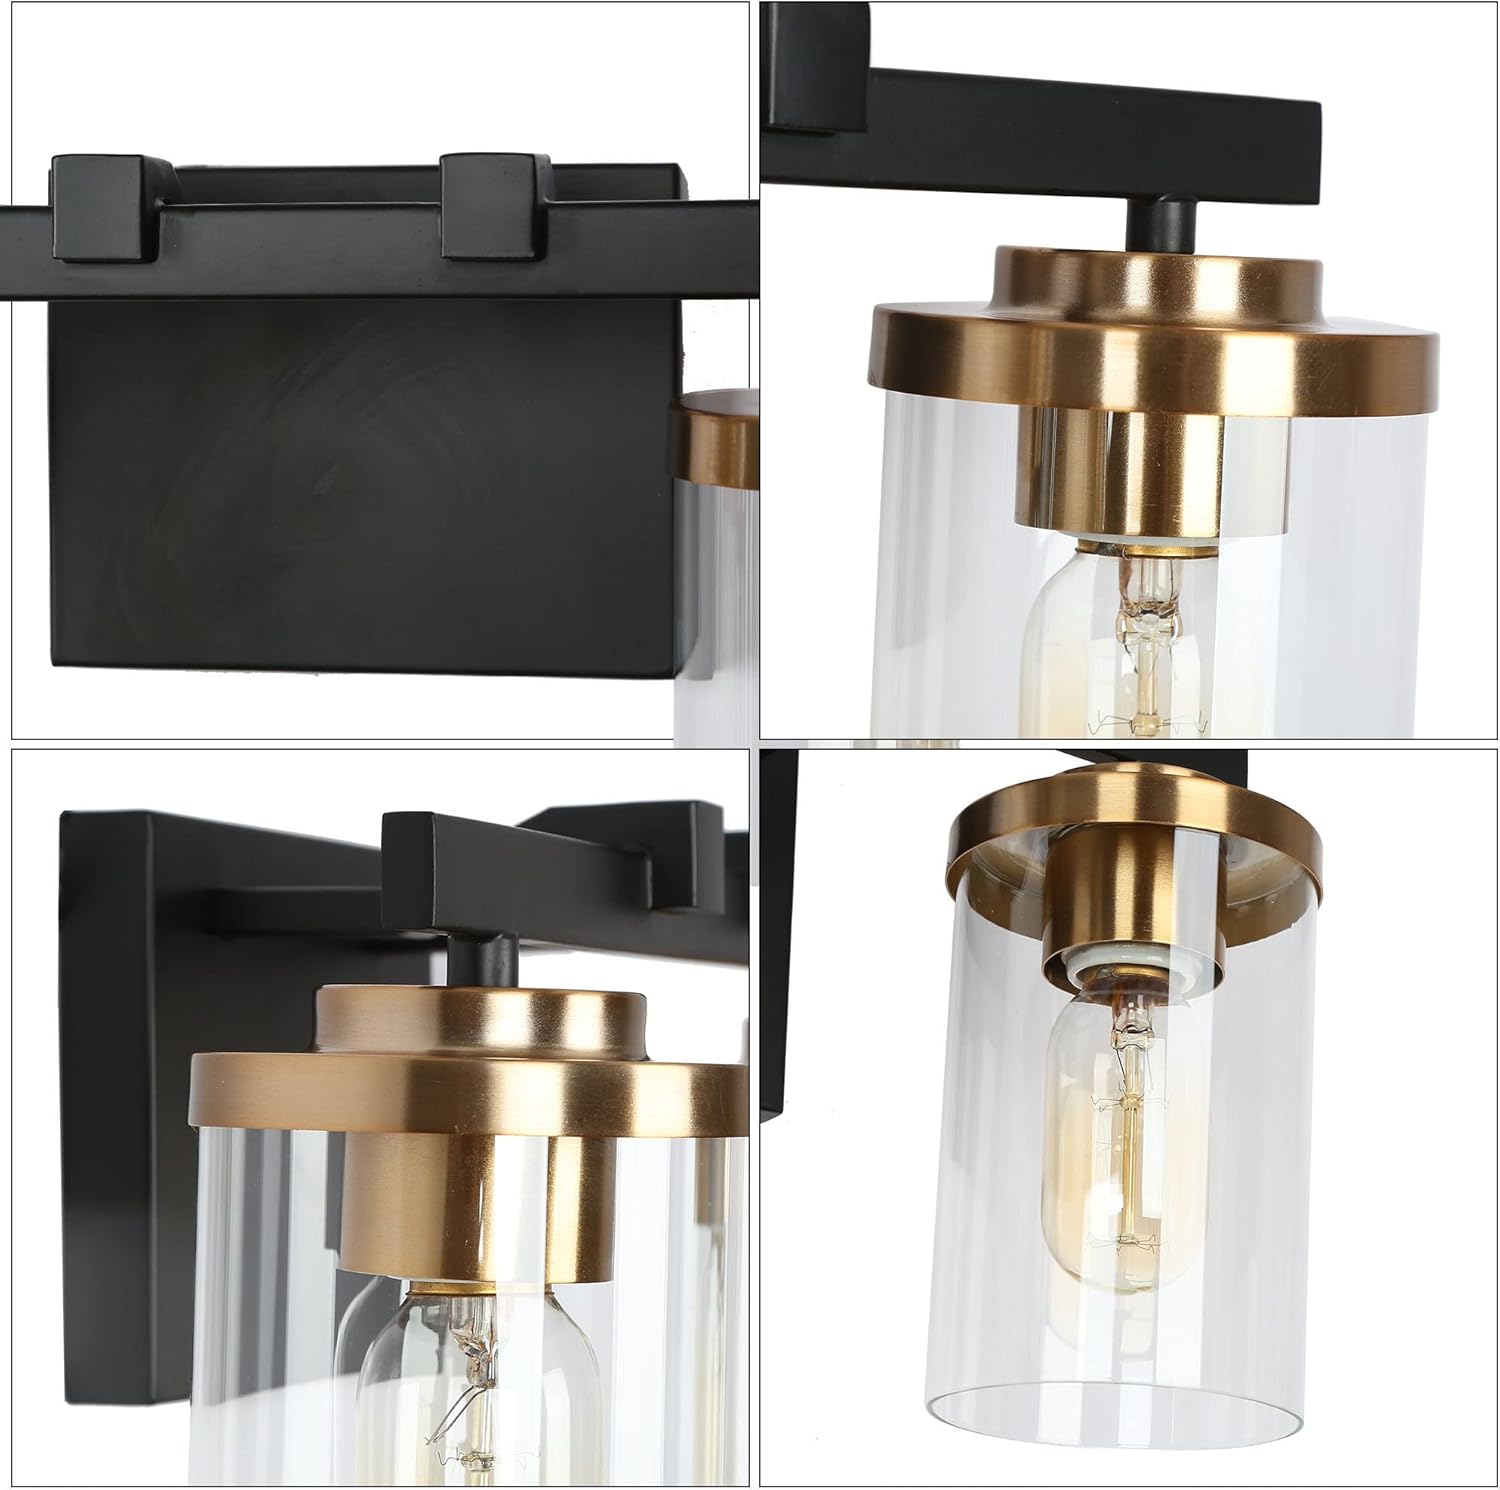
Figure 2: Component Detail. This image shows a detailed view of the fixture's construction, highlighting the black metal backplate, gold accents, and clear glass shade attachment points.
6. Arahan Operasi
Once installed, the ZEVNI Black Vanity Light operates like any standard wall-mounted light fixture.
- Menghidupkan/Mematikan: Gunakan suis dinding yang disambungkan pada lekapan untuk menghidupkan atau mematikan lampu.
- Fungsi Peredupan: If you have installed compatible dimmable E26 bulbs and a dimmer switch (both not included), you can adjust the brightness level of the light by operating the dimmer switch.

Figure 3: Light On/Off Comparison. This image illustrates the appearance of the vanity light when it is off (top) and when it is illuminated (bottom), showcasing the warm glow.
7. Penyelenggaraan
- Pembersihan: Disconnect power before cleaning. Wipe the fixture with a soft, dry cloth. Do not use abrasive cleaners or solvents, as they may damage the finish. The glass shades can be removed and washed with mild soap and water, then dried thoroughly before reinstallation.
- Penggantian mentol: Ensure power is off before replacing bulbs. Allow bulbs to cool completely before touching. Unscrew old bulbs and screw in new E26 base bulbs (max 40W).
- Pemeriksaan: Periksa semua sambungan dan perkakasan pelekap secara berkala untuk memastikan ia kekal selamat.
8. Penyelesaian masalah
| Masalah | Kemungkinan Punca | Penyelesaian |
|---|---|---|
| Cahaya tidak menyala. | Tidak ada kekuatan untuk perlawanan. Sambungan wayar longgar. Mentol rosak. | Periksa pemutus litar/fius. Sahkan semua sambungan wayar adalah kukuh (matikan kuasa terlebih dahulu). Ganti mentol. |
| Cahaya berkelip-kelip. | Mentol longgar. Suis/mentol dimmer yang tidak serasi. Sambungan wayar longgar. | Ketatkan mentol. Pastikan dimmer dan mentol serasi. Periksa sambungan wayar (matikan kuasa terlebih dahulu). |
| Teduh kaca longgar. | Shade not tightened properly. | Gently tighten the retaining ring for the shade. |
9. Waranti dan Sokongan
This ZEVNI product comes with a manufacturer's warranty. For specific warranty details or technical support, please refer to the warranty card included with your purchase or contact ZEVNI customer service directly.
Manufacturer: KSANA LLC
10. Visual Produk
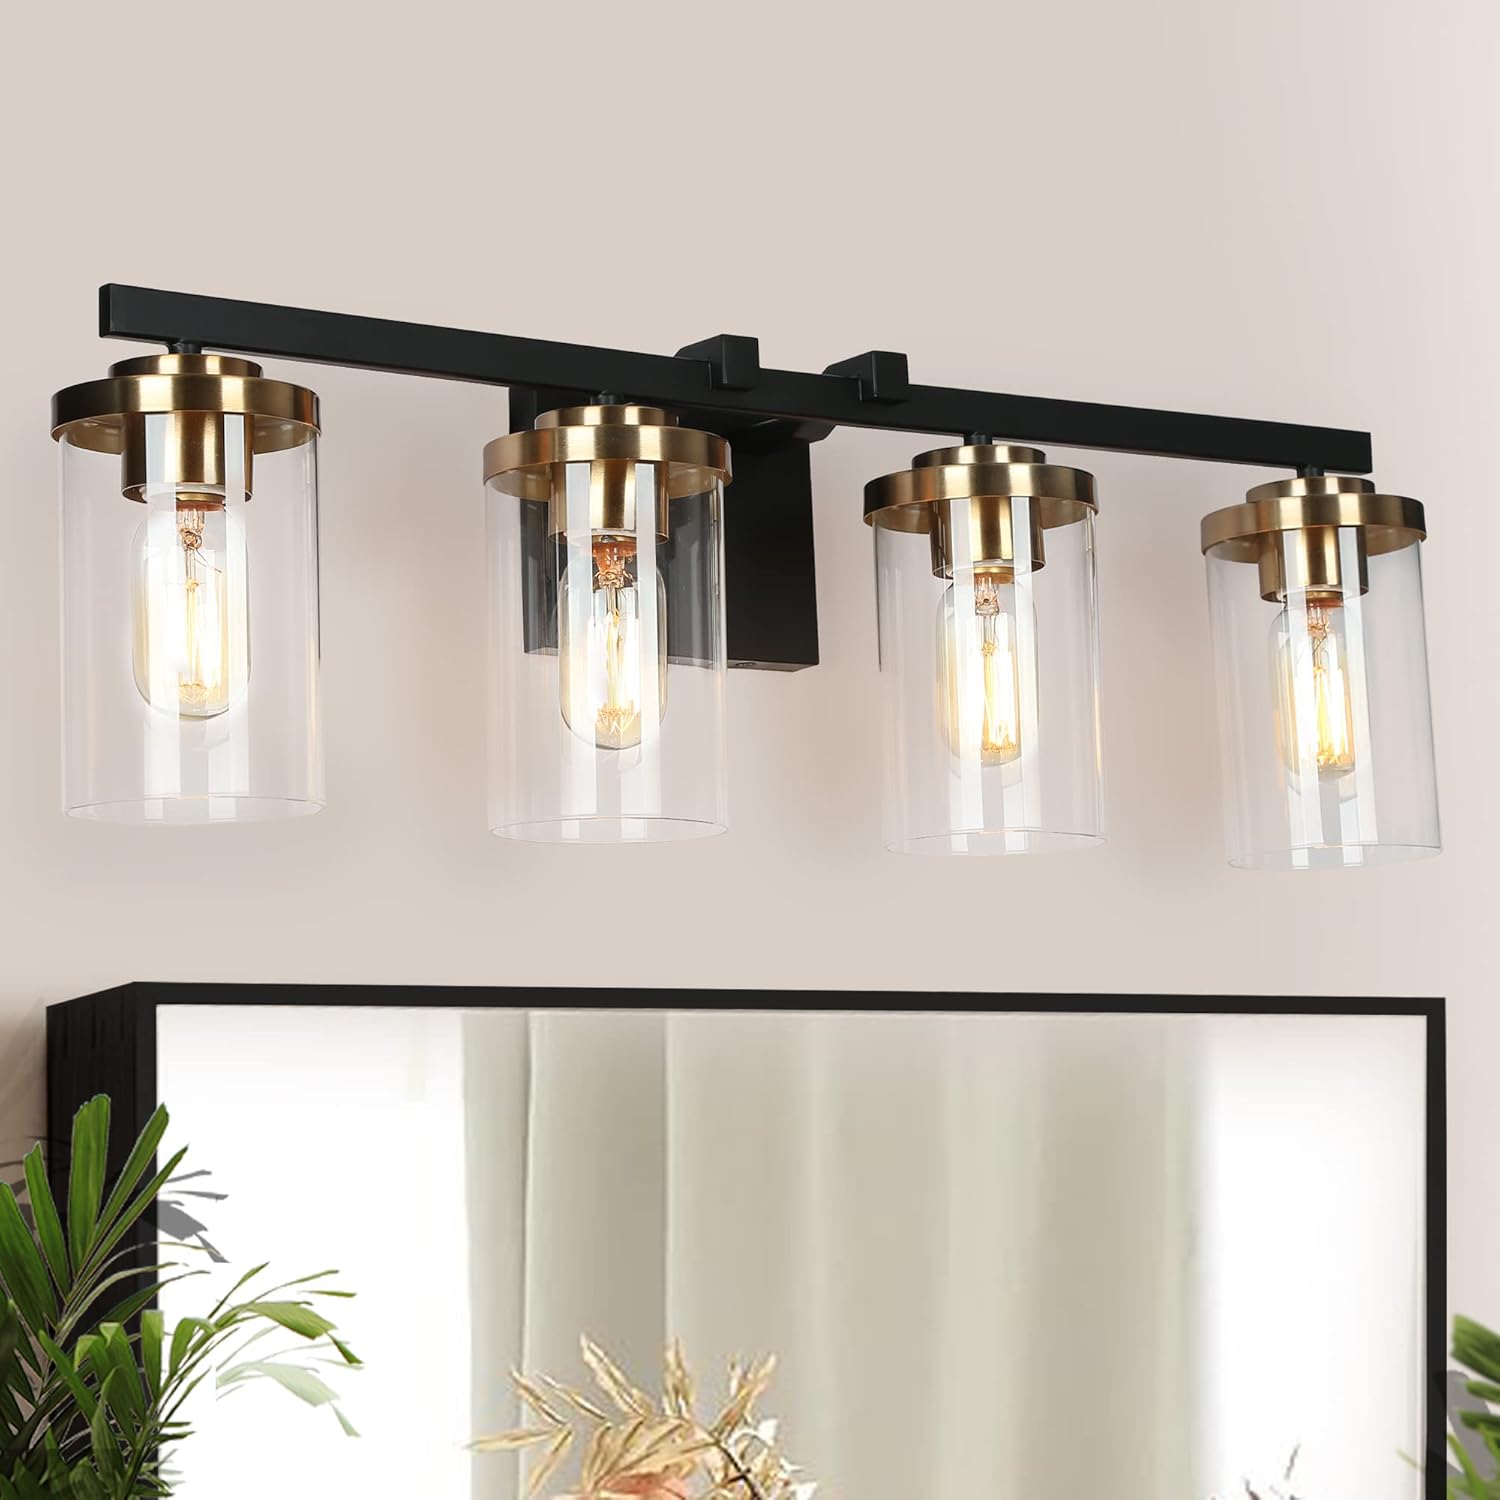
Figure 4: ZEVNI Black Vanity Light in a modern bathroom setting. This image displays the 4-light fixture mounted above a mirror, showcasing reka bentuk dan pencahayaannya.
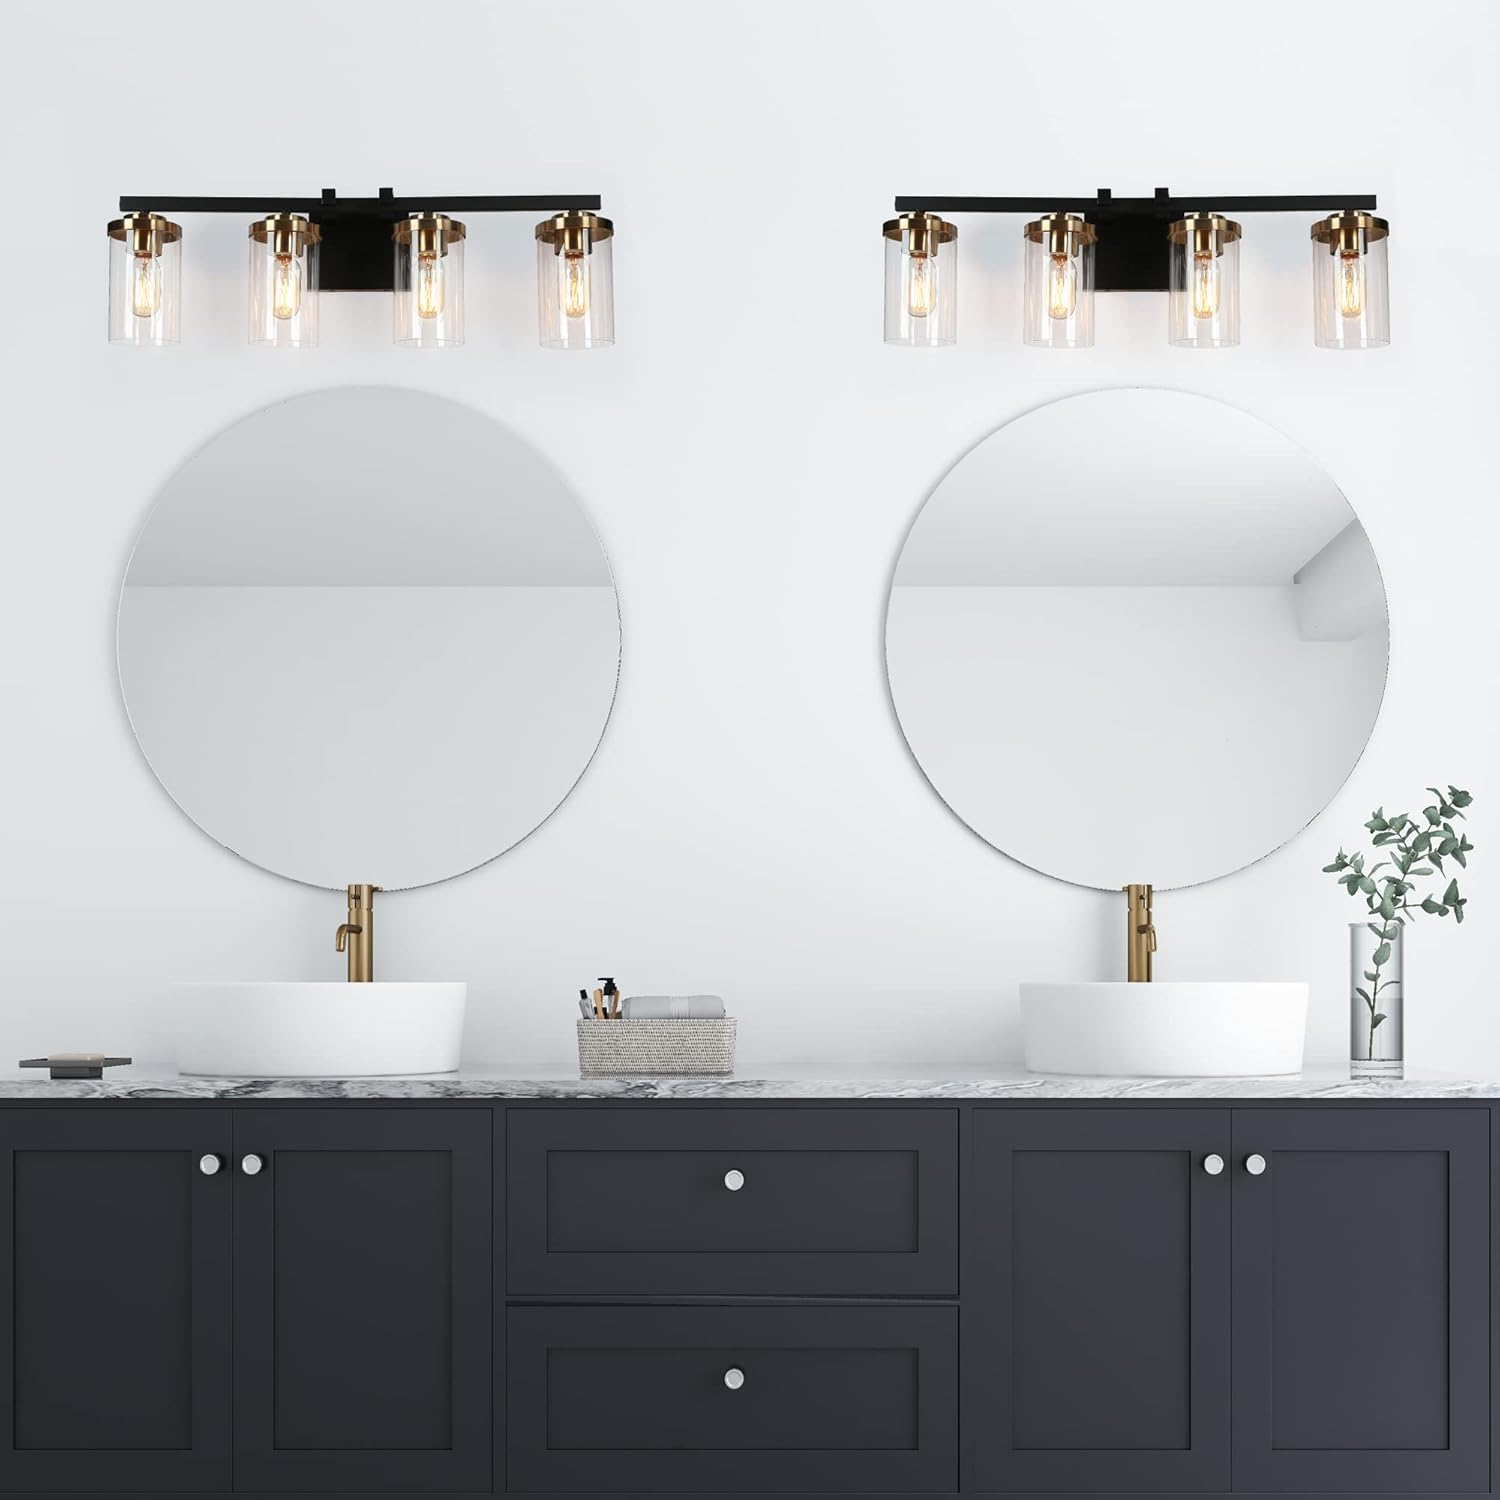
Figure 5: Dual installation of ZEVNI Black Vanity Lights. This image shows two fixtures complementing a double vanity setup with round mirrors.
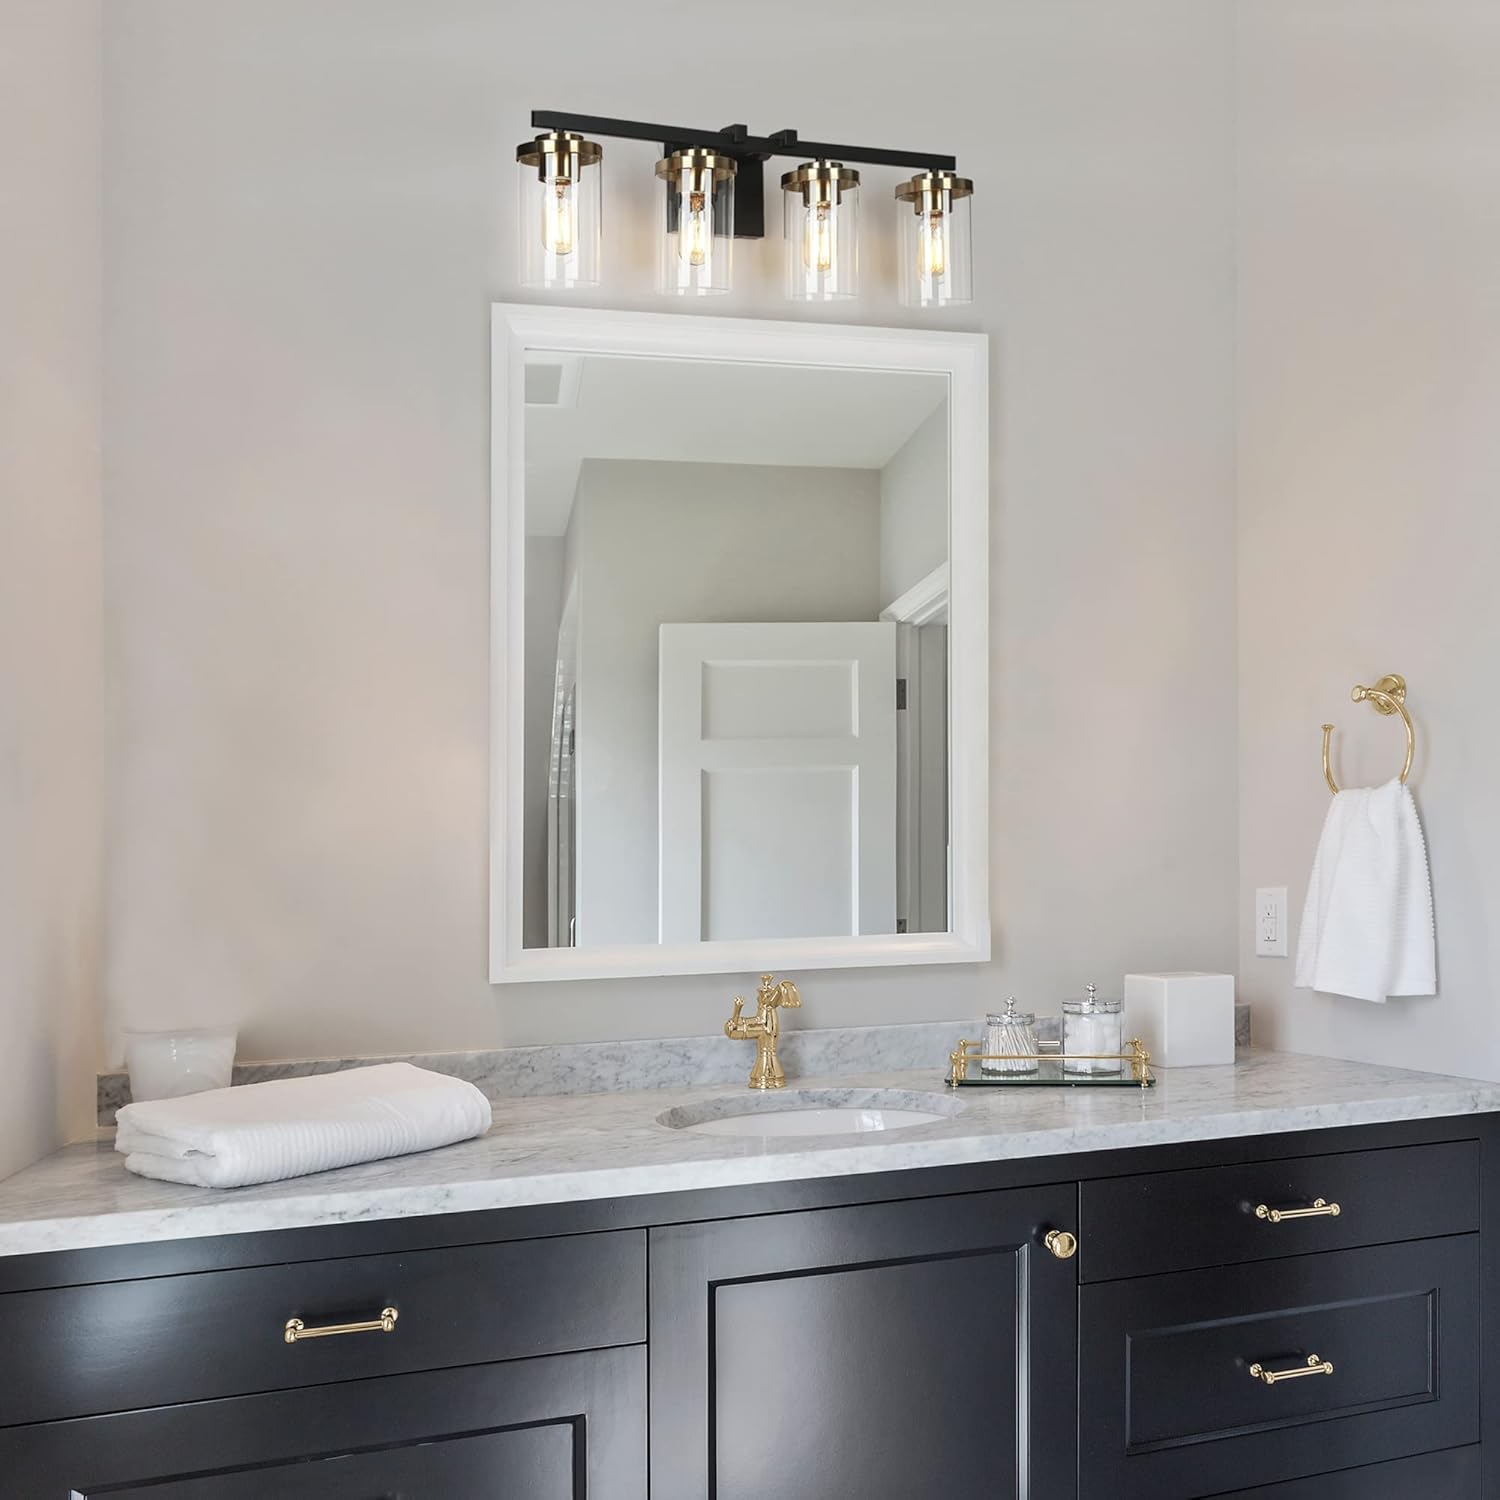
Figure 6: ZEVNI Black Vanity Light above a rectangular mirror. This image provides another perspective of the fixture in a bathroom, highlighting its versatility with different mirror styles.

Figure 7: ZEVNI Black Vanity Light with a round mirror. This image demonstrates the fixture's aesthetic appeal when paired with a circular mirror and a grey vanity.

Figure 8: Finish Compatibility. This image illustrates the compatible finishes (black and gold) for the fixture, indicating that other finishes are not applicable.


