1. Pengenalan
The EVTSCAN Peakmeter PM8213C is a portable digital multimeter designed for various electrical measurements. This instrument offers stable performance, high precision, and low power consumption, making it a reliable tool for both professional and DIY users. Its compact appearance and comprehensive features ensure accurate readings for voltage, current, resistance, continuity, non-contact voltage (NCV), frequency, and duty cycle.
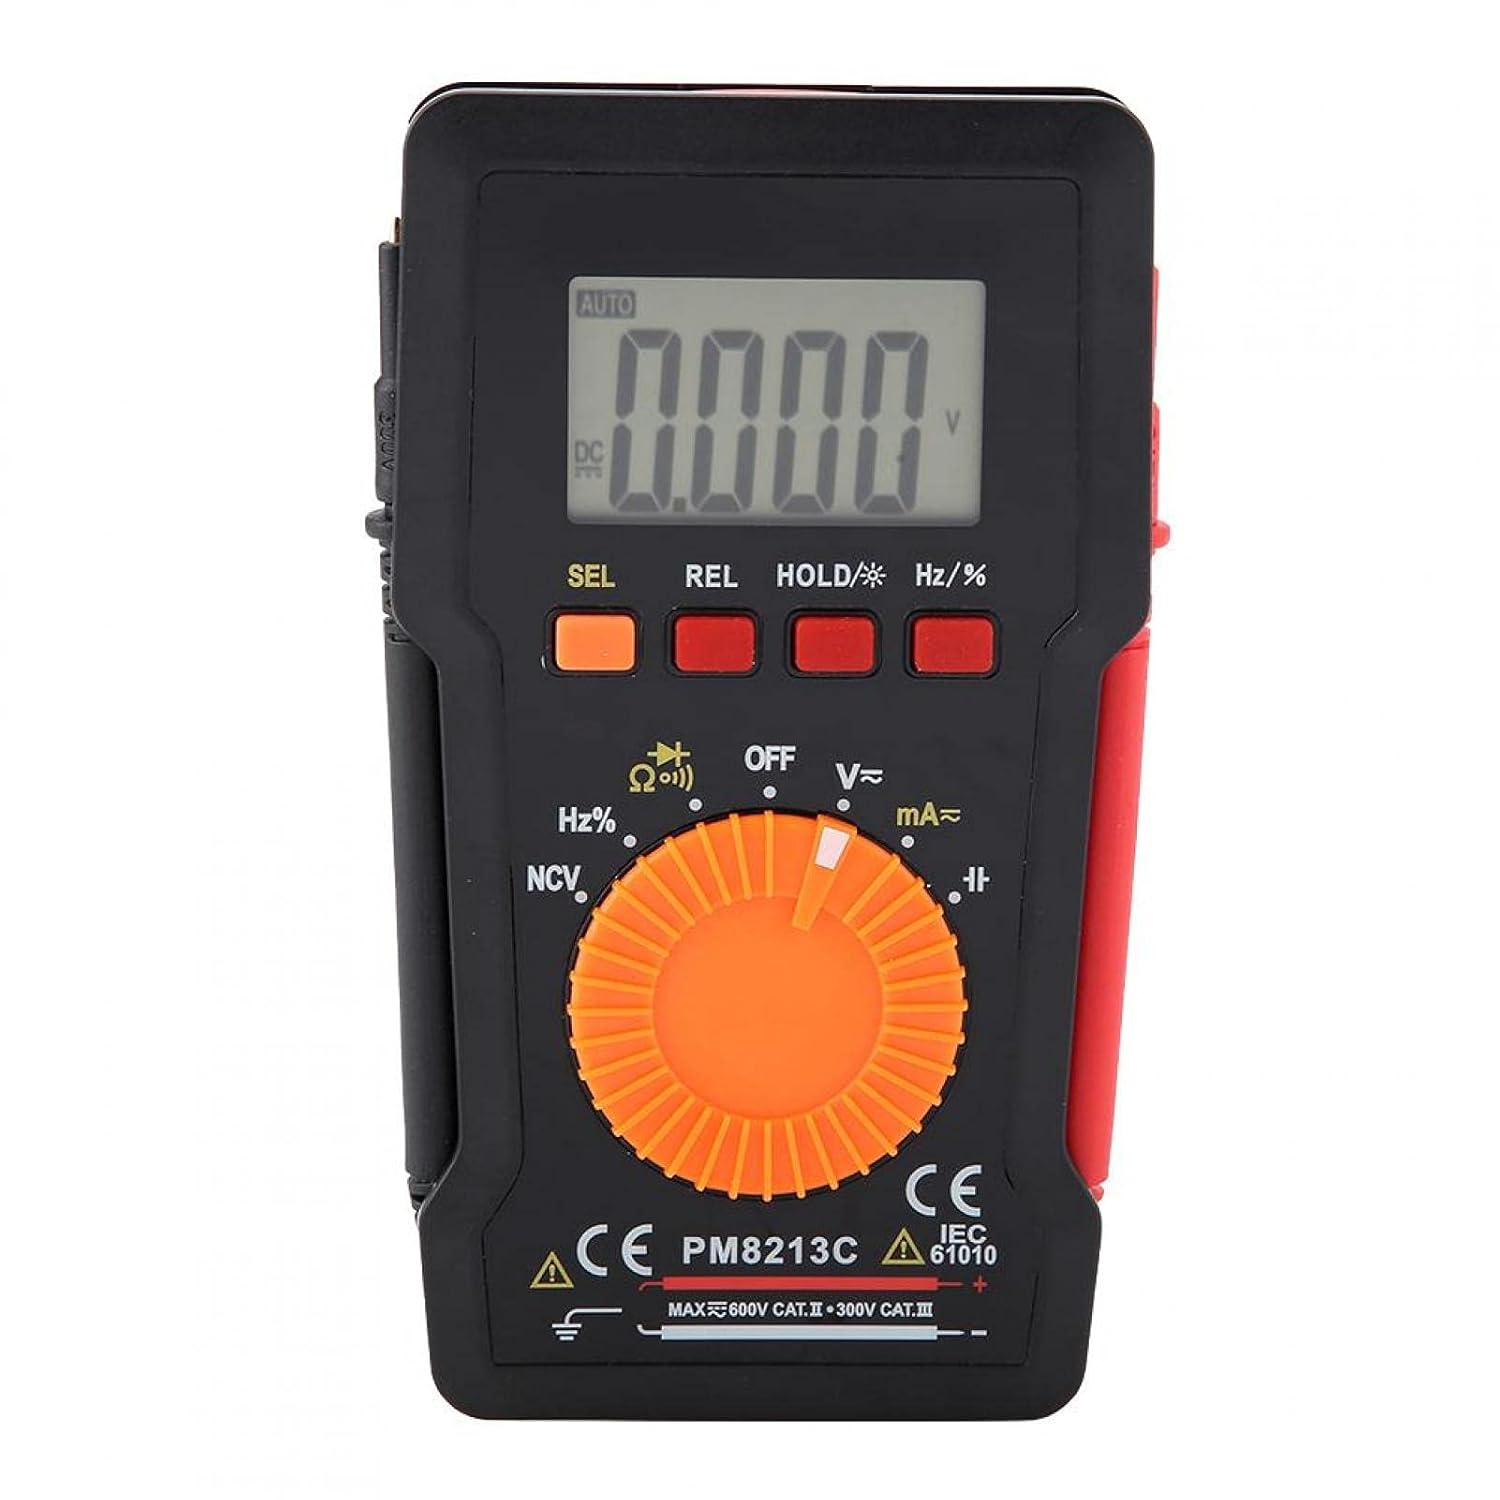
Rajah 1: Depan view of the EVTSCAN Peakmeter PM8213C Digital Multimeter.
2. Maklumat Keselamatan
To ensure safe operation and service of the meter, please read this manual carefully before use. Failure to observe safety warnings can result in serious injury or death. Always adhere to local and national safety codes.
- Jangan melebihi had input maksimum untuk sebarang fungsi.
- Berhati-hati apabila bekerja dengan voltagadalah melebihi 30V AC RMS, puncak 42V atau 60V DC. Ini voltagia menimbulkan bahaya kejutan.
- Before measuring current, ensure the meter's test leads are connected to the correct input jacks and the function switch is set to the appropriate current range.
- Sentiasa putuskan sambungan wayar ujian daripada litar sebelum menukar kedudukan suis fungsi.
- Gantikan bateri dengan segera apabila penunjuk bateri lemah muncul untuk memastikan bacaan yang tepat.
- Jangan kendalikan meter jika ia kelihatan rosak atau jika pelindungasing dikeluarkan.
- Simpan tangan dan jari di belakang penghalang probe semasa pengukuran.
3. Produk Lebihview
3.1. Komponen
The PM8213C multimeter consists of the following main components:
- Paparan LCD: Menunjukkan bacaan ukuran, unit dan penunjuk fungsi.
- Butang Fungsi: SEL (Select), REL (Relative), HOLD (Data Hold), Hz/% (Frequency/Duty Cycle).
- Suis Putar: Used to select the desired measurement function (e.g., V~, V-, Ω, Continuity, NCV, Hz%, mA~, A~).
- Bicu Input: Terminals for connecting test leads (COM, VΩHz, mA, A).
- Petunjuk Ujian: Red and black leads for connecting to the circuit under test.
- Sarung pelindung: Provides protection for the meter.

Figure 2: Key features of the PM8213C Multimeter, including LCD screen and compact design.
3.2. Simbol Paparan
Familiarize yourself with the symbols that may appear on the LCD display:
- AUTO: Auto-ranging mode is active.
- DC/AC: Direct Current / Alternating Current.
- V: Volt (Jilidtagdan).
- Ω: Ohms (Resistance).
- Hz: Hertz (Frequency).
- %: Kitaran Tugas.
- NCV: Vol. Bukan Kenalantagpengesanan e.
- DIBERI: Data Hold function is active.
- REL: Mod ukuran relatif.
- Simbol Bateri: Menunjukkan kuasa bateri rendah.
- OOL: Over-range indication.
4. Persediaan
4.1. Pemasangan Bateri
The PM8213C requires one CR2032 (3V) button cell battery for operation. The battery is typically not included in the package.
- Pastikan multimeter dimatikan.
- Cari petak bateri di belakang meter.
- Use a suitable tool (e.g., a small screwdriver) to open the battery compartment cover.
- Insert the CR2032 battery, observing the correct polarity (+ and - markings).
- Gantikan penutup petak bateri dan selamatkannya.
4.2. Uji Sambungan Utama
Connect the test leads to the appropriate input jacks before taking any measurements.
- Sambungkan hitam ujian membawa kepada COM bicu input (biasa).
- Untuk kebanyakan ukuran (voltage, resistance, frequency, duty cycle, continuity), connect the merah ujian membawa kepada VΩHz bicu input.
- For current measurements (mA), connect the merah ujian membawa kepada mA bicu input.
- For higher current measurements (A), connect the merah ujian membawa kepada A input jack (if available and distinct from mA). Note: The PM8213C typically uses a single current input for mA/A, check the dial for specific ranges.
5. Arahan Operasi
5.1. Hidupkan/Mati Kuasa
To turn the multimeter ON, rotate the function switch from the OFF position to any desired measurement function. To turn the multimeter OFF, rotate the function switch to the OFF position. The meter features an automatic power-off function after approximately 30 minutes of inactivity to conserve battery life.
5.2. Pemilihan Fungsi
Use the rotary switch to select the primary measurement function. For functions with multiple modes (e.g., AC/DC voltage, continuity/diode), press the SEL button to toggle between modes.
5.3. Mengukur DC Voltage (V-)
- Connect the red test lead to the VΩHz jack and the black test lead to the COM jack.
- Set the rotary switch to the V- position.
- Connect the test leads in parallel to the DC voltage source or component you wish to measure.
- Baca voltagnilai e pada paparan LCD.
5.4. Mengukur Vol ACtage (V~)
- Connect the red test lead to the VΩHz jack and the black test lead to the COM jack.
- Tetapkan suis putar kepada kedudukan V~.
- Connect the test leads in parallel to the AC voltage sumber atau komponen.
- Baca voltagnilai e pada paparan LCD.
5.5. Mengukur Rintangan (Ω)
- Pastikan litar dinyahtenagakan sebelum mengukur rintangan.
- Connect the red test lead to the VΩHz jack and the black test lead to the COM jack.
- Set the rotary switch to the Ω position.
- Sambungkan petunjuk ujian merentasi komponen yang rintangannya ingin anda ukur.
- Baca nilai rintangan pada paparan LCD.
5.6. Ujian Kesinambungan (Ω))))
- Pastikan litar dinyahtenagakan.
- Connect the red test lead to the VΩHz jack and the black test lead to the COM jack.
- Set the rotary switch to the Continuity position (often shared with Resistance or Diode). Press SEL if needed to select continuity.
- Sambungkan petunjuk ujian merentasi komponen atau wayar.
- If continuity exists (low resistance), the meter will emit an audible beep.
5.7. Bukan Kenalan Voltage (NCV) Pengesanan
- Tetapkan suis putar ke kedudukan NCV.
- Move the top edge of the multimeter close to the conductor suspected of having AC voltage.
- The meter will indicate the presence of AC voltage through an audible beep and/or visual indicator (e.g., LED).
5.8. Mengukur Frekuensi (Hz) dan Kitaran Tugas (%)
- Connect the red test lead to the VΩHz jack and the black test lead to the COM jack.
- Set the rotary switch to the Hz/% position.
- Connect the test leads in parallel to the signal source.
- Tekan ke Hz /% butang untuk bertukar antara ukuran frekuensi dan kitaran tugas.
- Baca nilai pada paparan LCD.
5.9. Measuring Current (mA~, A~)
- AMARAN: Jangan sekali-kali sambungkan meter secara selari dengan voltage source when measuring current. This will blow the fuse and can damage the meter.
- Pastikan litar dinyahtenagakan.
- Sambungkan petunjuk ujian hitam ke bicu COM.
- Untuk miliampere (mA) measurements, connect the red test lead to the mA jack. For ampere (A) measurements, connect the red test lead to the A jack (if separate).
- Set the rotary switch to the appropriate mA~ or A~ position.
- Open the circuit where you want to measure current and connect the meter in series with the load.
- Re-energize the circuit and read the current value on the LCD display.
6. Penyelenggaraan
6.1. Pembersihan
Lap bekas meter dengan iklanamp kain dan detergen lembut. Jangan gunakan bahan kasar atau pelarut. Pastikan terminal input bebas daripada kotoran dan kelembapan.
6.2. Penggantian Bateri
When the low battery indicator appears on the display, replace the CR2032 battery promptly to ensure accurate measurements.
- Turn the multimeter OFF and disconnect all test leads.
- Buka penutup petak bateri di belakang meter.
- Keluarkan bateri CR2032 lama.
- Insert a new CR2032 (3V) button cell battery, ensuring correct polarity.
- Tutup penutup petak bateri dengan selamat.
6.3. Penggantian fius
If the current measurement function stops working, the fuse may need replacement. The fuse specification is F 400mA/250V.
- Turn the multimeter OFF and disconnect all test leads.
- Open the meter's casing (refer to the battery replacement section for access, or consult the full service manual if necessary).
- Locate the blown fuse.
- Carefully remove the old fuse and replace it with a new fuse of the exact same type and rating (F 400mA/250V).
- Reassemble the meter's casing dengan selamat.
7. Penyelesaian masalah
If the meter does not function correctly, check the following points before seeking service:
- Tiada paparan atau paparan samar: Periksa pemasangan bateri dan ganti jika perlu.
- Bacaan yang salah: Ensure test leads are correctly connected to the appropriate input jacks and the rotary switch is set to the correct function and range. Check battery level.
- Pengukuran semasa tidak berfungsi: Check and replace the fuse if blown. Ensure test leads are connected in series with the circuit.
- "OOL" displayed: Nilai yang diukur melebihi julat yang dipilih. Tukar kepada julat yang lebih tinggi atau pastikan input berada dalam keupayaan meter.
8. Spesifikasi
| Ketinggian | Kurang daripada 2000 m |
| Suhu Operasi | 0 ~ 40 °C |
| Kelembapan Operasi | <80% RH (not considered at <10 °C) |
| Suhu Penyimpanan | -10 ~ 60 °C |
| Kelembapan Penyimpanan | <70% RH (remove batteries) |
| Pekali Suhu | 0.1 precision/°C |
| Vol. Maks Yang Dibenarkantage (Input ke Ground) | 600V DC atau AC rms |
| Perlindungan Fius | F 400mA/250V |
| SampKadar ling | Approximately 3 times/second |
| Auto Matikan | Lebih kurang 30 minit |
| Paparan | Maximum 3999 counts |
| Over-range Display | "OOL" |
| Bekalan Kuasa | CR2032 (3V) button cell battery |
| Berat badan | Approximately 120 - 142 g |
| Dimensi (L x W x H) | 127 x 70 x 12.5 mm (lebih kurang 12.8 x 7.5 x 1.3 cm) |
8.1. DC Voltage (PM8213C)
| Julat | Resolusi | Ketepatan |
|---|---|---|
| 4 V | 0.001 V | ±(0.1% + 3 digit) |
| 40 V | 0.01 V | ±(0.1% + 3 digit) |
| 400 V | 0.1 V | ±(0.1% + 3 digit) |
| 600 V | 1 V | ±(0.1% + 3 digit) |
8.2. Kandungan Pakej
- 1 x Digital Multimeter (PM8213C)
- 2 x Keputusan Ujian
- 1 x Sarung Pelindung
9. Waranti dan Sokongan
Untuk maklumat jaminan atau sokongan teknikal, sila hubungi penjual atau pengilang secara langsung. Simpan resit pembelian anda sebagai bukti pembelian.