
1. Maklumat Keselamatan
Please read and understand all safety information before operating this digital multimeter. Failure to follow these instructions may result in electric shock, fire, or damage to the device.
- Sentiasa pastikan multimeter ditetapkan kepada fungsi dan julat yang betul sebelum membuat sebarang pengukuran.
- Jangan melebihi nilai input maksimum yang ditetapkan untuk setiap fungsi.
- Berhati-hati apabila bekerja dengan voltagmelebihi 30V AC RMS, puncak 42V atau 60V DC, kerana ia menimbulkan bahaya renjatan.
- Periksa wayar ujian untuk kerosakan sebelum setiap penggunaan. Jangan gunakan jika penebat terjejas.
- AMARAN: Before opening the case for battery or fuse replacement, always remove the test leads from the object being measured and disconnect from any power source to avoid electric shock.
- This device features F0.5A/600V fuse overload protection. Replace fuses only with specified types and ratings.
2. Produk Lebihview
The ANENG AN101 is a portable digital multimeter designed for measuring AC voltage, AC current, DC voltage, DC current, and resistance. It features an easy-to-read LCD display with 1999 counts and supports both automatic and manual ranging for versatile use in various electrical and electronic applications.
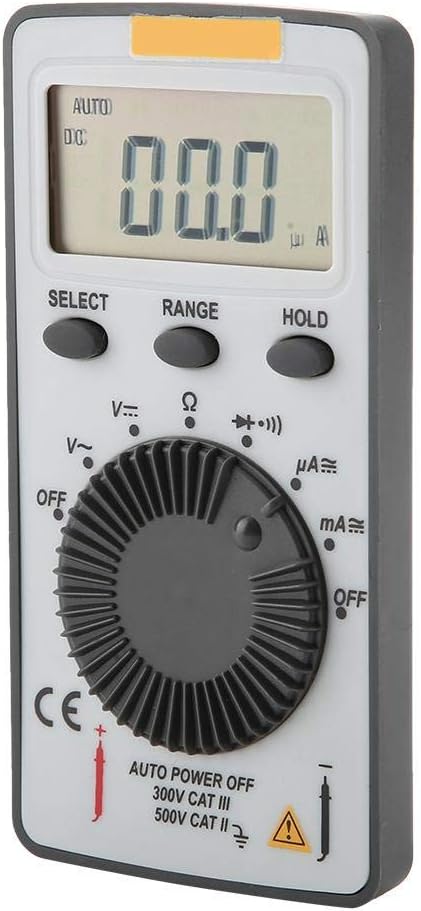
Rajah 2.1: Depan view of the ANENG AN101 Digital Multimeter. This image displays the device's LCD screen, the central rotary function dial, and the 'SELECT', 'RANGE', and 'HOLD' buttons.
3. Persediaan
3.1 Pemasangan Bateri
- Ensure the multimeter is powered off and disconnect any test leads.
- Cari petak bateri di bahagian belakang peranti.
- Gunakan pemutar skru untuk membuka penutup petak bateri.
- Insert two 3V CR2032 batteries, observing the correct polarity.
- Gantikan penutup petak bateri dan kencangkannya dengan skru.

Rajah 3.1: Belakang view of the ANENG AN101 Digital Multimeter. This image shows the battery compartment cover and a safety warning regarding opening the case.
3.2 Menghubungkan Petunjuk Ujian
- Insert the red test lead into the 'VΩmA' input jack.
- Masukkan wayar ujian hitam ke dalam bicu input 'COM'.
- Ensure the connections are firm before proceeding with measurements.
4. Arahan Operasi
4.1 Hidupkan/Mati Kuasa
Rotate the central dial from 'OFF' to any measurement function to power on the device. To power off, rotate the dial back to 'OFF'. The multimeter also features an auto power-off function to conserve battery life.
4.2 Pemilihan Fungsi
Turn the rotary dial to select the desired measurement function (e.g., DC Voltage (V=), AC Voltage (V~), Resistance (Ω), DC Current (μA=, mA=), AC Current (μA~, mA~)).
4.3 Range Selection (Auto/Manual)
The AN101 supports both automatic and manual ranging. In auto-ranging mode, the meter automatically selects the best range for the measurement. Press the 'RANGE' button to switch between auto and manual ranging. In manual mode, press 'RANGE' repeatedly to cycle through available ranges.
4.4 Mengukur DC Voltage
- Set the rotary dial to 'V='.
- Sambungkan wayar ujian merah ke bahagian positif litar dan wayar ujian hitam ke bahagian negatif.
- Baca voltage value on the LCD display. The polarity will be indicated automatically.
4.5 Mengukur Vol ACtage
- Set the rotary dial to 'V~'.
- Sambungkan petunjuk ujian merentasi vol ACtage sumber.
- Baca voltagnilai e pada paparan LCD.
4.6 Mengukur Arus DC
- Set the rotary dial to 'μA=' or 'mA=' depending on the expected current.
- AMARAN: To measure current, the multimeter must be connected in series with the circuit. Do not connect it in parallel across a voltage sumber.
- Break the circuit and connect the multimeter in series, ensuring the red lead is towards the higher potential and the black lead towards the lower potential.
- Baca nilai semasa pada paparan LCD.
4.7 Mengukur Arus AC
- Set the rotary dial to 'μA~' or 'mA~'.
- AMARAN: Sambungkan multimeter secara bersiri dengan litar.
- Putuskan litar dan sambungkan multimeter secara bersiri.
- Baca nilai semasa pada paparan LCD.
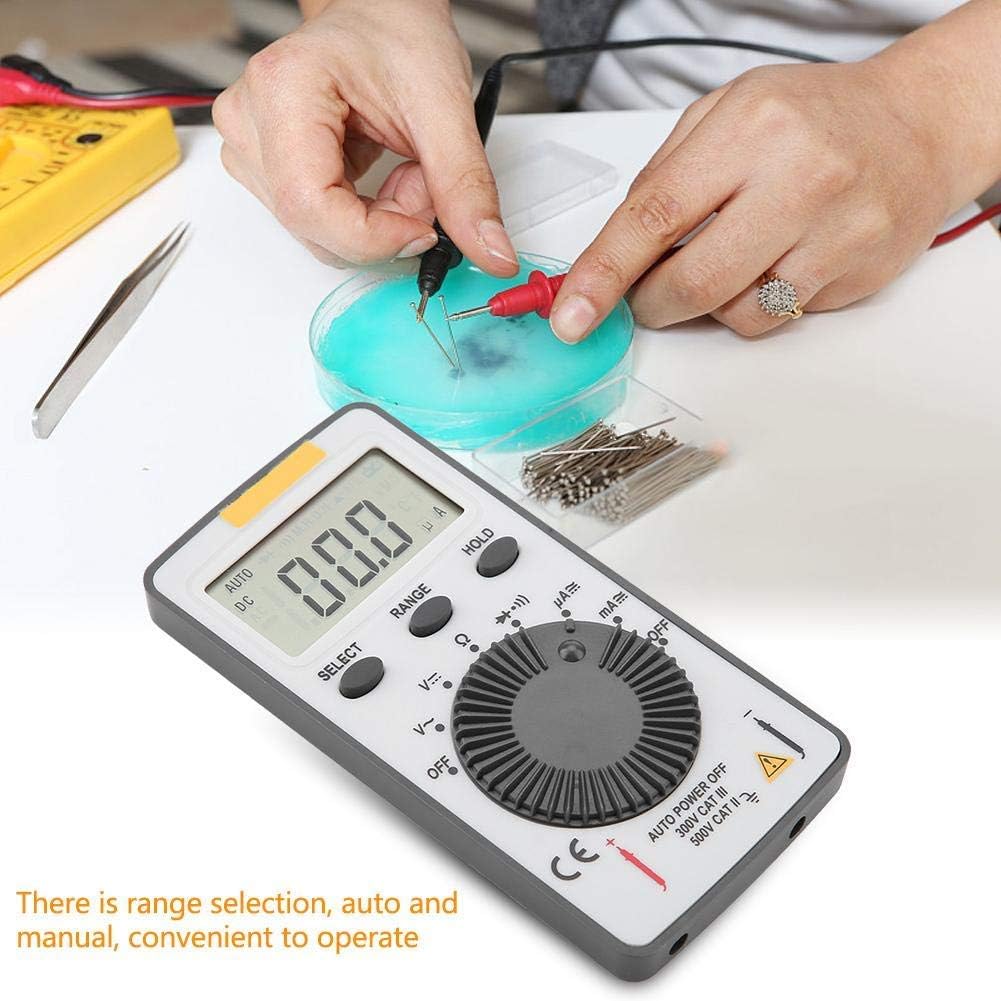
Figure 4.1: The ANENG AN101 Digital Multimeter in use, demonstrating its application for measuring electrical components. The image highlights the ease of operation with auto and manual range selection.
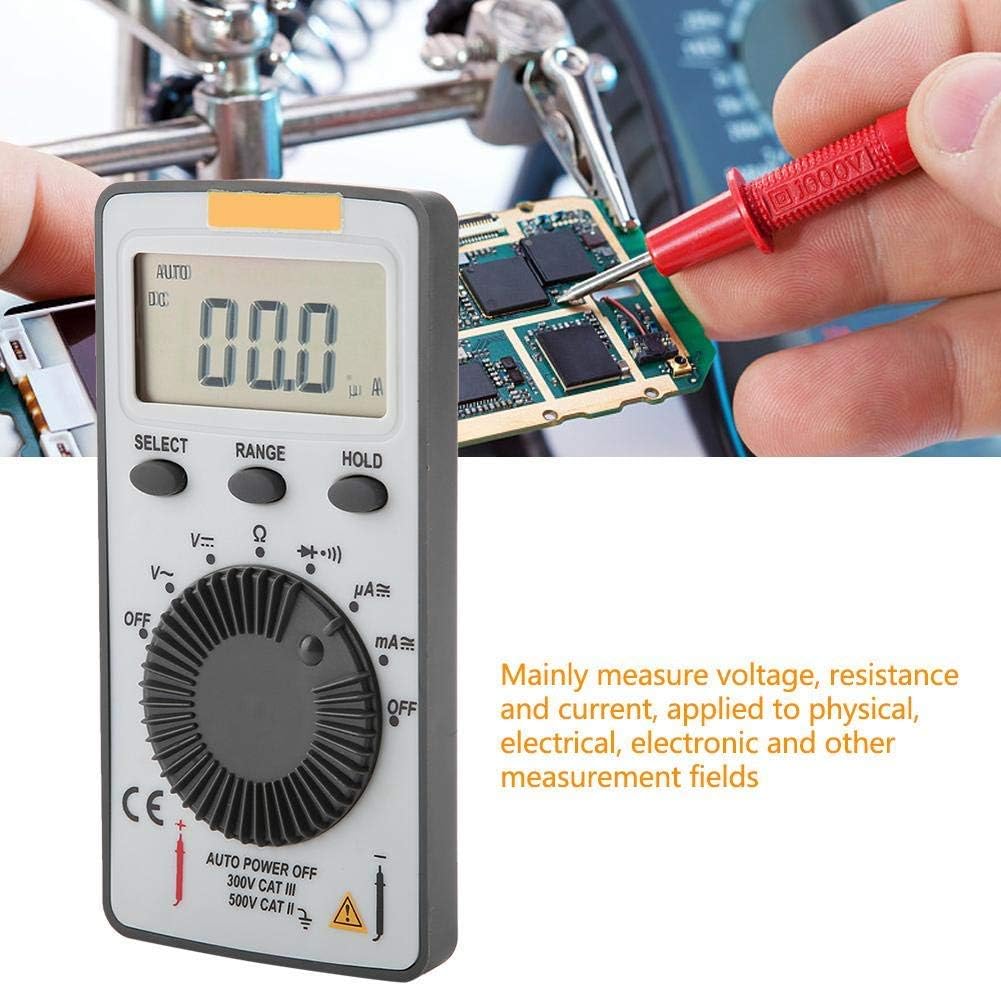
Figure 4.2: The ANENG AN101 Digital Multimeter being used to measure voltage or current on a circuit board. This illustrates its primary function in physical, electrical, and electronic measurement fields.
4.8 Fungsi Tahan
Press the 'HOLD' button to freeze the current reading on the display. Press it again to release the hold function and resume live measurements.
5. Penyelenggaraan
5.1 Pembersihan
Wipe the device with a dry, soft cloth. Do not use abrasive cleaners or solvents. Keep the device free from dust and moisture.
5.2 Penggantian Bateri
When the battery indicator appears on the display, replace the batteries as described in Section 3.1. Always use two new 3V CR2032 batteries.
5.3 Penggantian Fius
If the current measurement functions stop working, the fuse may need replacement. Refer to the safety warnings in Section 1 before attempting to open the case. Replace the fuse only with a F0.5A/600V type.
6. Penyelesaian masalah
- Tiada paparan: Periksa pemasangan bateri dan pastikan bateri tidak kehabisan kuasa.
- "OL" dipaparkan: This indicates an over-range condition. Either the measured value exceeds the selected range, or the circuit is open (for resistance/current measurements). Select a higher range or check circuit continuity.
- Bacaan yang salah: Ensure test leads are properly connected, the correct function and range are selected, and the circuit connections are secure.
- Pengukuran semasa tidak berfungsi: Check the fuse as described in Section 5.3.
7. Spesifikasi
| Ciri | Spesifikasi |
|---|---|
| Jenama | ANENG |
| Model | AN101 |
| Paparan | LCD, 1999 Counts |
| Kadar Kemas Kini | 2 kali / saat |
| Saiz LCD | 40 * 20 mm |
| Petunjuk Polariti | Automatic '-' |
| Petunjuk jarak jauh | 'OL' |
| Pemilihan Julat | Auto atau Manual |
| Suhu Operasi | 0℃ to 40℃, Relative Humidity: <80% RH |
| Suhu Penyimpanan | -10℃ to 50℃, Relative Humidity: <85% RH |
| Jenis Bateri | 2 * 3V, CR2032 size (not included) |
| DC Voltage Impedans Input | 10MΩ |
| DC Voltage Perlindungan Lebihan | 600V DC / AC RMS |
| Maks. DC Voltage Input | 600V DC |
| DC Current Overload Protection | F0.5A / 600V Fuse |
| Max. DC Current Input | 500mA |
| AC Current Overload Protection | F0.5A / 600V Fuse |
| Max. AC Current Input | 500mA |
| AC Current Frequency Range | 40Hz - 400Hz |
| Vol. ACtage Impedans Input | 10MΩ |
| Vol. ACtage Julat Kekerapan | 40Hz - 400Hz |
| Vol. ACtage Perlindungan Lebihan | 600V DC / AC RMS |
| Maks. Vol. ACtage Input | 600V AC RMS |
| Berat badan | lebih kurang 102g / 3.6oz |
| Dimensi | Approx. 110 * 55 * 10 mm / 4.3 * 2.2 * 0.4 in |
| Kandungan Pakej | 1 * Digital Multimeter, 2 * Test Leads |

Figure 7.1: Dimensions of the ANENG AN101 Digital Multimeter, showing its compact size for portability.
8. Waranti dan Sokongan
Untuk maklumat jaminan dan sokongan teknikal, sila rujuk dokumentasi yang disediakan semasa pembelian atau hubungi peruncit anda. Simpan resit pembelian anda sebagai bukti pembelian.