
1. Pengenalan
This manual provides essential instructions for the safe and efficient operation of your Core Innovations 150" LCD Home Theater Mini Projector. Please read this manual thoroughly before using the product and retain it for future reference.
2. Produk Lebihview
Ciri-ciri Utama
- Adjustable screen size from 32 inches to 150 inches.
- Pembesar suara bersepadu untuk output audio.
- Powerful LED bulb for rich and dynamic image details.
- Focus adjustment and keystone correction for clear and aligned projection.
- Multiple connectivity options: VGA, 2 HDMI inputs, USB input, Micro SD card slot, 3.5mm headphone jack, AV IN.
- Compatible with various devices including phones, gaming consoles, DVD players, USB drives, TV sticks, and external speakers.
Projector Components and Connections
Biasakan diri anda dengan pelbagai port dan kawalan pada projektor anda.

Imej: Belakang view of the projector highlighting its various input and output ports.
- Jack fon kepala: For connecting external headphones or audio systems.
- Input AV: For connecting devices using an AV cable.
- Slot Kad Mikro SD: Untuk memainkan media terus daripada kad Micro SD.
- HDMI Inputs 1 & 2: For connecting devices via HDMI cables.
- Port USB: For connecting USB drives (up to 1000GB).
- DC DALAM: Input kuasa untuk projektor.

Image: Visual representation of the bright LED projection quality, comparing it to a less vibrant display.
3. Persediaan
Penempatan
Position the projector on a stable, flat surface. Ensure there is adequate ventilation around the unit. The projection distance will determine the screen size. You can adjust the screen size from 32 inches to 150 inches.

Image: Visual guide demonstrating the adjustable screen sizes from 32 to 150 inches.
Sambungan Kuasa
- Sambungkan penyesuai kuasa ke port DC IN pada projektor.
- Palamkan penyesuai kuasa ke soket elektrik standard.
Menyambung Peranti
The projector supports various input sources. Choose the appropriate cable for your device and connect it to the corresponding port on the projector.
- HDMI: Connect gaming consoles, TV sticks, laptops, or DVD players using an HDMI cable to one of the two HDMI input ports.
- USB: Masukkan pemacu kilat USB ke dalam port USB untuk memainkan media files.
- Micro SD: Insert a Micro SD card into the Micro SD card slot to play media files.
- DARI: Use the included AV cable to connect older devices like DVD players.
- VGA: Sambungkan komputer atau komputer riba menggunakan kabel VGA.
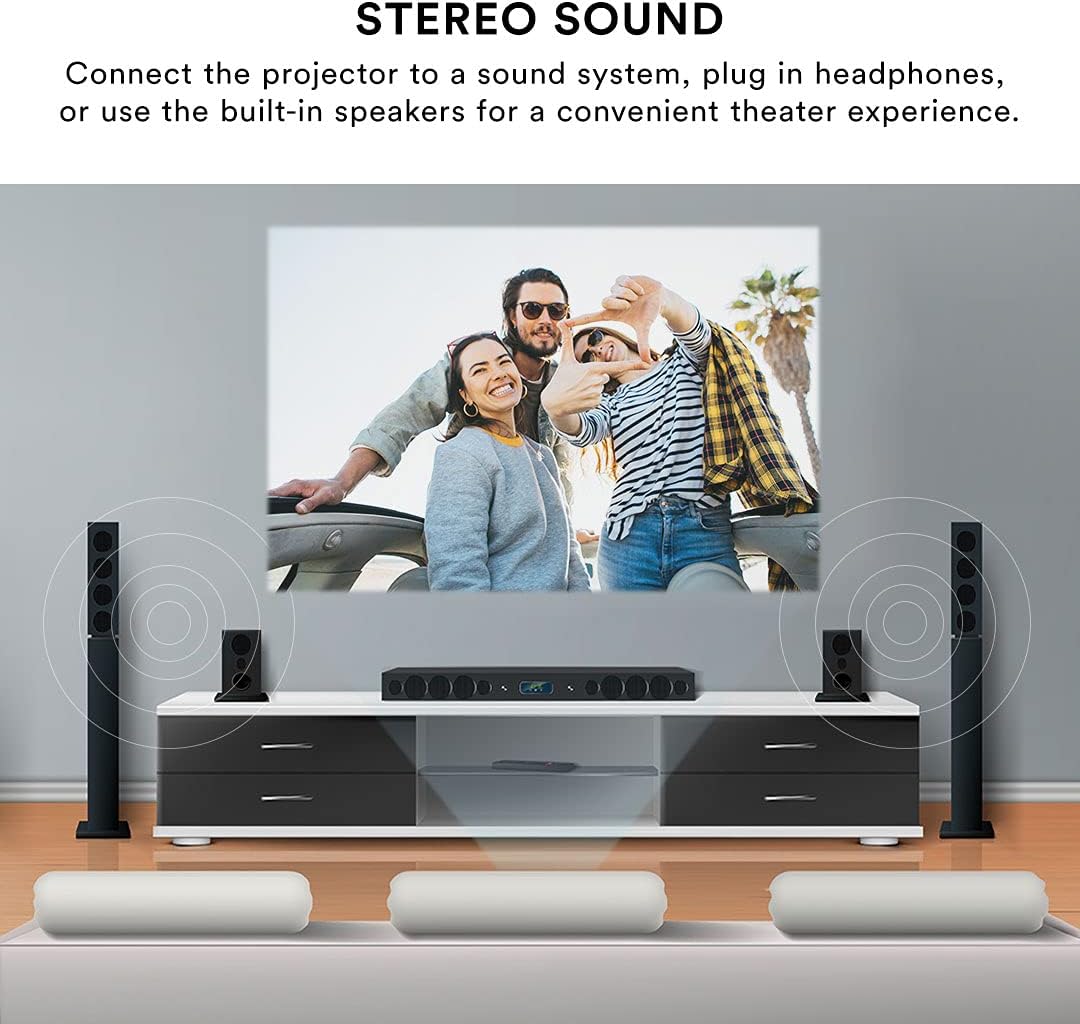
Image: A visual guide to the types of devices compatible with the projector, including gaming consoles, smartphones, and storage devices.
Fokus dan Pelarasan Keystone
After powering on and selecting an input, adjust the image for clarity and shape.
- Pelarasan Fokus: Rotate the focus knob on the projector lens until the image appears sharp and clear.
- Pembetulan Keystone: If the projected image appears trapezoidal (wider at the top or bottom), use the keystone correction dial to adjust the image geometry until it is rectangular.

Image: Demonstrates how to use focus adjustment for clarity and keystone correction to fix image distortion.
4. Arahan Operasi
Menghidupkan/Mematikan
- Untuk Menghidupkan: Press the power button on the projector or the remote control. The indicator light will illuminate.
- Untuk Mematikan: Press the power button again. Allow the projector to cool down before unplugging it.
Pemilihan Sumber
After connecting your device, select the correct input source using the 'Source' button on the projector or the remote control. Navigate through the options (HDMI1, HDMI2, AV, USB, Micro SD, VGA) and select your desired input.
Output Audio
The projector features built-in speakers for convenient audio. For an enhanced audio experience, you can connect external speakers or headphones.
- Pembesar Suara Terbina dalam: Audio will play automatically through the projector's internal speakers.
- External Speakers/Headphones: Connect your external audio device to the 3.5mm headphone jack on the projector. This will typically disable the built-in speakers.

Image: Demonstrates connecting the projector to an external sound system for an enhanced audio experience.
Alat Kawalan Jauh
Use the included remote control to power on/off, select input sources, adjust volume, and navigate menus from a distance.
5. Penyelenggaraan
Penjagaan Am
- Pastikan projektor berada di persekitaran yang bersih dan bebas habuk.
- Elakkan daripada mendedahkan projektor kepada suhu atau kelembapan yang melampau.
- Do not block the ventilation openings, as this can lead to overheating.
Pembersihan Kanta
Gunakan kain lembut dan bebas lin yang direka khusus untuk kanta optik untuk mengelap kanta projektor dengan perlahan. Jangan gunakan pembersih atau pelarut yang melelas.
6. Penyelesaian masalah
Jika anda menghadapi masalah dengan projektor anda, rujuk kepada masalah dan penyelesaian biasa berikut:
| Masalah | Kemungkinan Punca | Penyelesaian |
|---|---|---|
| Tiada gambar di skrin | Incorrect input source selected; loose cable connection; device not powered on. | Verify the input source matches your connected device. Check all cable connections. Ensure the source device is powered on. |
| Imej kabur | Fokus tidak dilaraskan; projektor terlalu dekat/jauh dari skrin. | Adjust the focus knob until the image is clear. Ensure the projector is within the recommended projection distance. |
| Image is distorted (trapezoidal) | Projector not perpendicular to the screen. | Adjust the keystone correction dial to square the image. Reposition the projector if necessary. |
| Tiada bunyi | Volume too low; incorrect audio output selected; external speakers not connected properly. | Increase the volume. Check if external speakers or headphones are connected and functioning. Ensure the source device's volume is also up. |
| Kipas projektor bising | Normal operation; ventilation blocked; fan wearing down. | Ensure ventilation openings are clear. If noise is excessive or unusual, contact customer support. |
7. Spesifikasi
| Ciri | Perincian |
|---|---|
| Nombor Model | CJR600WH |
| Resolusi Paparan | 1280 x 720 |
| Dimensi Produk (L x W x H) | 8.1 x 6.1 x 3.4 inci |
| Berat Barang | 2 paun |
| Teknologi Ketersambungan | USB, HDMI, AV, Micro SD, VGA |
| Ciri Khas | Headphone Jack, Portable, Built-in Speakers, Keystone Correction |
| Penggunaan yang Disyorkan | Gaming, Home Theater, Presentations |
| Pengeluar | DP Audio Video |

Image: Physical dimensions of the projector.
8. Waranti dan Sokongan
For warranty information or technical support, please contact the manufacturer, DP Audio Video, or your retailer. Keep your purchase receipt as proof of purchase.