
1. Arahan Keselamatan Penting
Please read these instructions carefully before using the appliance to prevent damage, fire, or injury. Keep this manual for future reference.
- Sentiasa pastikan perkakas diletakkan pada permukaan yang stabil dan tahan haba.
- Jangan rendam perkakas, kord, atau palam ke dalam air atau cecair lain.
- Cabut plag perkakas dari alur keluar apabila tidak digunakan, sebelum memasang atau membuka bahagian, dan sebelum membersihkan.
- Jangan kendalikan sebarang perkakas dengan kord atau palam yang rosak, atau selepas perkakas tidak berfungsi atau rosak dalam apa jua cara.
- Jauhkan kanak-kanak daripada perkakas semasa operasi. Permukaan boleh menjadi panas.
- Jangan gunakan aksesori yang tidak disyorkan oleh pengilang.
- Perkakas ini adalah untuk kegunaan rumah sahaja.
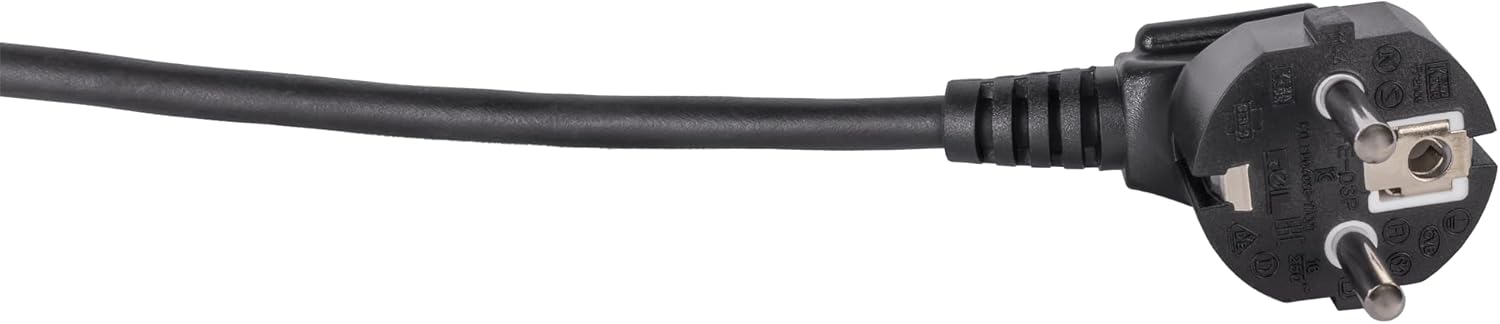
Image: Standard European power plug. Ensure the plug is fully inserted into a grounded outlet.
2. Produk Lebihview
2.1 Komponen
The Steba BM 3 Bread Maker includes the following main components:
- Main Unit with Control Panel and Display
- Removable Baking Pan with Non-stick Coating
- Mengayuh Dayung
- Cawan Pengukur
- Sudu Pengukur
- Hook for removing kneading paddle
- Tudung dengan ViewTetingkap

Imej: Depan view of the Steba BM 3 Bread Maker, showing its compact design.
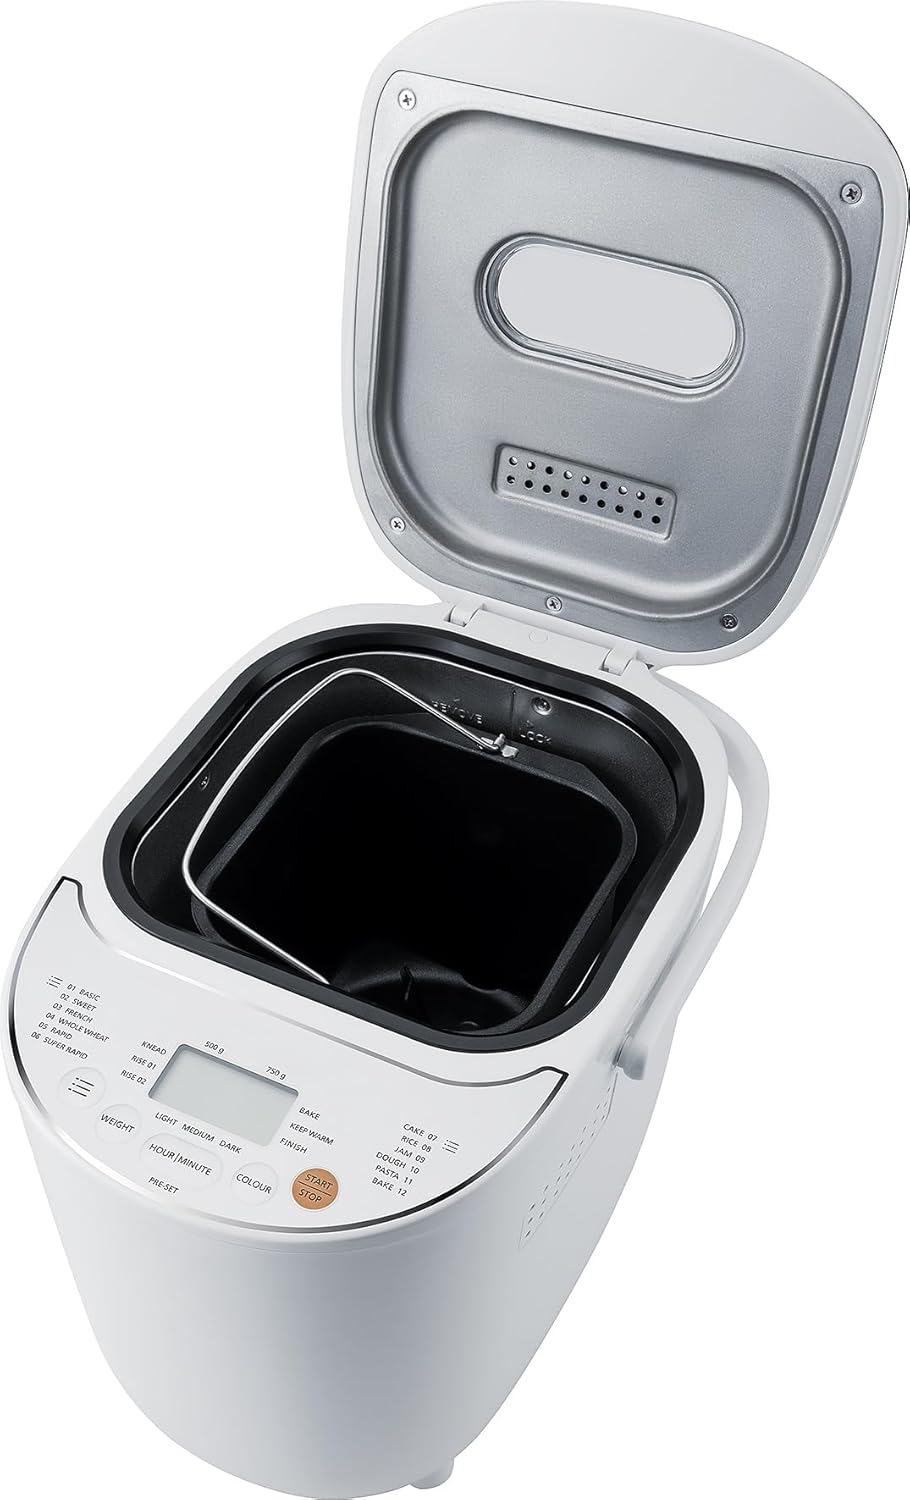
Image: The bread maker with its lid open, revealing the removable baking pan inside.
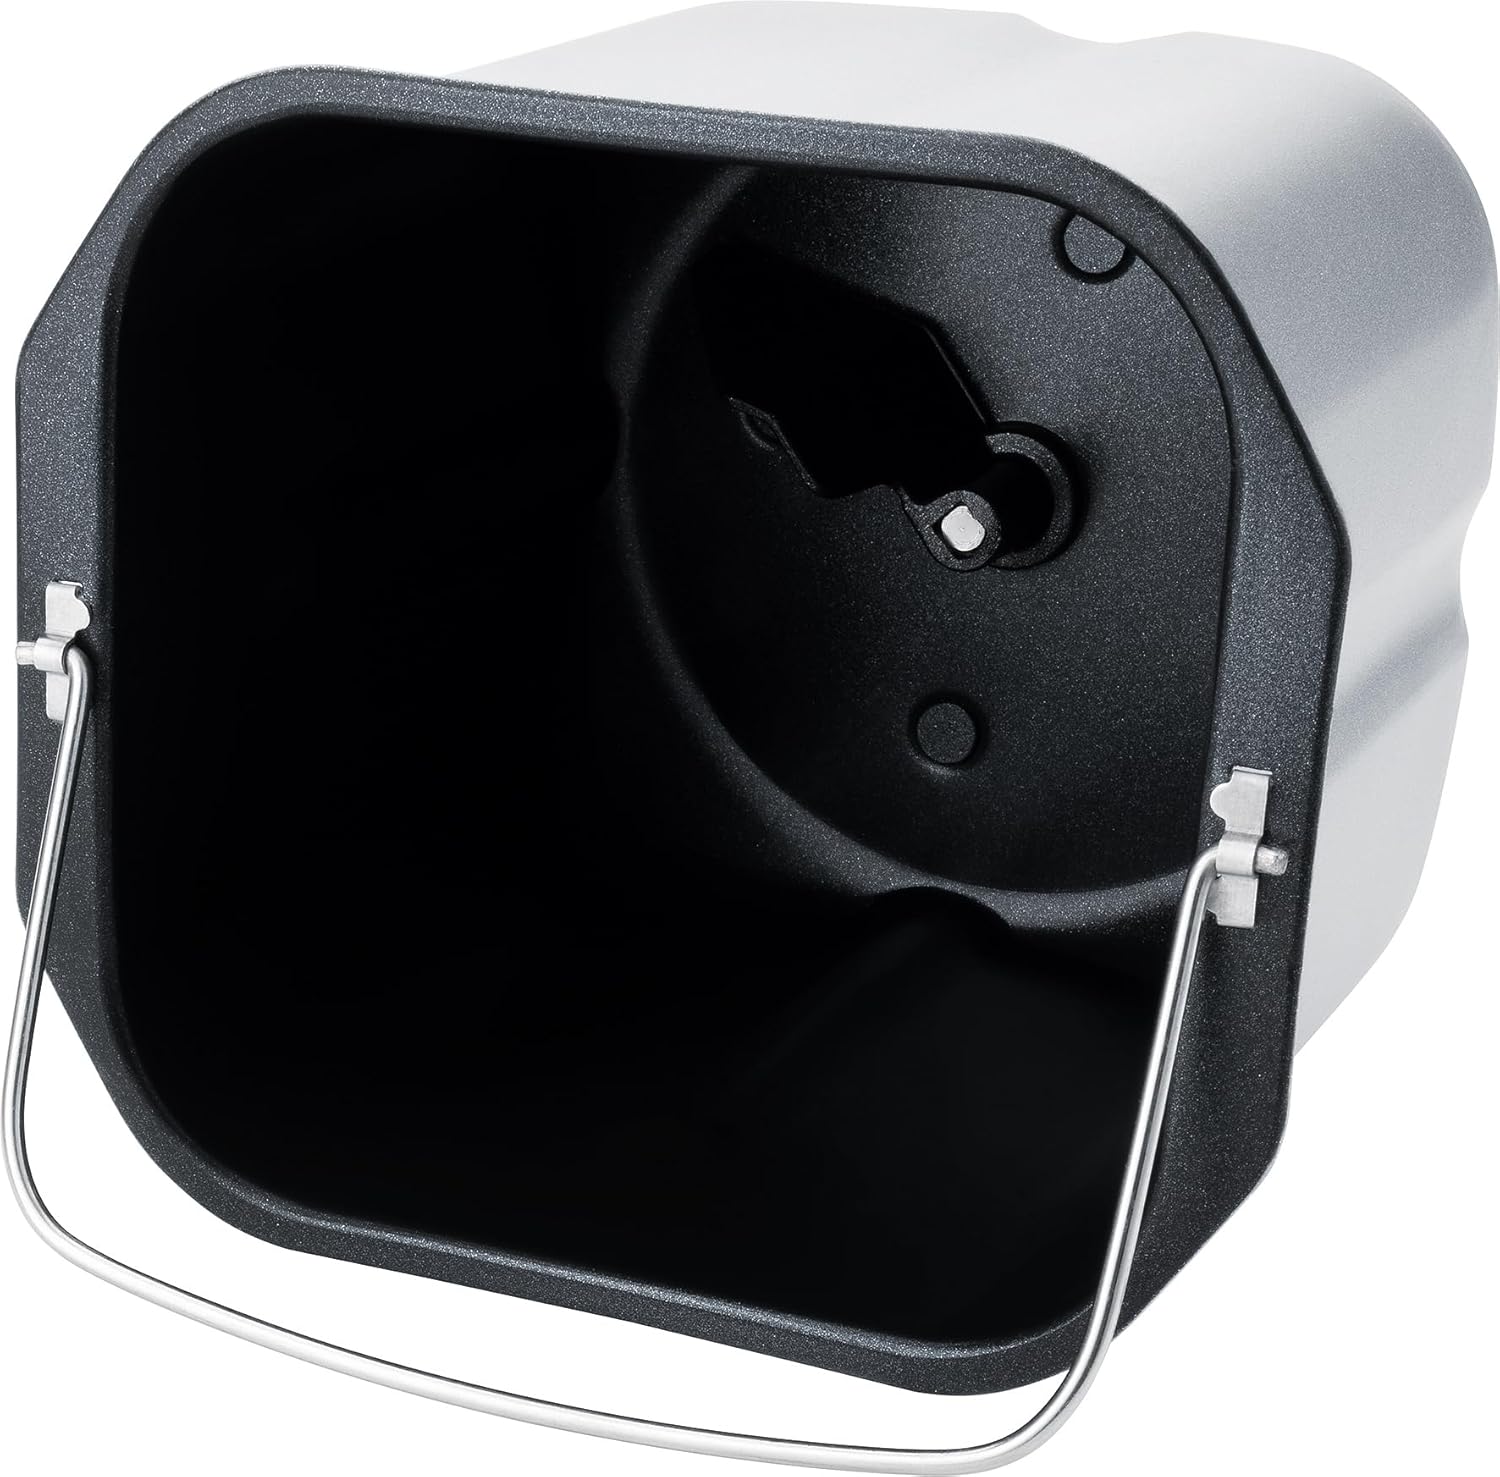
Imej: Terperinci view of the non-stick baking pan with the kneading paddle shaft.

Image: Included accessories: a measuring cup, a double-sided measuring spoon, and a hook for removing the kneading paddle.
2.2 Panel Kawalan dan Paparan
The intuitive Touch-Control panel allows for easy program selection and setting adjustments.

Image: Close-up of the control panel, showing the digital display, program list, and control buttons for weight, time, color, and start/stop.
Kawalan Utama:
- paparan: Shows selected program, time, and settings.
- Pemilihan Program: Choose from 12 automatic programs (Basic, Sweet, French, Whole Wheat, Rapid, Super Rapid, Cake, Rice, Jam, Dough, Pasta, Bake).
- Weight Button: Adjust bread weight (500g or 750g).
- Colour Button: Select crust browning level (Light, Medium, Dark).
- Hour/Minute (Pre-set) Buttons: Set delay timer for up to 13 hours.
- Butang Mula / Berhenti: Initiate or cancel a program.
3. Persediaan dan Penggunaan Pertama
3.1 Membongkar
- Tanggalkan pembuat roti dan semua aksesori dari pembungkusan dengan berhati-hati.
- Keluarkan sebarang filem atau pelekat pelindung daripada perkakas.
- Wash the baking pan, kneading paddle, measuring cup, and spoon in warm, soapy water. Rinse thoroughly and dry completely. The main unit should only be wiped with a damp kain.
3.2 Penggunaan Awal
- Place the bread maker on a clean, dry, and stable surface.
- Insert the baking pan into the main unit and twist it clockwise until it locks into place.
- Attach the kneading paddle onto the shaft inside the baking pan.
- For the first use, it is recommended to run a short 'Bake' cycle (Program 12) without ingredients for about 10 minutes to burn off any manufacturing residues. Ensure good ventilation during this process.
- Allow the appliance to cool down completely before cleaning and proceeding with actual baking.
4. Operasi
4.1 Basic Bread Making Steps
- Tambah Bahan: Follow a recipe and add liquid ingredients first, then dry ingredients, and finally yeast. Ensure yeast does not come into direct contact with liquids or salt.
- Pilih Program: Plug in the bread maker. The default program (usually 'Basic') will appear on the display. Press the 'Program' button repeatedly to cycle through the 12 available programs until your desired program is selected.
- Set Weight: Press the 'Weight' button to choose between 500g or 750g loaf size, if applicable for the selected program.
- Set Crust Colour: Press the 'Colour' button to select Light, Medium, or Dark crust.
- Mula Membakar: Press the 'Start/Stop' button. The bread maker will begin the selected program.
- penyiapan: Once the program finishes, the bread maker will beep and automatically switch to a 1-hour 'Keep Warm' function.
- Keluarkan Roti: Unplug the appliance. Using oven mitts, carefully remove the baking pan by twisting it counter-clockwise and lifting it out. Invert the pan to release the bread onto a wire rack to cool. If the kneading paddle remains in the bread, use the provided hook to remove it.
4.2 Fungsi Pemasa Kelewatan
The delay timer allows you to set the bread maker to finish baking at a later time, up to 13 hours. This is ideal for fresh bread in the morning.
- Masukkan semua bahan ke dalam loyang.
- Select your desired program, weight, and crust colour.
- Press the 'Hour' and 'Minute' buttons to set the desired delay time. The displayed time includes the baking cycle duration.
- Press 'Start/Stop'. The timer will count down, and the bread maker will start automatically when the delay time expires.
Nota: Jangan gunakan pemasa tunda dengan resipi yang mengandungi bahan-bahan yang mudah rosak seperti susu, telur atau buah-buahan segar, kerana ia mungkin rosak.

Image: An assortment of various types of freshly baked bread, illustrating the potential output of the bread maker.
5. Penyelenggaraan dan Pembersihan
Proper cleaning and maintenance ensure the longevity and optimal performance of your bread maker.
5.1 Pembersihan
- Sentiasa cabut plag perkakas dan biarkan ia sejuk sepenuhnya sebelum dibersihkan.
- Loyang Pembakar dan Dayung Uli: These parts are non-stick and should be washed by hand with warm, soapy water. Avoid abrasive cleaners or scouring pads that could damage the non-stick coating. Rinse thoroughly and dry completely.
- Unit Utama: Lap bahagian luar pembuat roti dengan lembut, damp kain. Jangan gunakan bahan kimia yang keras atau rendam unit di dalam air.
- Tudung: Penutup boleh dilap sehingga bersih dengan iklanamp kain. The viewing window can be cleaned with a mild glass cleaner if necessary.
5.2 Penyimpanan
Store the bread maker in a dry, clean place, away from direct sunlight and out of reach of children.
6. Penyelesaian masalah
Jika anda menghadapi masalah dengan pembuat roti anda, rujuk masalah dan penyelesaian biasa berikut:
| Masalah | Kemungkinan Punca | Penyelesaian |
|---|---|---|
| Roti tidak naik | Expired yeast, incorrect water temperature, too much salt/sugar, wrong program. | Check yeast expiry, use lukewarm water, ensure correct ingredient ratios, select appropriate program. |
| Roti terlalu pekat | Too much flour, not enough liquid, yeast issue. | Measure ingredients precisely, ensure proper liquid-to-flour ratio, check yeast activity. |
| Uli dayung tersangkut dalam roti | Normal occurrence. | Use the provided hook to carefully remove the paddle after the bread has cooled slightly. |
| Perkakas tidak dimulakan | Not plugged in, program not selected, 'Start/Stop' not pressed. | Ensure power connection, select a program, press 'Start/Stop'. |
7. Spesifikasi
Technical details for the Steba BM 3 Bread Maker:
- Nombor Model: 188300
- Jenama: Steba
- Voltage: 230 Volt
- Wattage: 540 Watt
- kapasiti: Up to 750 Grams
- Dimensi Produk (D x W x H): 34D x 27.5W x 24H cm
- Berat Barang: 4 Kilogram
- Bahan: plastik
- Bilangan Program: 12
- Arahan Penjagaan: Hand wash only (for removable parts)
- EU Spare Parts Availability: 2 Tahun

Image: Diagram showing the dimensions of the Steba BM 3 Bread Maker: 34 cm depth, 27.5 cm width, and 24 cm height.
8. Waranti dan Sokongan
For warranty claims, technical support, or service inquiries, please contact your retailer or the manufacturer directly. Keep your proof of purchase for warranty validation.