
pengenalan
Thank you for choosing the ThreeH Digital Alarm Clock Radio. This manual provides essential information for setting up, operating, and maintaining your device. Please read it carefully to ensure proper use and to fully utilize all features.
Maklumat Keselamatan
- Jangan dedahkan peranti kepada air, lembapan atau suhu yang melampau.
- Elakkan meletakkan jam berhampiran sumber haba atau di bawah cahaya matahari langsung.
- Use only the provided USB cable for power. Ensure the power adapter (not included) meets the specified voltage (DC 5V).
- Jangan cuba membuka atau membaiki peranti sendiri. Hubungi kakitangan perkhidmatan yang berkelayakan untuk mendapatkan bantuan.
- Jauhkan daripada kanak-kanak.
Kandungan Pakej
Pakej termasuk:
- ThreeH Digital Alarm Clock Radio (Model H-AC55Red)
- USB Power Cable (Note: Power adapter not included)
- CR2032 Button Battery (pre-installed for memory backup)
- Manual Pengguna (dokumen ini)
Produk Selesaiview
Paparan Depan

Imej: Depan view of the ThreeH Digital Alarm Clock Radio, displaying the time and alarm icons.
The device features a large 7.3-inch LED display for clear time visibility. The curved screen design enhances readability.
Back Panel and Controls

Imej: Terperinci view of the clock's back panel, highlighting control buttons and connection ports.
Kawalan Utama:
- VOL / DOWN: Adjust volume, navigate down in settings.
- RADIO / SLEEP: Activate FM radio, set sleep timer, turn off radio.
- SNOOZE / DIMMER: Snooze alarm, adjust display brightness (manual/auto).
- SET: Masuk ke mod tetapan, sahkan pilihan.
- KE ATAS: Navigate up in settings, adjust values, increase volume.
- AL1 / AL2: Set and activate/deactivate Alarm 1 and Alarm 2.

Image: Diagram illustrating the functions of the buttons and ports on the back of the alarm clock.
Persediaan
Sambungan Kuasa
Connect the provided USB power cable to the DC 5V input port on the back of the alarm clock. Plug the other end into a USB power adapter (not included) or a powered USB port.

Image: Illustration of connecting the USB power cable to the device.
The built-in CR2032 button battery provides memory backup for time and alarm settings during power outages. This battery is pre-installed.
Menetapkan Masa
- Tekan dan tahan butang SET butang sehingga digit jam berkelip.
- Gunakan UP or TURUN butang untuk melaraskan jam.
- Tekan SET again to confirm the hour and move to minute adjustment.
- Gunakan UP or TURUN butang untuk melaraskan minit.
- Tekan SET sekali lagi untuk mengesahkan minit dan keluar dari mod tetapan masa.
Format 12/24 Jam
While the time is displayed, press the UP button briefly to switch between 12-hour and 24-hour formats. In 12-hour format, "PM" will be indicated on the display.
Arahan Operasi
Melaraskan Kecerahan Paparan
The display has 4 levels of adjustable brightness (Bright, Medium, Dim, Off). You can adjust it manually or set it to adjust automatically based on ambient light.

Image: Visual representation of the four adjustable brightness levels.
- Tekan ke TUNDA / DIMMER button repeatedly to cycle through the manual brightness levels: Bright > Medium > Dim > Off.
- To enable automatic brightness adjustment, press and hold the TUNDA / DIMMER button. The display will show "AU" to indicate automatic mode. The clock will then adjust its brightness based on ambient light conditions.
- To disable automatic brightness, press and hold the TUNDA / DIMMER butang lagi.
Menetapkan Penggera (Penggera 1 dan Penggera 2)
The clock supports two independent alarms. The default snooze time is 9 minutes.
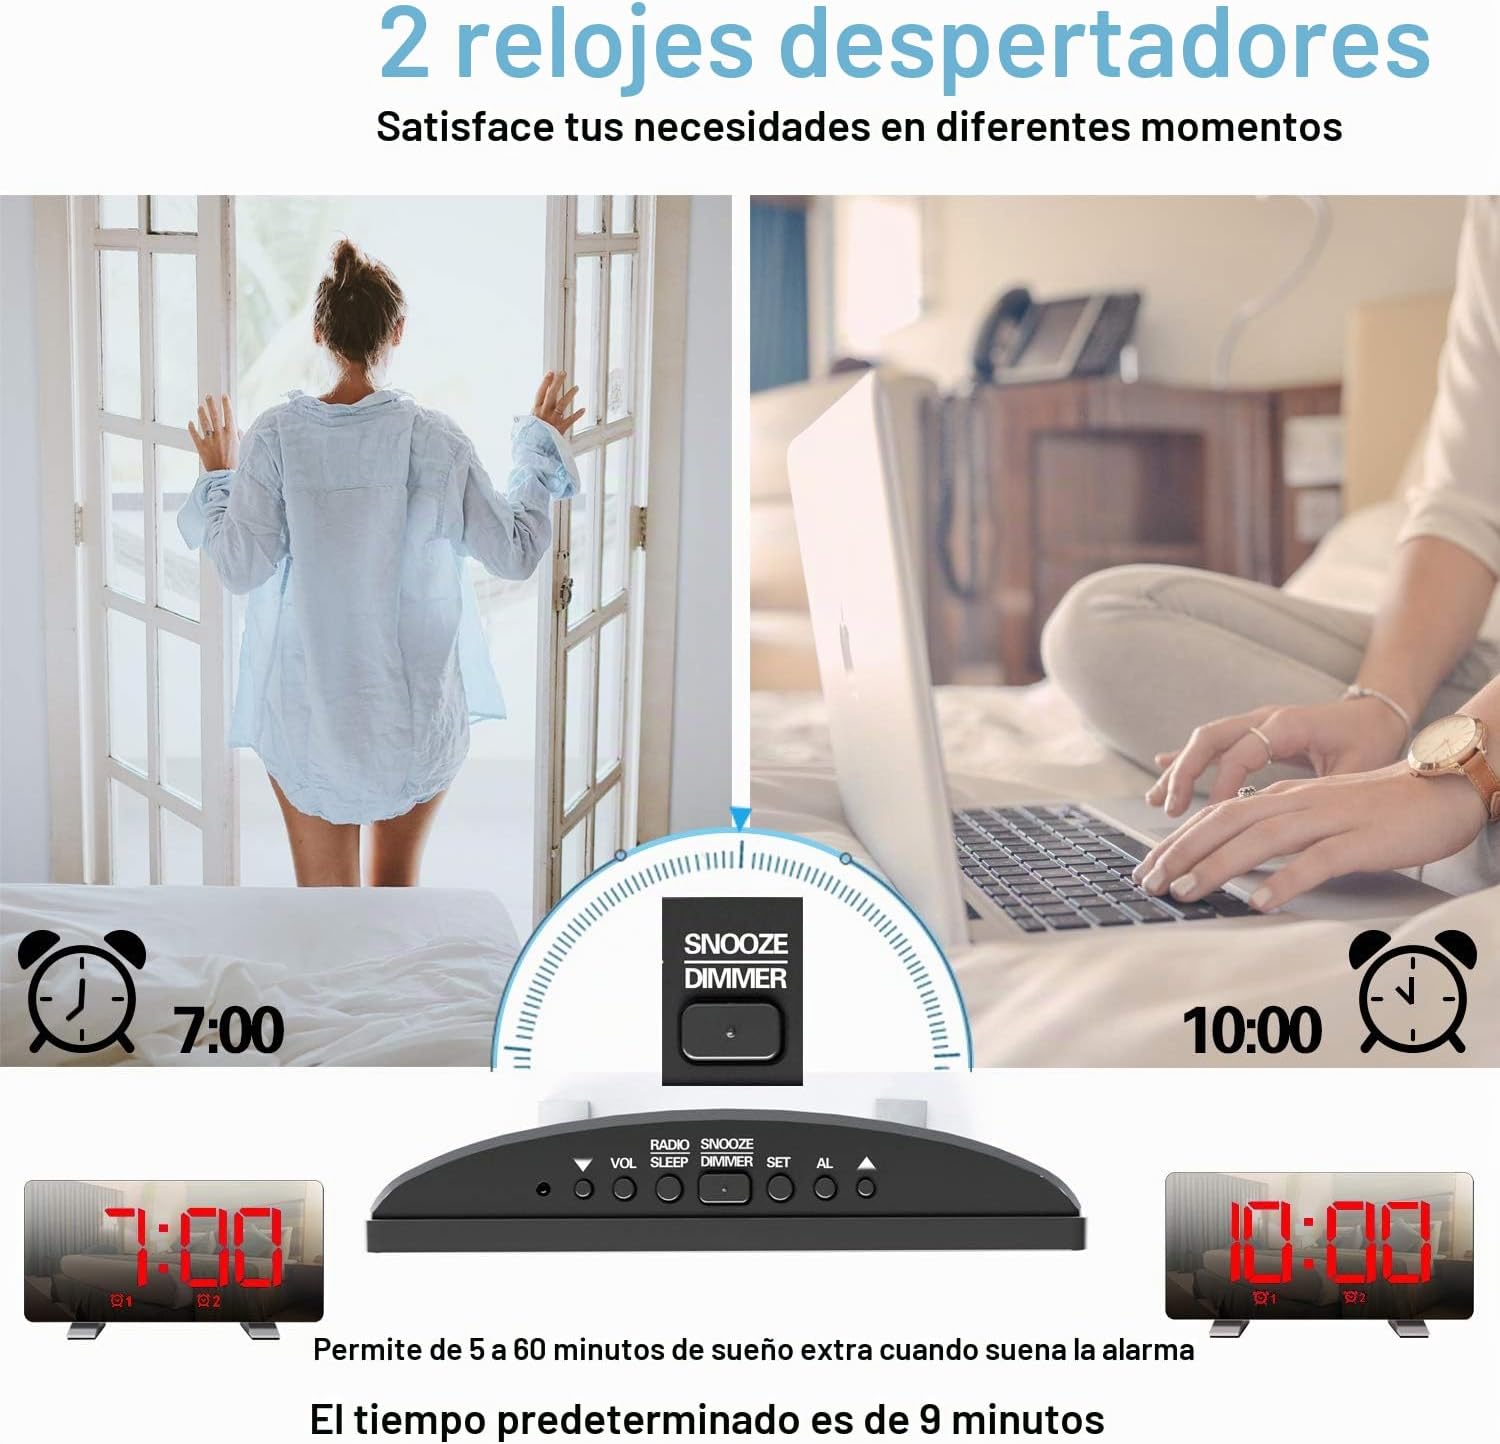
Image: Depiction of setting two separate alarms for different times.
- Tekan ke AL1 or AL2 button to select the alarm you wish to set. The alarm icon and hour digits will flash.
- Gunakan UP or TURUN butang untuk melaraskan jam.
- Tekan butang penggera yang dipilih (AL1 or AL2) again to confirm the hour and move to minute adjustment.
- Gunakan UP or TURUN butang untuk melaraskan minit.
- Tekan butang penggera yang dipilih (AL1 or AL2) again to confirm the minutes.
- Next, select the alarm sound source: Use UP or TURUN to choose between "BU" (Buzzer) or "RA" (Radio).
- If "RA" is selected, use UP or TURUN to select a preset radio station (P01-P15).
- Tekan butang penggera yang dipilih (AL1 or AL2) again to confirm the sound source and exit alarm setting mode.
Mengaktifkan/Menyahaktifkan Penggera
Tekan ke AL1 or AL2 button briefly to toggle the respective alarm ON or OFF. The alarm icon will appear on the display when active.
Fungsi Tunda
Apabila penggera berbunyi, tekan butang TUNDA / DIMMER button to activate snooze. The alarm will pause for 9 minutes and then sound again.
Menghentikan Penggera
To stop an alarm from sounding (without snooze), press any button other than TUNDA / DIMMER.
Operasi Radio FM
The clock features an FM radio with a frequency range of 76-108 MHz and can store up to 15 preset stations.

Imej: Selesaiview of FM radio features and product dimensions.
- Tekan ke RADIO / SLEEP button to turn on the FM radio. The current frequency will be displayed.
- Imbasan Stesen Automatik: Tekan dan tahan butang RADIO / SLEEP button to automatically scan and save available FM stations. The clock can store up to 15 stations.
- Penalaan Manual: Tekan sebentar UP or TURUN butang untuk melaraskan frekuensi secara manual.
- Memilih Stesen Pratetap: After an automatic scan, briefly press the RADIO / SLEEP button to cycle through the preset stations (P01, P02, etc.).
- Adjusting Radio Volume: Gunakan VOL / DOWN button to decrease volume and the UP button to increase volume. There are 15 volume levels.
- Turning Off Radio: Tekan dan tahan butang RADIO / SLEEP button to turn off the FM radio.

Image: Visual representation of FM radio reception and frequency range.
Tidur Fungsi Pemasa
Pemasa tidur membolehkan radio dimainkan untuk tempoh yang ditetapkan sebelum dimatikan secara automatik.
- Semasa radio dimainkan, tekan butang RADIO / SLEEP butang berulang kali untuk menelusuri pilihan pemasa tidur (cth., 90, 60, 30, 15 minit, MATI).
- The selected duration will be displayed briefly. The radio will turn off automatically after the set time.
Port Pengecasan USB
The USB port on the back of the clock can be used to charge mobile phones or other USB-powered devices.

Image: The alarm clock actively charging a smartphone via its integrated USB port.
Connect your device's USB charging cable to the USB port on the back of the alarm clock. Ensure the alarm clock is powered on.
Penyelenggaraan
- Bersihkan jam dengan kain lembut dan kering. Jangan gunakan pembersih atau pelarut yang melelas.
- Jauhkan peranti daripada air dan kelembapan yang tinggi.
- Elakkan mendedahkan jam kepada cahaya matahari langsung atau suhu yang melampau.
- If the display becomes dim or unresponsive after a power outage, the internal CR2032 battery may need replacement.
Menyelesaikan masalah
| Masalah | Kemungkinan Punca | Penyelesaian |
|---|---|---|
| Jam tidak menyala. | Tiada bekalan kuasa atau sambungan longgar. | Ensure the USB cable is securely connected to both the clock and a working power source. |
| Penggera tidak berbunyi. | Penggera tidak diaktifkan atau kelantangan terlalu rendah. | Check if the alarm icon is displayed. Adjust alarm volume if using radio alarm. |
| Penerimaan radio FM yang lemah. | Weak signal or antenna not extended. | Extend the FM antenna fully. Try repositioning the clock for better reception. |
| Masa/tetapan ditetapkan semula selepas kuasa dimatikantage. | CR2032 backup battery depleted. | Replace the CR2032 button battery in the battery compartment on the back. |
Spesifikasi
- model: H-AC55Red
- Jenama: TigaH
- paparan: 7.3-inch LED Digital
- Dimensi: 17.2 sm (W) x 3.81 sm (D) x 9.1 sm (H)
- Berat: 290 g
- Sumber Kuasa: USB Cable (DC 5V input)
- Bateri Sandaran: 1 x CR2032 (termasuk)
- Julat Frekuensi FM: 76-108 MHz
- Ciri-ciri Penggera: Dual Alarms, Snooze (9 minutes default), Radio/Buzzer alarm sound
- Kecerahan: 4 levels (manual) + Auto-dimming
- Output Pengecasan USB: Standard USB (for charging external devices)
Waranti dan Sokongan
For warranty information and customer support, please refer to the documentation provided at the time of purchase or contact ThreeH customer service directly. Keep your purchase receipt for warranty claims.