
1. Pengenalan
This manual provides comprehensive instructions for the installation, operation, and maintenance of the AITRIP SHTC3 High-Precision Digital Temperature and Humidity Sensor Module. The SHTC3 is designed for accurate environmental monitoring in various applications, utilizing I2C communication for seamless integration with microcontrollers.
2. Produk Lebihview
The AITRIP SHTC3 module is a compact, low-power, high-precision digital sensor capable of measuring both temperature and relative humidity. It features an I2C interface, making it compatible with a wide range of development boards such as Arduino, ESP32, and Raspberry Pi. This module is an ideal solution for projects requiring reliable environmental data.
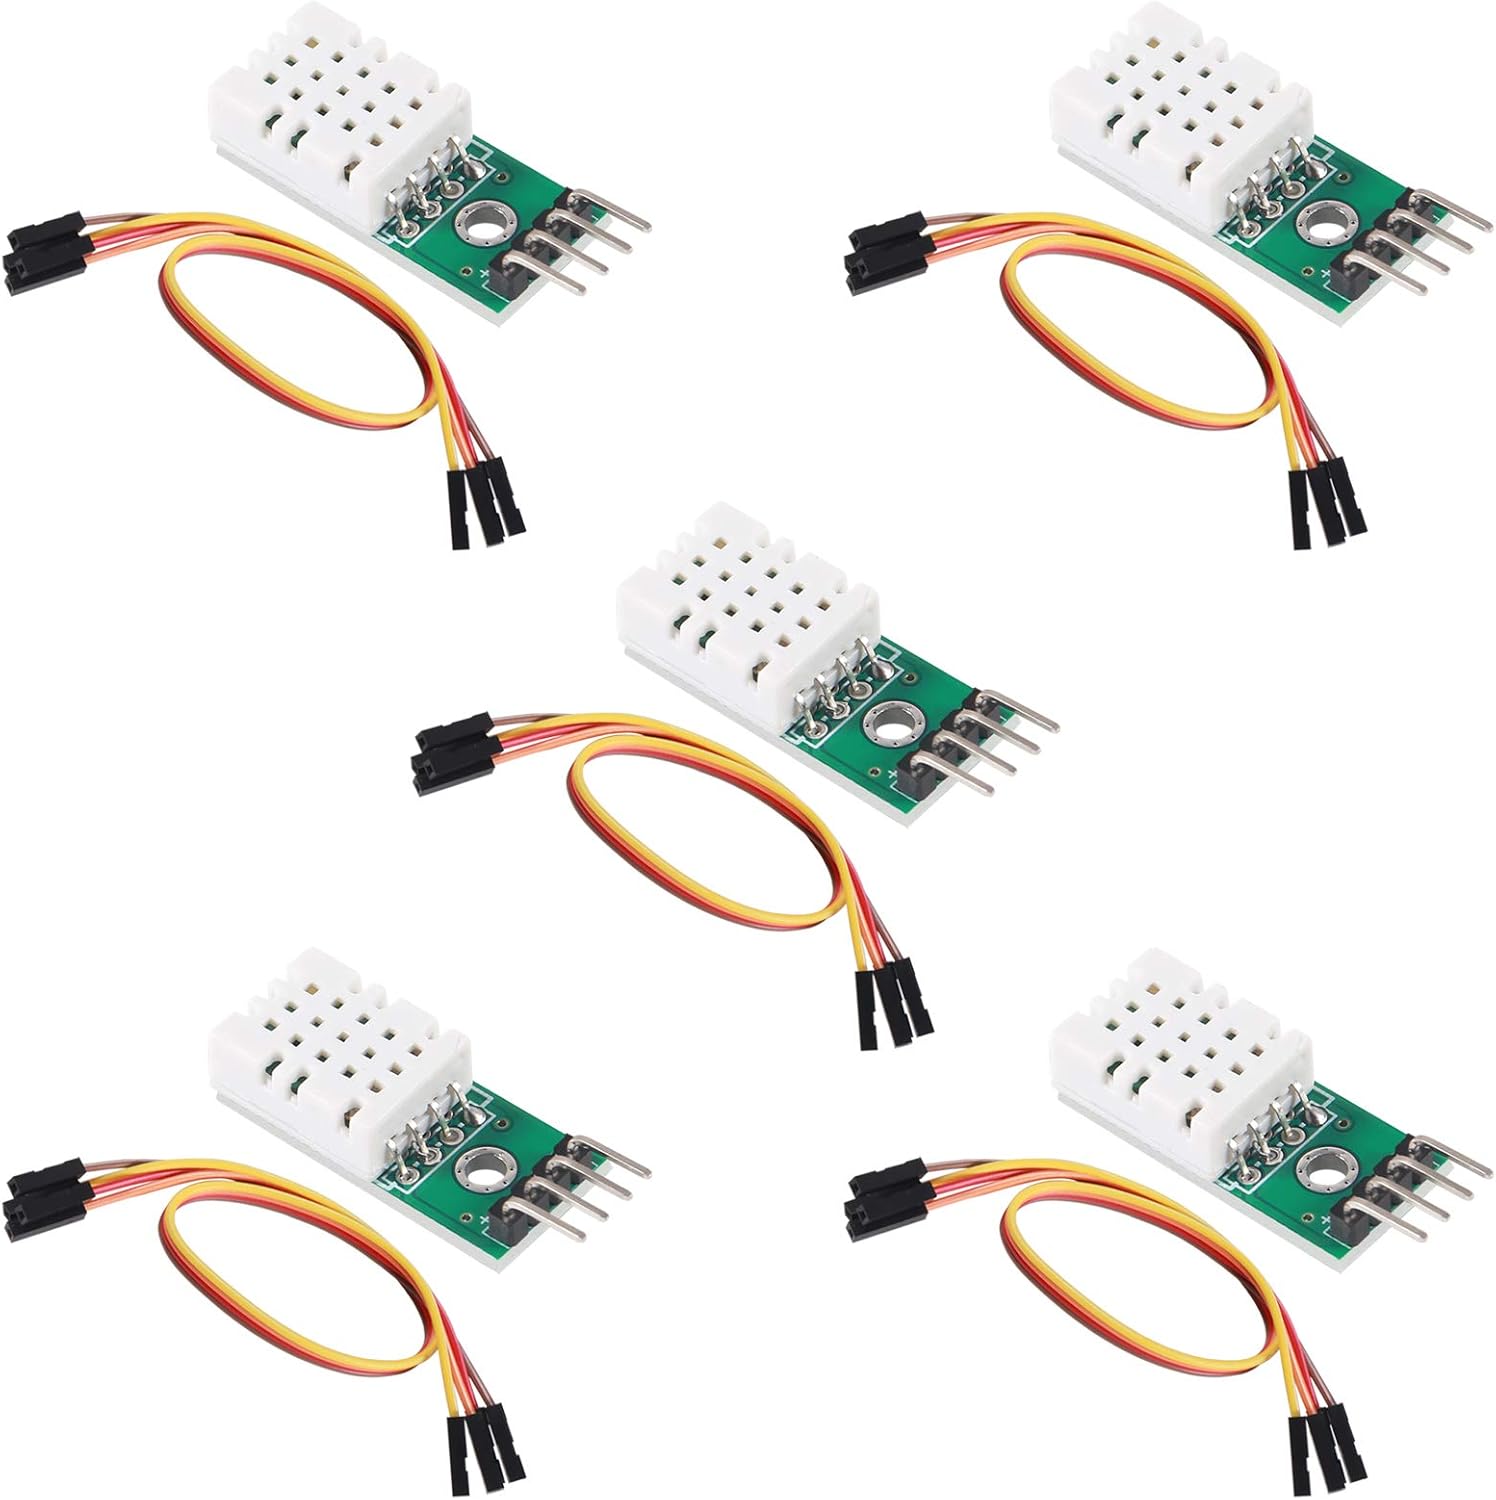
Figure 1: AITRIP SHTC3 High-Precision Digital Temperature and Humidity Sensor Modules.
3. Spesifikasi
| Ciri | Nilai |
|---|---|
| Julat Pengukuran Kelembapan | 0 ~ 100% RH |
| Ketepatan Pengukuran Kelembapan | ±2% RH |
| Julat Pengukuran Suhu | -40 ~ 125 °C |
| Ketepatan Pengukuran Suhu | ±0.2 °C |
| Bekerja Voltage | 3.3 ~ 5V DC |
| Antara muka | I2C |
4. Penerangan Pin
The SHTC3 module features four pins for power and I2C communication. Understanding these pins is crucial for correct wiring.

Rajah 2: Atas dan Bawah View of SHTC3 Module with Pin Labels.
- VDD: Power supply input. Connect to 3.3V to 5.5V DC.
- GND: Ground connection. Connect to the negative power supply.
- SDA: Serial Data Line. This is a bidirectional line for I2C data communication.
- SCL: Serial Clock Line. This is the input line for the I2C clock signal.
5. Persediaan
Follow these steps to connect and prepare your SHTC3 module for operation with a microcontroller (e.g., Arduino Uno, ESP32).
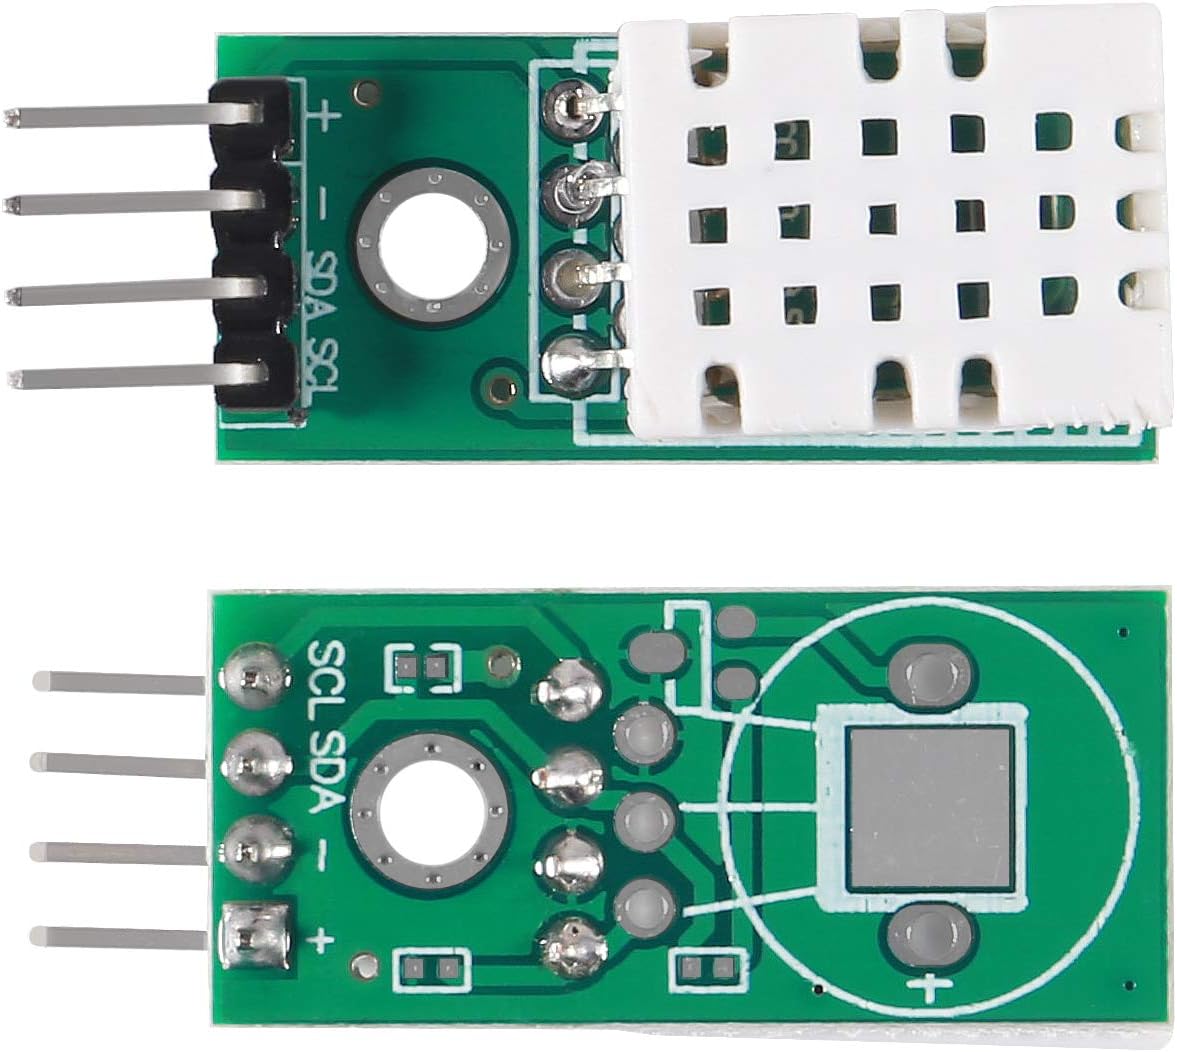
Figure 3: SHTC3 Module with Jumper Wires for Connection.
- Pendawaian:
- Sambungkan VDD pin of the SHTC3 module to the 3.3V or 5V pin of your microcontroller.
- Sambungkan GND pin of the SHTC3 module to the GND pin of your microcontroller.
- Sambungkan SDA pin of the SHTC3 module to the SDA (Data) pin of your microcontroller (e.g., A4 on Arduino Uno, GPIO21 on ESP32).
- Sambungkan SCL pin of the SHTC3 module to the SCL (Clock) pin of your microcontroller (e.g., A5 on Arduino Uno, GPIO22 on ESP32).
- Software Libraries:
For Arduino IDE, install a suitable SHTC3 library. Cari untuk "SHTC3" in the Library Manager (Sketch > Include Library > Manage Libraries...). Popular options include libraries by Adafruit or SparkFun, which often provide exampkod itu.
- ExampKod le:
Rujuk kepada bekasample sketches provided with the installed library to verify basic functionality and understand how to read temperature and humidity values.
6. Arahan Operasi
Once connected and the necessary libraries are installed, you can begin reading data from the SHTC3 sensor. The following outlines a general operational flow:
- Permulaan: In your microcontroller code, initialize the I2C communication and the SHTC3 sensor object. This typically involves calling a begin() function from the library.
- Membaca Data: Periodically request temperature and humidity readings from the sensor. The library functions will handle the I2C communication protocols.
- Pemprosesan Data: The library usually returns temperature in Celsius and humidity in percentage relative humidity. You may convert temperature to Fahrenheit if needed.
- Display/Logging: Display the readings on a serial monitor, an LCD screen, or log them to a data storage system.
Example (Conceptual Arduino-like pseudocode):
#include <Wire.h>
#include <Adafruit_SHTC3.h> // Example library

Adafruit_SHTC3 shtc3 = Adafruit_SHTC3();

void setup() {
  Serial.begin(9600);
  Serial.println("SHTC3 Sensor Test");

  if (! shtc3.begin()) {
    Serial.println("Couldn't find SHTC3 sensor!");
    while (1) delay(10);
  }
  Serial.println("SHTC3 Found!");
}

void loop() {
  sensors_event_t humidity, temp;
  shtc3.getEvent(&humidity, &temp); // Populate temp and humidity objects

  Serial.print("Temperature: ");
  Serial.print(temp.temperature);
  Serial.println(" *C");

  Serial.print("Humidity: ");
  Serial.print(humidity.relative_humidity);
  Serial.println(" %");

  delay(2000); // Wait for 2 seconds before next reading
}
7. Penyelenggaraan
The SHTC3 sensor module is designed for long-term stability and typically requires minimal maintenance. Adhere to the following guidelines to ensure optimal performance:
- Keadaan Persekitaran: Avoid exposing the sensor to extreme temperatures, high humidity condensation, or corrosive gases, which can affect accuracy and lifespan.
- Pembersihan: Do not attempt to clean the sensor element directly. Dust or debris on the protective cap can usually be removed with a gentle brush or compressed air from a distance.
- Pengendalian Fizikal: Handle the module with care to prevent physical damage to the sensor or PCB. Avoid bending pins excessively.
- Bekalan Kuasa: Pastikan bekalan kuasa yang stabil dalam vol yang ditentukantage range (3.3V-5V DC) to prevent erratic readings or damage.
8. Penyelesaian masalah
If you encounter issues with your SHTC3 module, consider the following troubleshooting steps:
- No Readings or Erratic Data:
- Pemeriksaan pendawaian: Verify all connections (VDD, GND, SDA, SCL) are correct and secure. Ensure SDA and SCL are connected to the correct I2C pins on your microcontroller.
- Bekalan Kuasa: Confirm the module is receiving stable power within the 3.3V-5V DC range.
- Alamat I2C: The SHTC3 has a fixed I2C address. Ensure your library is configured to use the correct address (usually handled automatically by standard libraries).
- Library Installation: Double-check that the SHTC3 library is correctly installed and included in your sketch.
- Pull-up Resistors: I2C communication requires pull-up resistors on SDA and SCL lines. Many development boards have internal pull-ups, or they might be integrated into the sensor module itself. If not, external 4.7kΩ to 10kΩ pull-up resistors to VDD may be required.
- Bacaan yang salah:
- Penentukuran: While the SHTC3 is factory calibrated, minor offsets can occur. If precise absolute accuracy is critical, compare readings with a known reference sensor and apply software offsets if necessary.
- Faktor Persekitaran: Ensure the sensor is not directly exposed to heat sources, direct sunlight, or drafts that could skew readings.
- Pencemaran Sensor: Check for any visible contamination on the sensor element.
9. Waranti dan Sokongan
AITRIP products are manufactured to high-quality standards. For specific warranty information, please refer to the product packaging or the retailer's terms of sale. For technical support or further assistance, please contact your point of purchase or visit the AITRIP official support channels if available.
Always ensure you are using the product within its specified operating conditions to maintain warranty validity.