Arahan Keselamatan Penting
Apabila menggunakan perkakas elektrik, langkah berjaga-jaga keselamatan asas hendaklah sentiasa dipatuhi, termasuk yang berikut:
- Baca semua arahan sebelum menggunakan mesin jahit ini.
- Keep these instructions in a suitable place near the machine.
- Jauhkan jari dari semua bahagian yang bergerak. Penjagaan khas diperlukan di sekitar jarum mesin jahit.
- Sentiasa gunakan plat jarum yang betul. Plat yang salah boleh menyebabkan jarum patah.
- Jangan gunakan jarum bengkok.
- Jangan tarik atau tolak fabrik semasa menjahit. Ini boleh memesongkan jarum, menyebabkan ia patah.
- Matikan mesin jahit apabila membuat sebarang pelarasan pada kawasan jarum, seperti memasukkan benang ke dalam jarum, menukar jarum, memasukkan benang ke dalam gelendong atau menukar kaki penekan.
- Sentiasa cabut plag mesin jahit daripada saluran keluar elektrik apabila menanggalkan penutup, pelincir, atau semasa membuat sebarang pelarasan servis pengguna lain yang dinyatakan dalam manual arahan.
- Jangan sekali-kali menjatuhkan atau memasukkan sebarang objek ke dalam mana-mana bukaan.
- Jangan gunakan di luar rumah.
- Jangan beroperasi di tempat produk aerosol (semburan) digunakan atau di mana oksigen diberikan.
Produk Selesaiview
The SINGER M1155 is a versatile sewing machine designed for various sewing projects. It features a compact design and user-friendly controls.
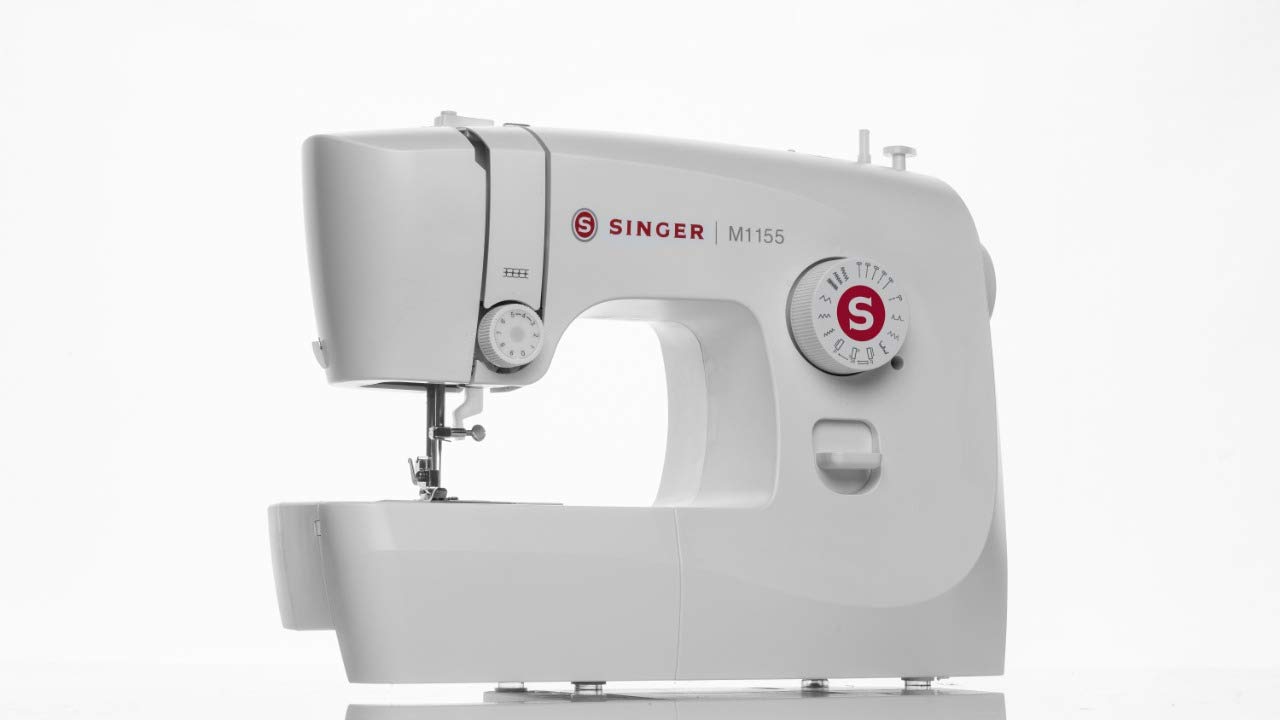
Imej: Depan view of the SINGER M1155 Sewing Machine, showcasinreka bentuk padat dan kawalan utamanya.
Komponen Utama:
- Dail Pemilih Jahitan: Used to choose from 14 built-in stitches.
- Dail Ketegangan: Adjusts thread tension for different fabrics.
- Plat Jarum: Provides a flat surface for sewing.
- Kaki Penekan: Holds fabric securely in place.
- Lampu LED: Menerangi kawasan jahitan untuk penglihatan yang lebih baik.
- roda tangan: Menaikkan dan menurunkan jarum secara manual.
- Suis kuasa: Menghidupkan dan mematikan mesin.
- Foot Pedal Connector: For connecting the foot control.

Imej: Belakang view of the SINGER M1155 Sewing Machine, showing the power input and on/off switch.
Persediaan
1. Membongkar dan Meletakkan
Carefully remove the machine from its packaging. Place the machine on a stable, flat surface. Ensure there is adequate space around the machine for comfortable operation.
2. Sambungan Kuasa
Connect the foot control to the machine's foot pedal connector. Plug the power cord into the machine's power input, then into a suitable electrical outlet. Use the power switch located at the back of the machine to turn it on.
3. Penggulungan Bobbin
The SINGER M1155 features automatic bobbin winding. Follow the threading guides on the machine to wind thread onto an empty bobbin. Ensure the bobbin is wound evenly for smooth stitching.
4. Mengulirkan Mesin
The machine is designed for easy threading. Follow the numbered threading path for the upper thread, ensuring the thread passes through all guides and the tension discs correctly. The machine features a top drop-in bobbin system for convenient bobbin insertion.
5. Needle Installation
Ensure the machine is turned off before changing the needle. Loosen the needle clamp screw, remove the old needle, and insert a new needle with the flat side facing the back of the machine. Tighten the needle clamp screw securely. The machine supports needle positions for left and center stitching.

Imej: Jarak dekat view of the needle and presser foot area, illustrating the working space for threading and needle changes.
Arahan Operasi
1. Pemilihan Jahitan
The SINGER M1155 offers 14 built-in stitches and 19 built-in functions, including a 4-step buttonhole. Turn the stitch selector dial to choose the desired stitch pattern. Refer to the stitch chart on the machine for available options.

Image: The stitch selection dial on the SINGER M1155, showing various stitch patterns and settings.
2. Jahitan Asas
Place the fabric under the presser foot. Lower the presser foot lever. Gently press the foot control to start sewing. Guide the fabric smoothly without forcing it. The machine has a 5 MM stitch width capability.
3. Menggunakan Lampu LED
The integrated LED light illuminates your sewing area, providing clear visibility for detailed work and reducing eye strain. It activates automatically when the machine is powered on.

Image: The SINGER M1155 Sewing Machine with an arrow pointing to the LED light, indicating its position for illuminating the sewing area.
4. Accessory Storage
The machine includes an accessory storage compartment within its extension table. This provides convenient storage for your bobbins, needles, and other small sewing tools.

Image: The SINGER M1155 Sewing Machine with its accessory drawer pulled out, showing space for storing small sewing tools.
Penyelenggaraan
Penyelenggaraan yang kerap memastikan jangka hayat dan prestasi optimum mesin jahit anda.
1. Pembersihan
- Pembuangan Lint: Periodically remove the needle plate and clean out any lint or thread buildup from the bobbin case area and feed dogs using a small brush.
- Pembersihan Permukaan: Lap bahagian luar mesin dengan kain lembut dan kering. Jangan gunakan bahan kimia yang keras atau pembersih yang kasar.
2. Pelinciran
Refer to the full service manual for specific lubrication points and frequency. Generally, modern sewing machines like the M1155 require minimal user lubrication.
Menyelesaikan masalah
Berikut ialah penyelesaian kepada isu biasa yang mungkin anda hadapi:
- Jahitan yang dilangkau: Ensure the needle is inserted correctly and is not bent. Use the appropriate needle type and size for your fabric and thread. Re-thread the machine completely.
- Pecah Benang: Check for correct threading, proper thread tension, and ensure the needle is not bent or dull. Use quality thread.
- Kedutan Fabrik: Adjust thread tension. Use a smaller stitch length. Ensure the correct presser foot is used for the fabric type.
- Mesin Tidak Bermula: Check if the power cord is securely plugged in and the power switch is on. Ensure the foot control is properly connected.
- Operasi bising: Clean the machine thoroughly, especially the bobbin area, to remove any lint or debris. Ensure all parts are correctly assembled.
Spesifikasi
| Ciri | Perincian |
|---|---|
| Jenama | PENYANYI |
| Nombor Model | S0442431 |
| Jahitan Terbina dalam | 14 |
| Fungsi Terbina dalam | 19 |
| Jenis Lubang Butang | 4 Step Button Hole |
| Jenis Bobbin | Top Drop-In Bobbin |
| Pencahayaan | Lampu LED |
| Penggulungan Bobbin | Automatik |
| Bingkai | Heavy Duty Metal Frame |
| Lebar Jahitan | 5 MM |
| Kedudukan Jarum | Left & Center |
| bahan | plastik |
| warna | putih |
| Sumber Kuasa | Elektrik Bertali |
| Berat Barang | 5 kg 860 g |
| Dimensi Item LxWxH | 50 x 50 x 28 Sentimeter |
| Komponen yang Disertakan | Main Product, Foot Control, Accessories Box, Warranty Card |
Waranti dan Sokongan
Your SINGER M1155 Sewing Machine comes with a warranty. Please refer to the included Warranty Card for details regarding coverage and terms. Keep your purchase receipt as proof of purchase.
For technical assistance, service, or warranty claims, please contact Singer India Limited directly.
Pengeluar: Singer India Limited
Nombor Bebas Tol: 18001033474