
1. Pengenalan
Thank you for choosing the ErGear PC Monitor Arm. This manual provides essential information for the safe and efficient installation, operation, and maintenance of your monitor arm. Please read these instructions carefully before use and retain them for future reference.
2. Maklumat Keselamatan
- Pastikan semua komponen ada dan tidak rosak sebelum pemasangan. Jangan gunakan jika mana-mana bahagian hilang atau rosak.
- This monitor arm is designed for monitors between 13 and 32 inches, with a weight capacity of 2-10kg. Do not exceed these limits.
- Always adjust the gas spring pressure only when the arm is in a horizontal position. Failure to do so may prevent proper adjustment.
- Ensure the mounting surface (desk) is stable and strong enough to support the combined weight of the monitor arm and your monitor.
- Jauhkan kanak-kanak dan haiwan peliharaan semasa pemasangan.
- Tighten all screws firmly, but do not overtighten to avoid stripping threads or damaging components.
3. Kandungan Pakej
Sahkan bahawa semua bahagian disertakan dalam pakej anda:
- Perhimpunan Lengan Monitor
- C-Clamp Perkakasan Pemasangan
- Perkakasan Pemasangan Grommet
- Plat VESA
- Klip Pengurusan Kabel
- Hex Keys / Wrenches
- Manual Arahan
4. Spesifikasi
| Jenama | ErGear |
| Nombor Model | EGSSK4W |
| bahan | Keluli Aloi |
| warna | putih |
| Jenis Pemasangan | Pemasangan Meja (C-Clamp atau Grommet) |
| Jenis Pergerakan | Tiltable, Swivel, Rotate |
| Saiz Monitor yang Serasi | 13-32 inci |
| Kapasiti Muatan | 2-10 kg |
| Keserasian VESA | 75x75mm, 100x100mm |
| Sudut Kecondongan Maks | Up 90°, Down 40° |
| Sudut Pusing | ±90° |
| Putaran | 360° |
| Waranti | Waranti pengilang selama 5 tahun |
5. Persediaan dan Pemasangan
The ErGear monitor arm offers two installation methods: C-clamp and grommet. Choose the method best suited for your desk.
5.1 Pre-Purchase Checklist
Before installation, ensure your setup meets the following requirements:
- Saiz Monitor: 13-32 inci
- Monitor Berat: 2-10 kg
- Standard VESA: 75x75mm atau 100x100mm
- Ketebalan Meja:
- C-Clamp: 10-82mm
- Grommet: 10-86mm

5.2 Kaedah Pemasangan

5.3 Langkah Pemasangan
Follow these general steps for installation. Refer to the included detailed manual for specific diagrams and screw types.
- Lampirkan Pangkalan: Secure the chosen mounting base (C-clamp or grommet) to your desk. Ensure it is tightly fastened.
- Connect the Arm: Slide the monitor arm onto the base post.
- Lampirkan Plat VESA ke Monitor: Secure the VESA plate to the back of your monitor using the provided screws.
- Pasangkan Monitor ke Lengan: Slide the VESA plate with the monitor onto the arm's VESA head. Tighten the securing screw.

6. Pengendalian dan Pelarasan
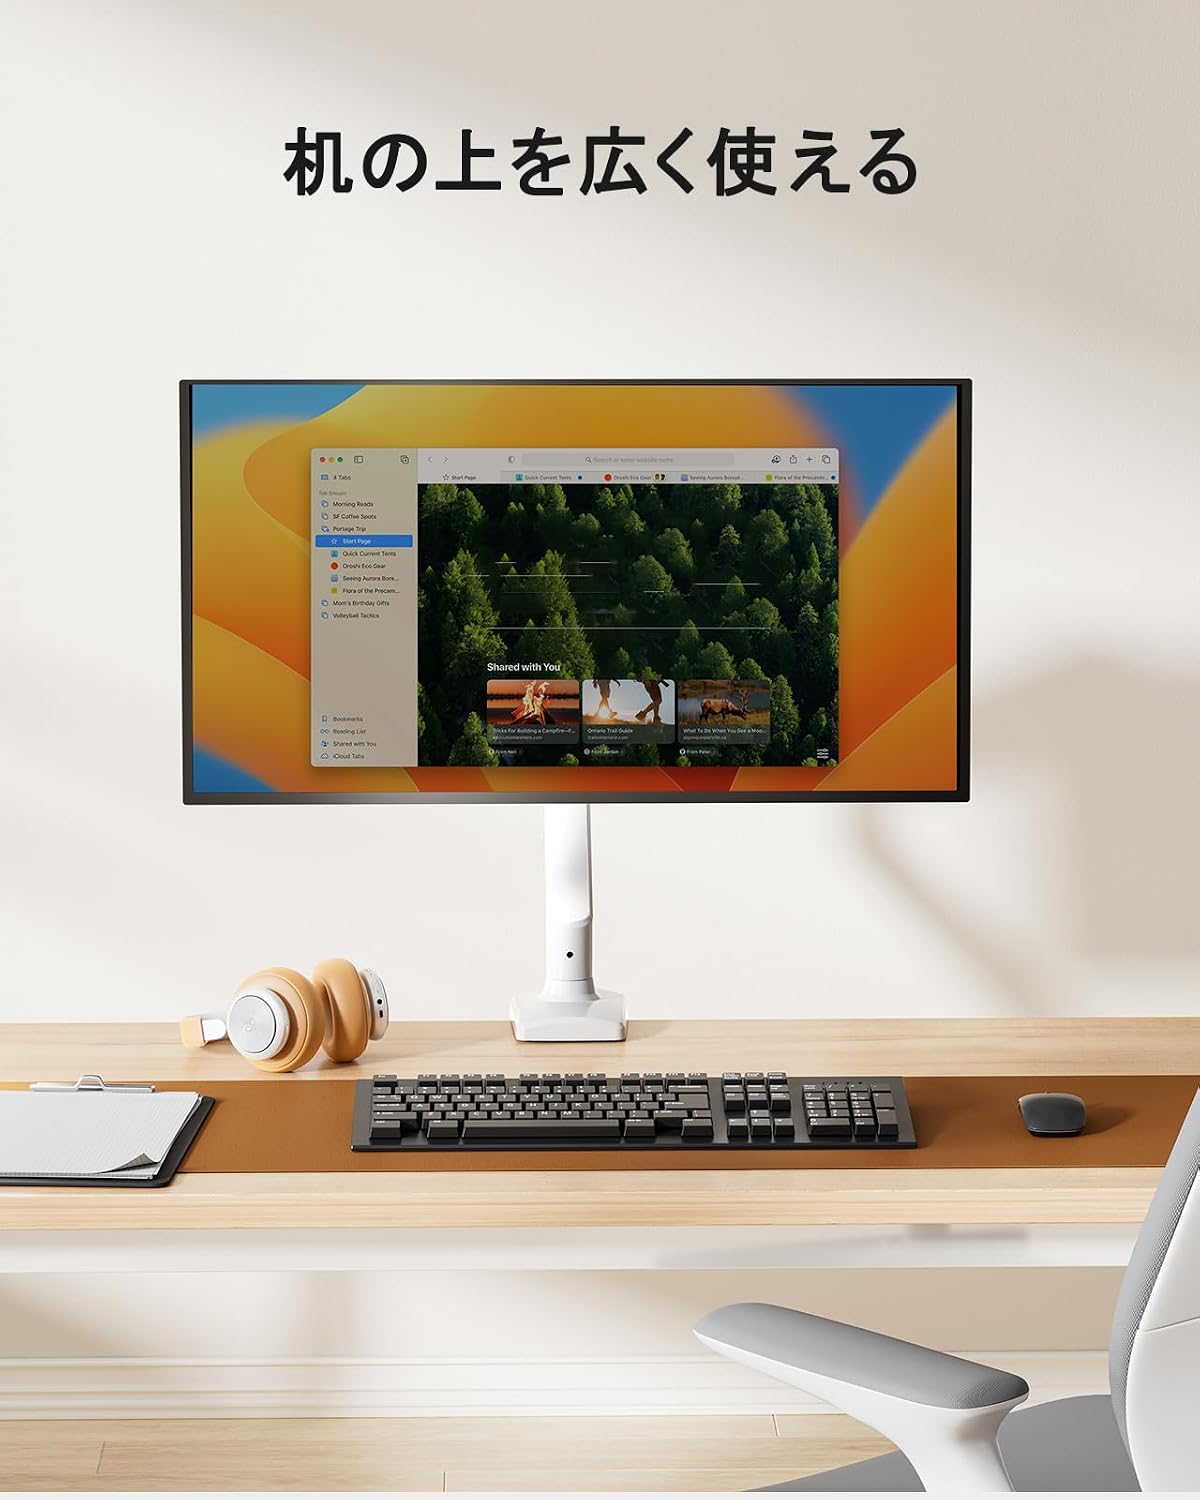
The ErGear monitor arm features a gas spring system for smooth and effortless adjustments, allowing you to optimize your viewing experience and desk space.
6.1 Melaraskan Kedudukan Monitor
Once installed, you can adjust your monitor to various positions:
- Pelarasan Ketinggian: Easily move the monitor up or down to achieve ergonomic eye-level viewing.
- Condong: Adjust the screen angle up to 90° upwards and 40° downwards to reduce glare and improve viewkeselesaan.
- Pusing: Rotate the monitor left or right by 90° at the arm joints.
- Putaran: Putar monitor 360° dari orientasi landskap ke potret.


6.2 Adjusting Gas Spring Tension
The gas spring tension needs to be adjusted to match your monitor's weight for optimal movement and stability.
- Ensure the monitor arm is in a horizontal position.
- Locate the gas spring adjustment screw on the arm.
- Use the provided hex key to turn the screw:
- Turn towards '+' for heavier monitors (increase tension).
- Turn towards '-' for lighter monitors (decrease tension).
- Test the arm's movement. Adjust until the monitor stays in place when released and moves smoothly with minimal effort.
Important: Adjust the gas spring pressure only when the arm is horizontal. Gas pressure cannot be adjusted if the arm is not horizontal.

6.3 Pengurusan Kabel
Utilize the integrated cable management clips to route and organize your monitor cables, maintaining a tidy and efficient workspace.


7. Penyelenggaraan
Regular maintenance ensures the longevity and optimal performance of your ErGear monitor arm.
- Pembersihan: Wipe the arm with a soft, damp kain. Elakkan pembersih atau pelarut yang melelas yang boleh merosakkan kemasan.
- Semak Sambungan: Periksa semua skru dan bolt secara berkala untuk memastikan ia kekal ketat. Ketatkan semula jika perlu.
- Spring Gas: If the arm's movement becomes stiff or loose, re-adjust the gas spring tension as described in Section 6.2.

8. Penyelesaian masalah
If you encounter issues with your monitor arm, refer to the following common problems and solutions:
| Masalah | Kemungkinan Punca | Penyelesaian |
|---|---|---|
| Monitor arm sags or won't stay in position. | Ketegangan spring gas terlalu rendah untuk memantau berat. | Increase gas spring tension (turn '+' on adjustment screw). Ensure arm is horizontal during adjustment. |
| Lengan monitor terlalu kaku untuk digerakkan. | Ketegangan spring gas terlalu tinggi untuk memantau berat. | Decrease gas spring tension (turn '-' on adjustment screw). Ensure arm is horizontal during adjustment. |
| Monitor wobbles or feels unstable. | Mounting screws are loose; monitor is too heavy. | Check and tighten all mounting screws. Verify monitor weight is within the 2-10kg range. |
| Cannot adjust gas spring. | Arm is not horizontal during adjustment. | Position the arm horizontally before attempting to adjust the gas spring tension. |
9. Waranti dan Sokongan
The ErGear PC Monitor Arm (Model EGSSK4W) comes with a Waranti pengilang selama 5 tahun dari tarikh pembelian. Waranti ini melindungi kecacatan pada bahan dan mutu kerja di bawah penggunaan biasa.
For warranty claims, technical support, or any questions regarding your product, please contact ErGear customer service through the retailer where you purchased the product or visit the official ErGear webtapak untuk maklumat hubungan.
Please have your purchase receipt and product model number (EGSSK4W) available when contacting support.