pengenalan
This manual provides comprehensive instructions for the Vivitar Podcast and Social Media Microphone MIC918. This high-quality condenser microphone is designed for clear audio capture for various applications, including podcasting, live streaming, gaming, voice-overs, and vocal recording. It features a simple plug-and-play USB connection, integrated volume control, and a stable tripod stand for optimal positioning.
Maklumat Keselamatan
- Do not expose the microphone to water or excessive moisture.
- Elakkan suhu yang melampau atau cahaya matahari langsung.
- Do not attempt to disassemble or modify the microphone. This will void the warranty.
- Jauhkan mikrofon daripada medan magnet yang kuat.
- Gunakan hanya kain lembut dan kering untuk pembersihan.
Produk Selesaiview
Kandungan Pakej
- Vivitar MIC918 Microphone Unit
- Tripod Berdiri
- Integrated USB Connection Cable
Komponen Mikrofon
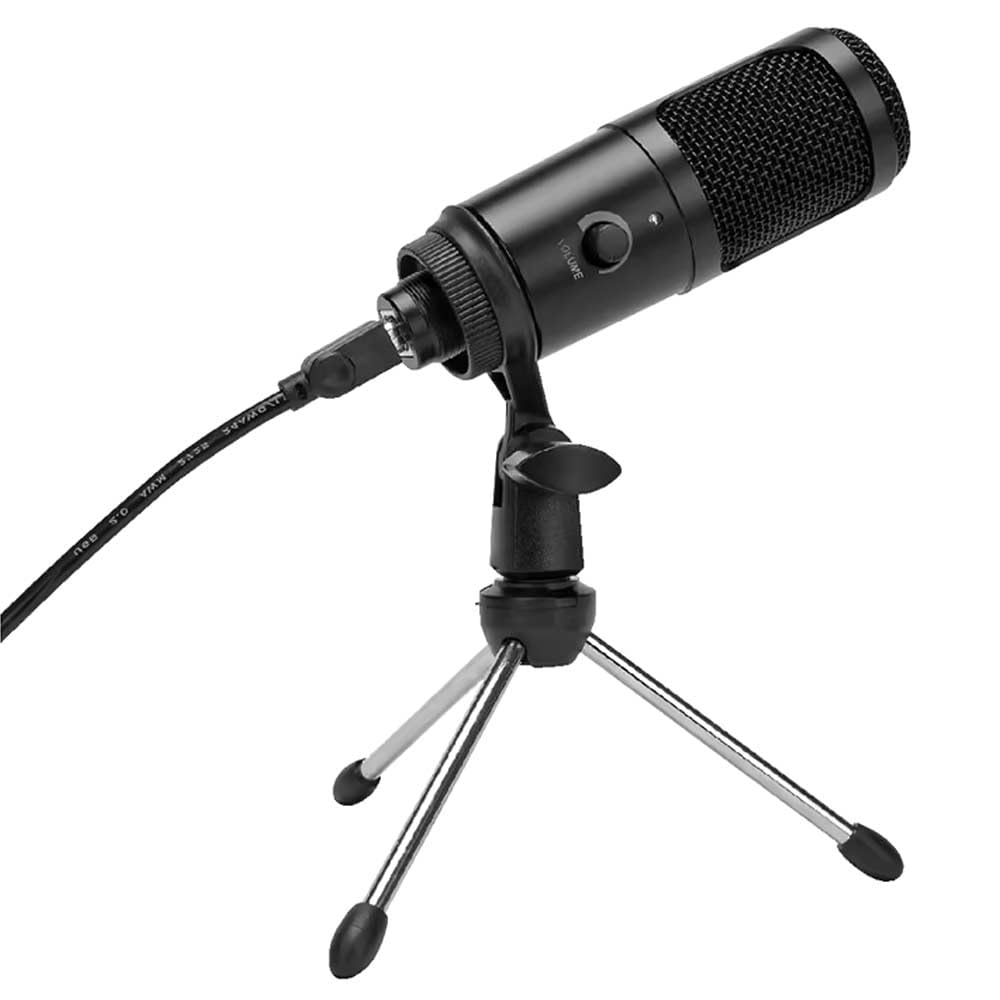
Rajah 1: Vivitar MIC918 Microphone unit attached to its tripod stand, showing the integrated USB cable.

Rajah 2: sebelah view of the Vivitar MIC918 Microphone, highlighting the volume control knob and the Vivitar brand logo.
The microphone unit features a durable metal construction. The front side includes a volume control knob for easy audio level adjustments. The microphone is designed with a unidirectional polar pattern to focus on sound directly in front of it, reducing background noise.
Persediaan
Menyambungkan Mikrofon
- Pasang Pendirian: If not already assembled, unfold the tripod stand and ensure it is stable on a flat surface. Securely attach the microphone unit to the stand's mounting point. The rotating shaft ring allows for angle adjustment.
- Sambung ke Peranti: Plug the integrated USB cable from the microphone into an available USB port on your computer, laptop, or compatible gaming console.
- Pasang dan Main: The Vivitar MIC918 is a plug-and-play device. Your operating system (Windows, macOS, etc.) should automatically detect and install the necessary drivers. No additional software installation is typically required.
- Pilih sebagai Peranti Input: After connecting, navigate to your device's sound settings or the audio settings within your recording/streaming software. Select the "Vivitar MIC918" or similar USB audio device as your primary input (microphone) device.
Beroperasi
Melaraskan Kelantangan
The microphone features a built-in volume control knob located on its side (refer to Figure 2). Rotate this knob clockwise to increase the microphone's input sensitivity (volume) and counter-clockwise to decrease it. Adjust this to achieve the desired recording level without distortion.
Meletakkan Mikrofon
For optimal audio capture, position the microphone directly in front of the sound source (e.g., your mouth for speaking or singing). The tilting tripod stand allows you to adjust the microphone's angle to best suit your needs. Due to its unidirectional polar pattern, the microphone is most sensitive to sounds coming from the front and less sensitive to sounds from the sides or rear, helping to minimize ambient noise.
Penyelenggaraan
- Pembersihan: Use a soft, dry, lint-free cloth to wipe the microphone's exterior. Do not use liquid cleaners, aerosols, or solvents.
- Storan: When not in use, store the microphone in a clean, dry place, away from dust and extreme temperatures.
- Pengendalian: Kendalikan mikrofon dengan berhati-hati. Elakkan daripada menjatuhkannya atau menyebabkannya terkena hentaman yang kuat.
Menyelesaikan masalah
| Masalah | Kemungkinan Punca | Penyelesaian |
|---|---|---|
| Tiada output bunyi daripada mikrofon. | Mikrofon tidak disambungkan dengan betul. Peranti input yang salah dipilih. Kelantangan mikrofon terlalu rendah. | Ensure USB cable is securely plugged into both the microphone and the device. Verify that "Vivitar MIC918" is selected as the input device in your system's sound settings or recording software. Increase the volume using the knob on the microphone and check system input levels. |
| Poor sound quality (e.g., muffled, too quiet, background noise). | Incorrect microphone positioning. High ambient noise. Input level too high or too low. | Position the microphone closer to the sound source and ensure it's facing directly towards it. Rakam dalam persekitaran yang lebih senyap. Adjust the microphone's volume knob and system input levels to an optimal range, avoiding clipping or being too faint. |
| Microphone not recognized by computer. | Port atau kabel USB yang rosak. System driver issue. | Cuba sambungkan mikrofon ke port USB lain pada komputer anda. Restart your computer. If the issue persists, check your operating system's device manager for any driver conflicts or updates. |
Spesifikasi
| Ciri | Spesifikasi |
|---|---|
| Jenama | Vivitar |
| Nombor Model | MIC918 |
| Ketersambungan | USB (Palam dan Main) |
| Jenis Mikrofon | Pemeluwap |
| Corak Kutub | Satu arah |
| Nisbah Isyarat-ke-Bunyi | 78 dB |
| Bahan Kepungan | logam |
| Berat Barang | 0.95 Paun (lebih kurang 0.43 kg) |
| Dimensi Item (L x W x H) | 8.86 x 5.36 x 2.49 inci (lebih kurang 22.5 x 13.6 x 6.3 cm) |
| Sumber Kuasa | Elektrik Bertali arus (melalui USB) |
| Peranti Serasi | Computers, Laptops, Gaming Consoles |
Maklumat Waranti
The Vivitar Podcast and Social Media Microphone MIC918 comes with a 3-Year USA Warranty. For specific terms, conditions, and to register your product, please refer to the official Vivitar webtapak atau hubungi sokongan pelanggan mereka secara langsung. Simpan bukti pembelian anda untuk tuntutan waranti.
Sokongan Pelanggan
For further assistance, technical support, or inquiries regarding your Vivitar MIC918 microphone, please visit the official Vivitar website or contact their customer service department. Contact information can typically be found on the Vivitar weblaman web di bawah bahagian 'Sokongan' atau 'Hubungi Kami'.