pengenalan
This manual provides detailed instructions for the installation, operation, and maintenance of your DAVITU PJ-392A 3.5MM Audio Jack Socket. Designed for panel mounting, this 3-pole stereo jack features gold-plated contacts for reliable audio connections. Please read this manual thoroughly before installation and use to ensure proper functionality and longevity of the product.
Produk Selesaiview
Ciri-ciri Utama
- Model: PJ-392A
- Contacts: 3-pole for stereo audio
- Color: Black body with gold-plated contacts
- Connector Body Material: Durable Plastic
- Connector Mounting: Chassis/Panel Mount
- Contact Plating: Gold over Nickel for optimal conductivity
- Contact Termination: Solder type for secure connections
Komponen
Each DAVITU PJ-392A audio jack socket consists of a plastic body, a threaded shaft for panel mounting, a securing nut, and three solder terminals for electrical connections. The internal contacts are gold-plated for enhanced signal integrity.
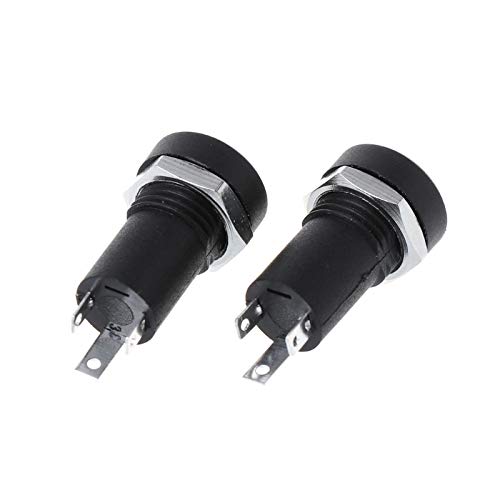
Image: Two PJ-392A 3.5MM Audio Jack Sockets, showing the black plastic body, silver mounting nut, and solder terminals.
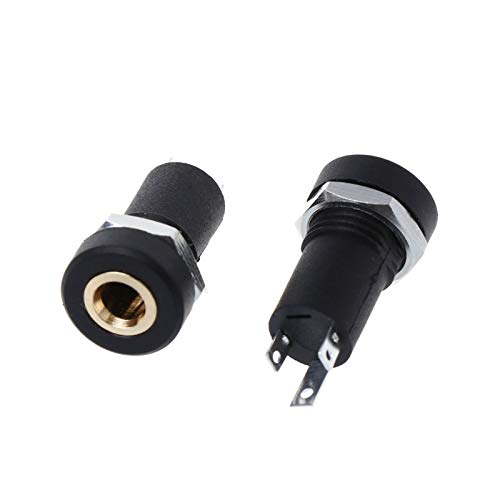
Imej: Dari dekat view of the audio jack, highlighting the gold-plated internal contact and the solder terminals.
Persediaan dan Pemasangan
Alat Diperlukan
- Soldering Iron and Solder
- Pelucut Kawat
- Small Wrench or Pliers (for mounting nut)
- Drill with appropriate bit (for panel hole)
- Multimeter (optional, for testing connections)
Langkah Pemasangan
- Sediakan Panel: Drill a suitable hole in your chassis or panel for the jack's threaded shaft. Ensure the hole size allows for a snug fit of the shaft while leaving enough space for the mounting nut.
- Mount the Jack: Insert the threaded shaft of the audio jack through the prepared hole from the front of the panel. Secure it from the back with the provided mounting nut. Tighten the nut firmly but do not overtighten to avoid damaging the plastic body.
- Sediakan Wayar: Strip a small amount of insulation from the audio signal wires (left, right, and ground) that will connect to the jack.
- Sambungan Pateri: Carefully solder the prepared wires to the corresponding terminals on the back of the audio jack. The PJ-392A is a 3-pole jack, typically for stereo audio: one terminal for left channel, one for right channel, and one for ground. Refer to your circuit diagram for correct pin assignments. Ensure strong, clean solder joints.
- Sambungan Ujian: After soldering, it is recommended to test the continuity and correct wiring using a multimeter to prevent short circuits or incorrect audio routing.
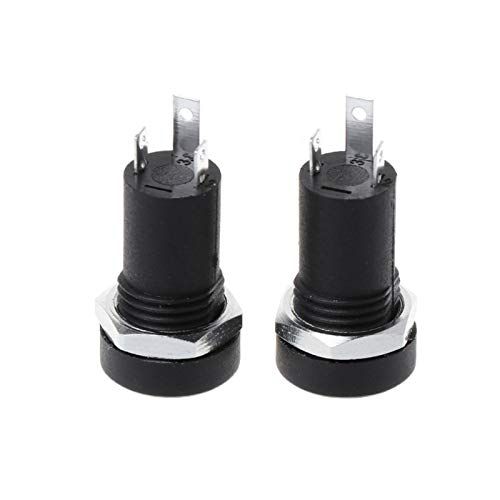
Imej: Depan view of two PJ-392A audio jacks, illustrating how they appear when mounted on a panel.
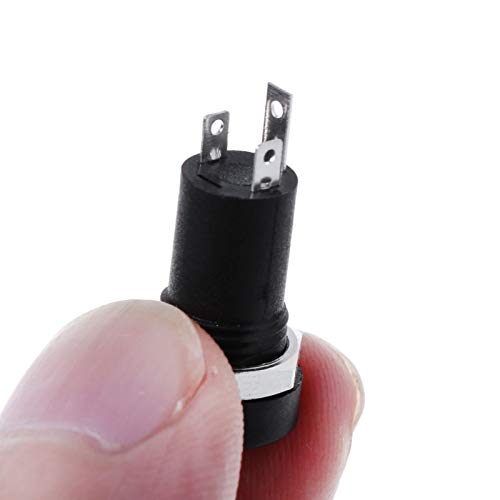
Image: A PJ-392A audio jack held between fingers, providing a sense of its compact size for panel integration.
Operasi
Once installed, the DAVITU PJ-392A 3.5MM Audio Jack Socket functions as a standard audio input/output port. To use, simply insert a compatible 3.5mm audio plug into the socket. The 3-pole design ensures stereo audio transmission. Ensure the plug is fully inserted for a secure connection and optimal audio quality.
Penyelenggaraan
The DAVITU PJ-392A audio jack socket requires minimal maintenance. Follow these guidelines to ensure its longevity:
- Pembersihan: If dust or debris accumulates in the jack, gently clean it using a dry, non-conductive brush or compressed air. Avoid using liquid cleaners directly on the contacts.
- Pemeriksaan: Periodically inspect the solder joints and the mounting nut for any signs of loosening or corrosion. Re-solder or tighten as necessary.
- Keadaan Persekitaran: Avoid exposing the jack to excessive moisture, extreme temperatures, or corrosive environments, which can degrade performance and material integrity.
Menyelesaikan masalah
If you encounter issues with your audio jack, consider the following troubleshooting steps:
| Masalah | Kemungkinan Punca | Penyelesaian |
|---|---|---|
| Tiada output audio | Loose or incorrect wiring; faulty audio cable/device; poor solder joint. | Check all solder connections for continuity. Ensure the audio cable and connected device are functional. Verify correct pin assignments. |
| Intermittent audio or static | Loose connection; dirty contacts; damaged audio plug. | Ensure the audio plug is fully inserted. Clean the jack's internal contacts. Try a different audio cable/plug. |
| Jack feels loose on panel | Nat pemasangan longgar. | Gently tighten the mounting nut with a wrench or pliers. |
Spesifikasi
Detailed technical specifications for the DAVITU PJ-392A 3.5MM Audio Jack Socket:
| Atribut | Nilai |
|---|---|
| Nombor Model | PJ-392A |
| Kenalan | 3 (Stereo) |
| warna | Black (Body), Gold (Contacts) |
| Connector Body Material | plastik |
| Pemasangan Penyambung | Chassis / Panel Mount |
| Penyaduran Kenalan | Emas atas Nikel |
| Contact Termination | pateri |
| Approximate Size (L x Diameter) | 2.1cm x 1cm (0.83inch x 0.39inch) |
| Pengeluar | DAVITU |
| Nombor Bahagian Pengilang | DVT-93543AF9686F5AC6349683403C43576C |
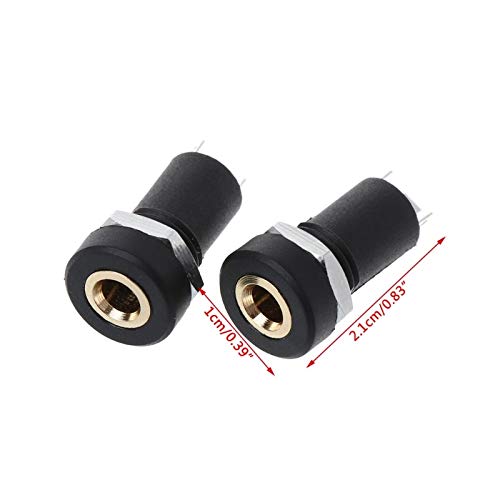
Image: Two PJ-392A audio jacks with their approximate dimensions (2.1cm length, 1cm diameter) clearly marked.
Maklumat Waranti
Specific warranty details for the DAVITU PJ-392A 3.5MM Audio Jack Socket are not provided in the product information. For warranty inquiries, please refer to the retailer's return policy or contact DAVITU customer support directly. Keep your purchase receipt as proof of purchase.
Sokongan Pelanggan
If you require further assistance or have questions not covered in this manual, please contact your point of purchase or visit the official DAVITU website for support resources. When contacting support, please have your product model number (PJ-392A) and any relevant purchase information ready.