
1. Pengenalan
This manual provides detailed instructions for the DSD TECH 1.8 Inch TFT LCD Display Module. This module is a 1.8-inch color screen capable of displaying 65K full colors, designed for electronic enthusiasts and students. It is compatible with development boards such as Arduino and Raspberry Pi. The module utilizes a 4-wire SPI communication mode, requiring only four I/O pins for display operation, and includes an SD card slot for expanded functionality.
2. Kandungan Pakej
Sahkan bahawa semua item terdapat dalam pakej anda:
- TFT LCD Module x1
- 8 PIN Dupont Line x1
- User Guide x1 (This document)

Image 2.1: Contents of the DSD TECH 1.8 Inch TFT LCD Display Module package.
3. Spesifikasi
| Ciri | Spesifikasi |
|---|---|
| Warna Paparan | 16BIT RGB 65K warna |
| Saiz Skrin | 1.8 inci |
| Jenis Paparan | TFT |
| Pemandu IC | ST7735S |
| Resolusi | 128 x 160 Piksel |
| Antara Muka Modul | Antara muka SPI 4-wayar |
| Lampu latar | 2 LED Putih |
| Kawasan Aktif | 28.03 x 35.04 mm |
| Saiz PCB Modul | 38.30 x 62.48 mm |
| Suhu Operasi | -20 ℃ hingga 60 ℃ |
| Suhu Penyimpanan | -30 ℃ hingga 70 ℃ |
| Vol Operasitage | 5V / 3.3V |
| Berat badan | 15 g (0.48 auns) |
| Dimensi Produk | 2.76 x 1.57 x 0.98 inci |

Image 3.1: Module Dimensions.
4. Persediaan dan Pemasangan
The DSD TECH 1.8 Inch TFT LCD Display Module is designed for direct insertion into compatible development boards. It uses a 4-wire SPI interface for communication.
4.1 Penerangan Pinout

Image 4.1: Module Pinout (Obverse View).
The module features the following pins:
- VCC: Bekalan kuasa (5V/3.3V)
- GND: tanah
- NC: Not Connected (multiple pins)
- CLK (SCLK): Jam SPI
- SDA (MOSI): Data SPI Keluar
- RS (DC): Data/Command Select
- pertama: Tetapkan semula
- CS: Pilih Cip
4.2 Wiring Instructions (Arduino Example)
For basic operation with an Arduino board, connect the module as follows. Note that specific digital pin assignments for RS, RST, and CS can be defined in your sketch.
- VCC: Connect to Arduino 5V pin.
- GND: Connect to Arduino GND pin.
- CLK (SCLK): Connect to Arduino Digital Pin 13.
- SDA (MOSI): Connect to Arduino Digital Pin 11.
- RS (DC): Connect to an available Arduino Digital Pin (e.g., D9).
- pertama: Connect to an available Arduino Digital Pin (e.g., D8).
- CS: Connect to an available Arduino Digital Pin (e.g., D10).

Image 4.2: Connecting the module to an Arduino Uno.

Image 4.3: Connecting the module to an Arduino Mega 2560.
5. Operasi
To operate the display module, you will need to install the necessary libraries in your Arduino IDE (or equivalent development environment for other MCUs). DSD TECH provides sample code to facilitate quick setup and usage.
5.1 Required Libraries
For Arduino, install the Adafruit ST7735 and Adafruit GFX libraries. These can typically be found and installed via the Arduino IDE's Library Manager.
5.2 Sample Kod
DSD TECH offers sample code that allows you to get the LCD screen operational quickly, often within minutes. Refer to the official DSD TECH support resources for the latest sample code and detailed instructions.

Image 5.1: Display module in operation with Arduino Uno.
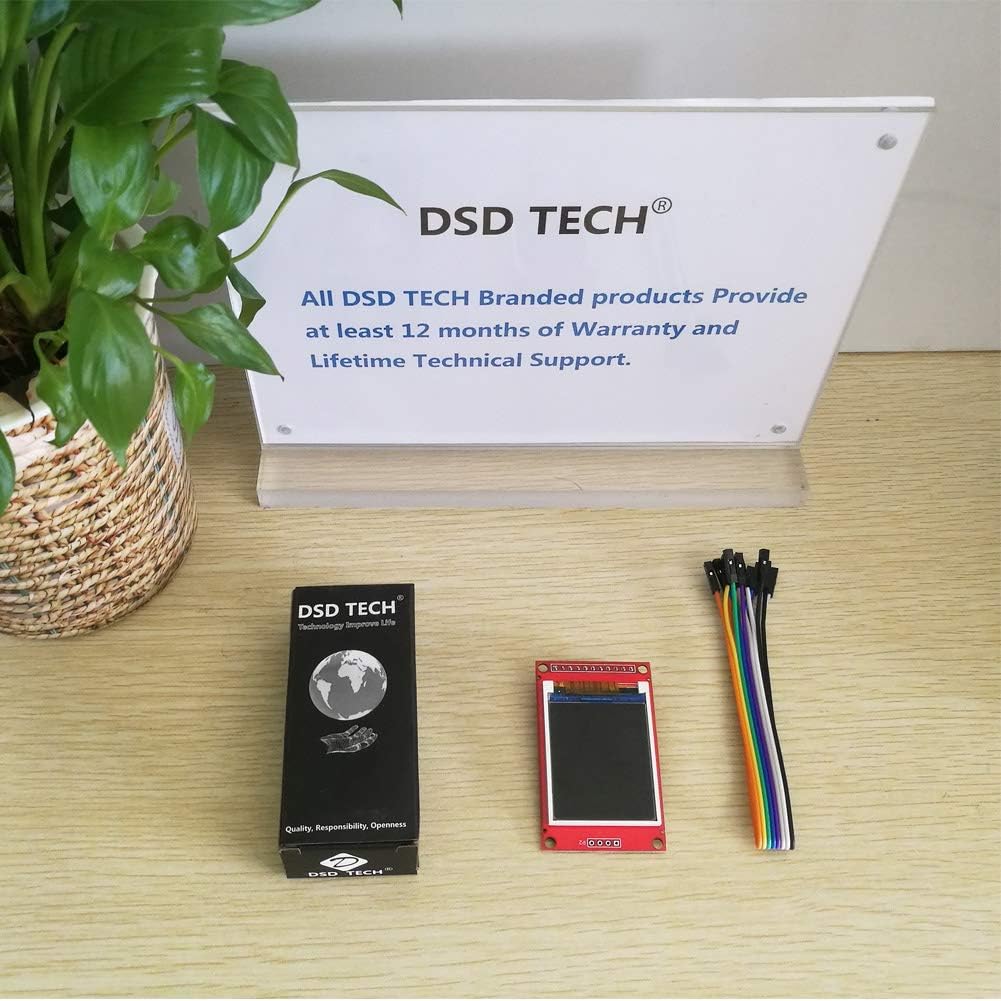
Image 5.2: Display module in operation with Arduino Mega 2560.
6. Penyelenggaraan
The DSD TECH 1.8 Inch TFT LCD Display Module requires minimal maintenance. Keep the module clean and free from dust and moisture. Avoid applying excessive force to the screen or connections.
- Simpan modul dalam persekitaran yang kering dan sejuk apabila tidak digunakan.
- Clean the screen gently with a soft, dry cloth. Do not use harsh chemicals.
- Ensure all connections are secure but not overtightened.
7. Penyelesaian masalah
- Paparan malap atau tidak boleh dibaca: Ensure the module is powered with 5V. While it can function at 3.3V, a 5V supply often results in a brighter and clearer display. If using a 3.3V MCU, consider using a level shifter for signal lines while powering the display with 5V.
- Tiada output paparan:
- Verify all wiring connections are correct according to the pinout and your MCU's specifications.
- Check that the required libraries (e.g., Adafruit ST7735, Adafruit GFX) are correctly installed in your development environment.
- Confirm that the pin definitions in your code match the physical connections to your MCU.
- Ensure the MCU is powered on and the code is successfully uploaded.
- Incorrect colors or distorted display: Double-check the initialization code for the ST7735S driver and ensure the correct display type is selected in the library.
8. Waranti dan Sokongan
DSD TECH provides a 1-year warranty and lifetime technical support for this TFT LCD Display Module. For any questions or assistance, please contact DSD TECH customer support. All inquiries will be addressed within one working day.
For further information and support, visit the official DSD TECH webtapak atau hubungi terus pasukan sokongan mereka.