1. Pengenalan
Terima kasih kerana membeliasing the UHAPPY U18 Portable Mini HD LED Projector. This manual provides essential information for the safe and efficient operation of your device. Please read it thoroughly before use and retain it for future reference.
Langkah-langkah Keselamatan
- Jangan lihat terus ke dalam kanta projektor apabila lamp sedang aktif.
- Pastikan pengudaraan yang betul di sekeliling projektor untuk mengelakkan terlalu panas.
- Jangan dedahkan projektor kepada hujan atau lembapan.
- Gunakan hanya penyesuai kuasa yang dibekalkan dengan projektor.
- Jangan cuba membuka atau membaiki projektor sendiri. Rujuk semua servis kepada kakitangan yang berkelayakan.
2. Produk Lebihview
Familiarize yourself with the components and ports of your UHAPPY U18 projector.
Kandungan Pakej
The following items are included in your projector package:

Image: Contents of the UHAPPY U18 projector package, including the projector, power adapter, AV cable, remote control, and user manual.
- UHAPPY U18 Mini LED Projector
- Penyesuai Kuasa
- AV kabel
- Alat Kawalan Jauh
- Manual Pengguna (dokumen ini)
Projector Components and Ports

Image: Angled top-down view of the UHAPPY U18 projector, highlighting the lens, focus adjustment, and control panel.

Imej: Atas view of the UHAPPY U18 projector, showing the integrated control buttons.

Imej: Depan view of the UHAPPY U18 projector, focusing on the projection lens.
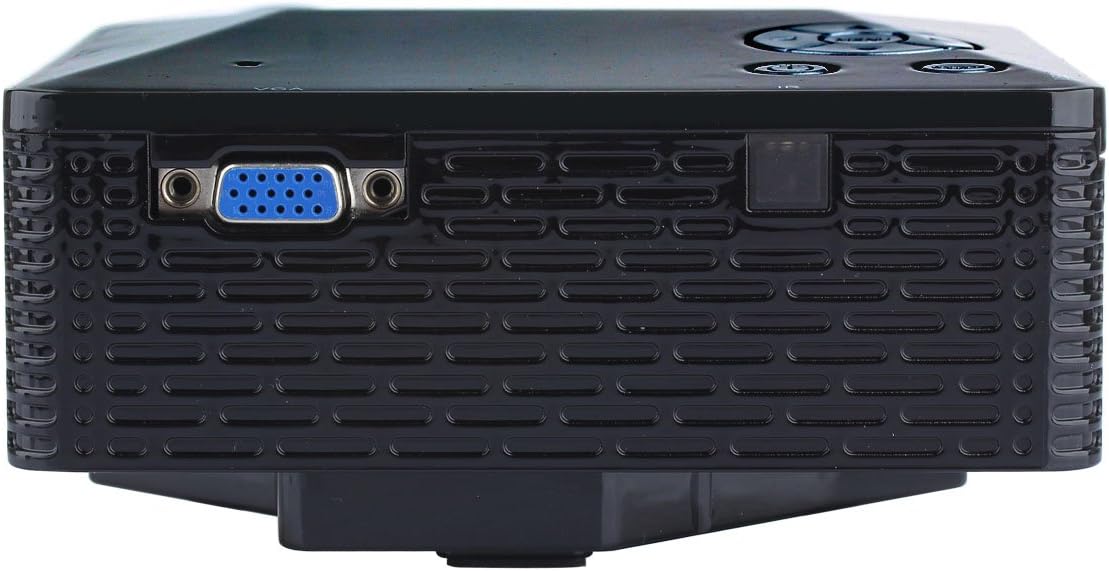
Imej: Sisi view of the UHAPPY U18 projector, illustrating the VGA input port.
The projector features various input ports for connectivity:
- Input HDMI: For connecting devices like laptops, gaming consoles, or media players.
- Port USB: For connecting USB storage devices to play media directly.
- Slot Kad SD: For inserting SD memory cards to play media directly.
- Input AV: Untuk menyambungkan peranti lama menggunakan kabel AV yang disertakan.
- Input VGA: For connecting computers or laptops with a VGA output.
- DC-IN: Port input kuasa.
- Output Fon Kepala: Untuk menyambungkan peranti audio luaran atau fon kepala.
- Tombol Fokus: Located near the lens for adjusting image clarity.
3. Persediaan
3.1 Penempatan
Place the projector on a stable, flat surface. Ensure there is adequate space around the projector for ventilation. The ideal projection distance is between 1 to 4 meters, yielding an image size of 20 to 80 inches.
3.2 Sambungan Kuasa
- Connect the power adapter to the DC-IN port on the projector.
- Palamkan penyesuai kuasa ke salur keluar elektrik yang sesuai.
3.3 Menyambungkan Peranti Input
Choose the appropriate cable and port based on your source device:
- HDMI: Connect an HDMI cable from your device (e.g., laptop, DVD player) to the projector's HDMI port.
- VGA: Sambungkan kabel VGA dari komputer anda ke port VGA projektor.
- DARI: Use the provided AV cable to connect devices with AV output (e.g., older DVD players, set-top boxes) to the projector's AV port.
- Kad USB/SD: Masukkan pemacu USB ke dalam port USB atau kad SD ke dalam slot kad SD.
4. Arahan Operasi
4.1 Menghidupkan/Mematikan
- Untuk Menghidupkan: Press the power button on the projector or the remote control. The LED indicator will light up.
- Untuk Mematikan: Press the power button again. It is recommended to allow the projector to cool down for a few minutes before unplugging it.
4.2 Pemilihan Sumber
After powering on, you may need to select the input source:
- Press the 'Source' button on the projector or the remote control.
- Use the navigation buttons to select the desired input (HDMI, VGA, AV, USB, SD) and press 'OK' or 'Enter'.
4.3 Pelarasan Fokus
If the projected image appears blurry:
- Rotate the focus knob located near the projector lens until the image becomes clear and sharp.
4.4 Menu Navigasi
Use the 'Menu' button on the projector or remote to access settings. Use the navigation arrows to move through options and 'OK' or 'Enter' to confirm selections. The projector supports multiple languages including English, Czech, Slovak, Danish, German, Spanish, French, Croatian, Italian, Hungarian, Dutch, Norwegian, Polish, Portuguese, Romanian, Slovene, Serbian, Finnish, Swedish, Bulgarian, Greek, Russian, and Chinese.
4.5 Format Media yang Disokong
When playing media directly from USB or SD card, the projector supports the following formats:
- Imej: BMP, JPEG, PNG
- Video: MPEG1, MPEG2, MPEG4, RM, RMVB, AVI, FLV, WMV
5. Penyelenggaraan
5.1 Membersihkan Lensa
Gunakan kain lembut dan tidak berbulu yang direka khas untuk kanta optik untuk mengelap kanta projektor dengan lembut. Elakkan penggunaan bahan kasar atau bahan kimia yang keras.
5.2 Pembersihan Am
Wipe the projector's exterior with a soft, dry cloth. Do not use liquid cleaners directly on the device. Ensure ventilation openings are free from dust and obstructions.
5.3 Penyimpanan
When not in use, store the projector in a cool, dry place, away from direct sunlight and extreme temperatures. It is advisable to cover the lens to protect it from dust.
6. Penyelesaian masalah
Jika anda menghadapi masalah dengan projektor anda, rujuk kepada masalah dan penyelesaian biasa berikut:
| Masalah | Kemungkinan Punca | Penyelesaian |
|---|---|---|
| Tiada gambar di skrin | Sumber input salah dipilih Sambungan kabel longgar Peranti sumber tidak dihidupkan | Pilih sumber input yang betul. Periksa semua sambungan kabel. Pastikan peranti sumber dihidupkan dan mengeluarkan isyarat. |
| Imej kabur | Fokus tidak dilaraskan | Rotate the focus knob until the image is clear. |
| Tiada bunyi | Kelantangan terlalu rendah External audio device not connected Tetapan audio peranti sumber | Tingkatkan kelantangan projektor. Connect external speakers/headphones to the audio output. Semak tetapan audio pada peranti sumber anda. |
| Projektor terlalu panas dan mati | Pengudaraan disekat Penggunaan berpanjangan dalam persekitaran yang panas | Pastikan bukaan pengudaraan adalah jelas. Allow the projector to cool down. Operate in a well-ventilated area. |
7. Spesifikasi
Technical specifications for the UHAPPY U18 Portable Mini HD LED Projector:
- Sistem Imej: LCD
- Resolusi Asli: 320x240
- Lamp: LED
- Kehidupan LED: 20,000 jam
- Kecerahan: 60 LM
- Kontras: 300:1
- Kanta: F=125
- Saiz Imej: 20-80 inci
- Jarak Unjuran: 1-4 meter
- Mod Tayangan: Unjuran depan
- Mod Operasi: Manual/Kawalan jauh
- Terminal Input: AV, VGA, USB, SD, HDMI
- Output: Fon kepala
- Kuasa: 24W
- warna: 16.77 Juta warna
- Penceramah: 1.0W*2
- Suhu Kerja: 10-35°C
- Dimensi: 135 x 132 x 52 mm
- Berat: 0.44 kg
8. Waranti dan Sokongan
This product is manufactured by Generic. For warranty information and technical support, please refer to the documentation provided at the time of purchase or contact your retailer. Keep your purchase receipt as proof of purchase.