
1. Pengenalan
This manual provides instructions for the OWC Drive Dock USB-C Dual Drive Bay Solution. This device offers high-performance, swappable access to multiple 3.5-inch and 2.5-inch SATA drives simultaneously via USB-C connectivity. It is compatible with both Mac and PC systems, providing a flexible solution for data management, backup, and creative workflows.
2. Kandungan Pakej
Sahkan bahawa semua item terdapat dalam pakej anda:
- OWC Drive Dock Dual Bay Solution
- USB 3.1 Gen 2 (Type-C to Type-C) cable
- USB 3.1 Gen 1 (Type-C to Type-A) cable
- Kabel kuasa
3. Arahan Persediaan
3.1. Sambungkan Kuasa
Connect the included power cable to the OWC Drive Dock's AC input port and then to a standard power outlet. The device features an internal power supply.
3.2. Sambung ke Komputer
Use either the provided USB 3.1 Gen 2 (Type-C to Type-C) cable or the USB 3.1 Gen 1 (Type-C to Type-A) cable to connect the Drive Dock to an available USB port on your computer. For optimal performance, use a USB 3.1 Gen 2 compatible port.
Imej: Belakang view of the OWC Drive Dock with power and USB cables connected.
3.3. Insert Drives
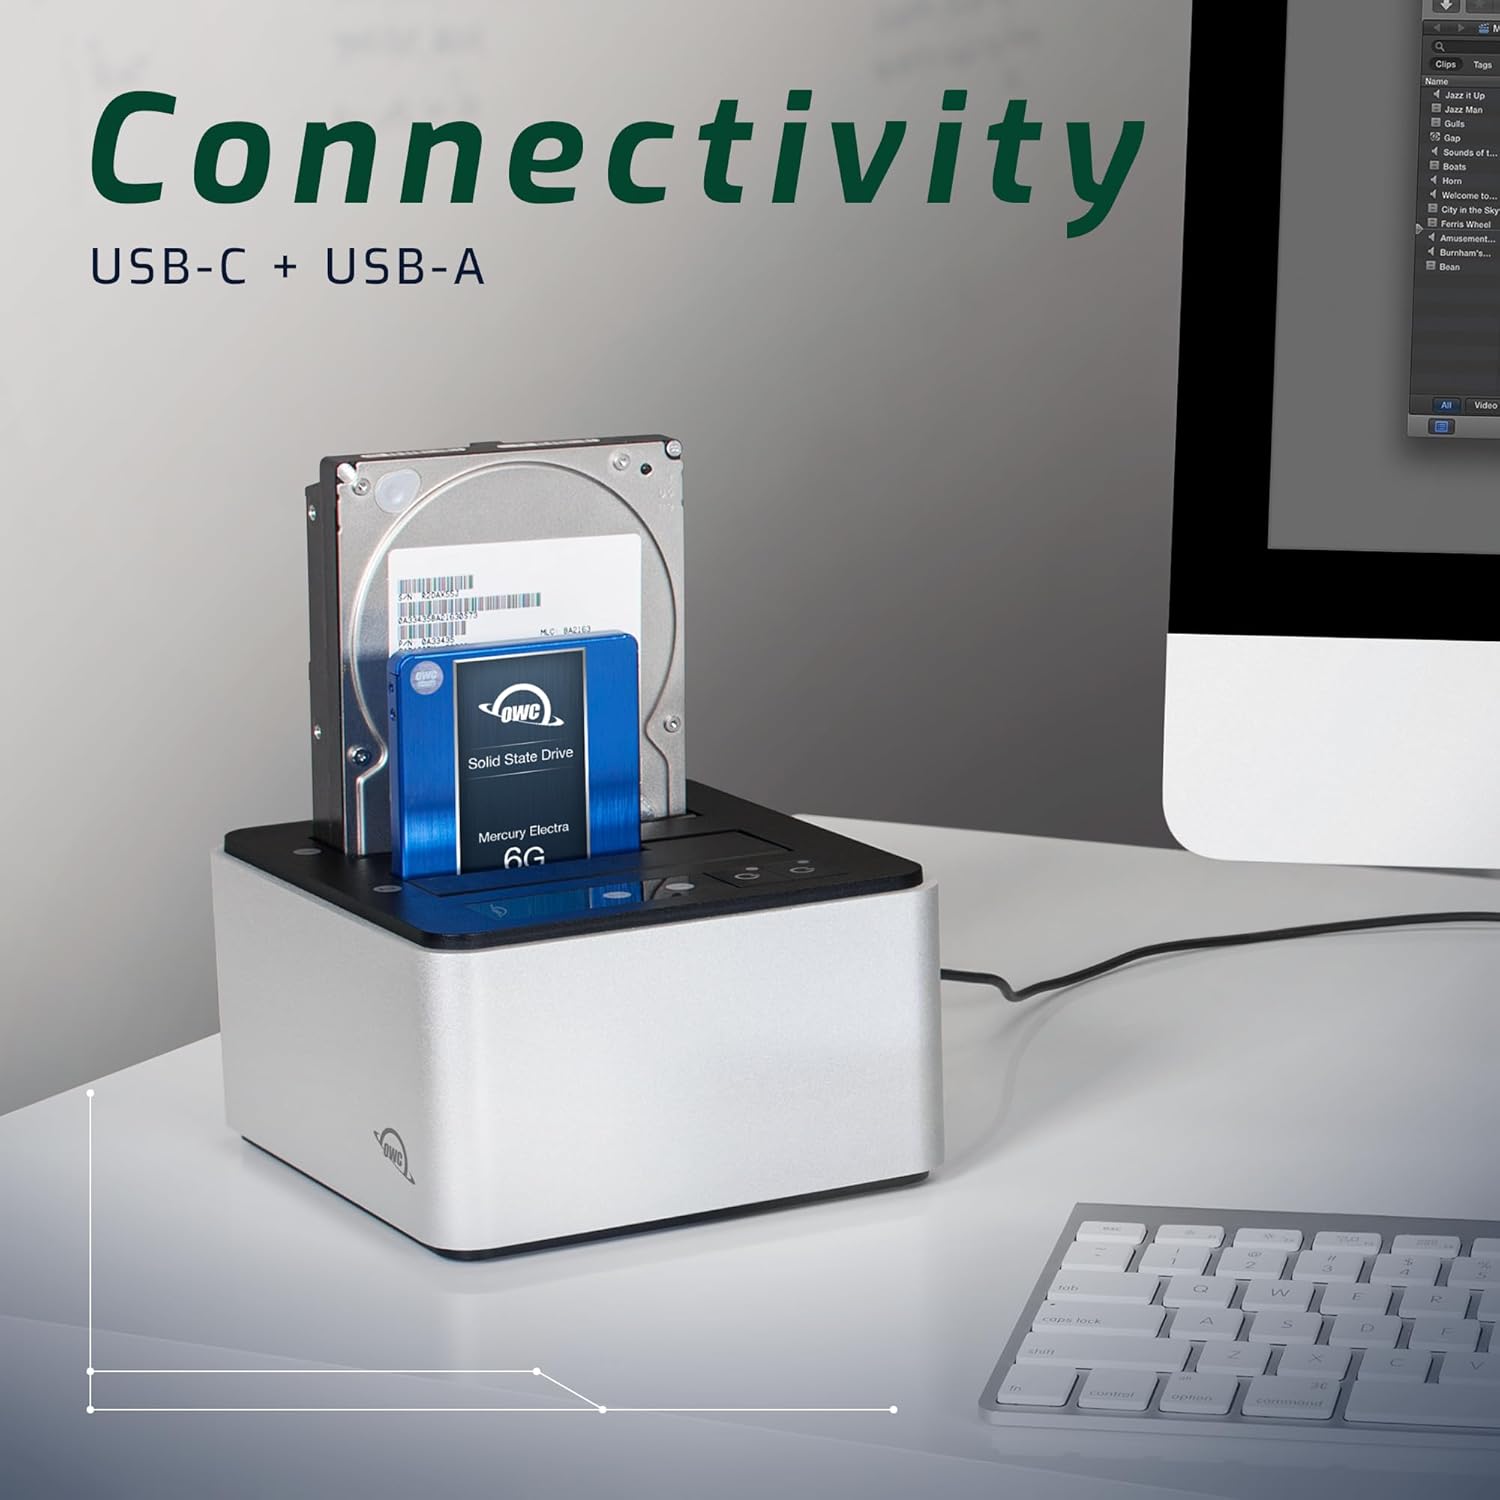
Carefully insert one or two 3.5-inch or 2.5-inch SATA hard drives or SSDs into the drive bays. Ensure the drives are seated firmly into the SATA connectors at the bottom of each bay.
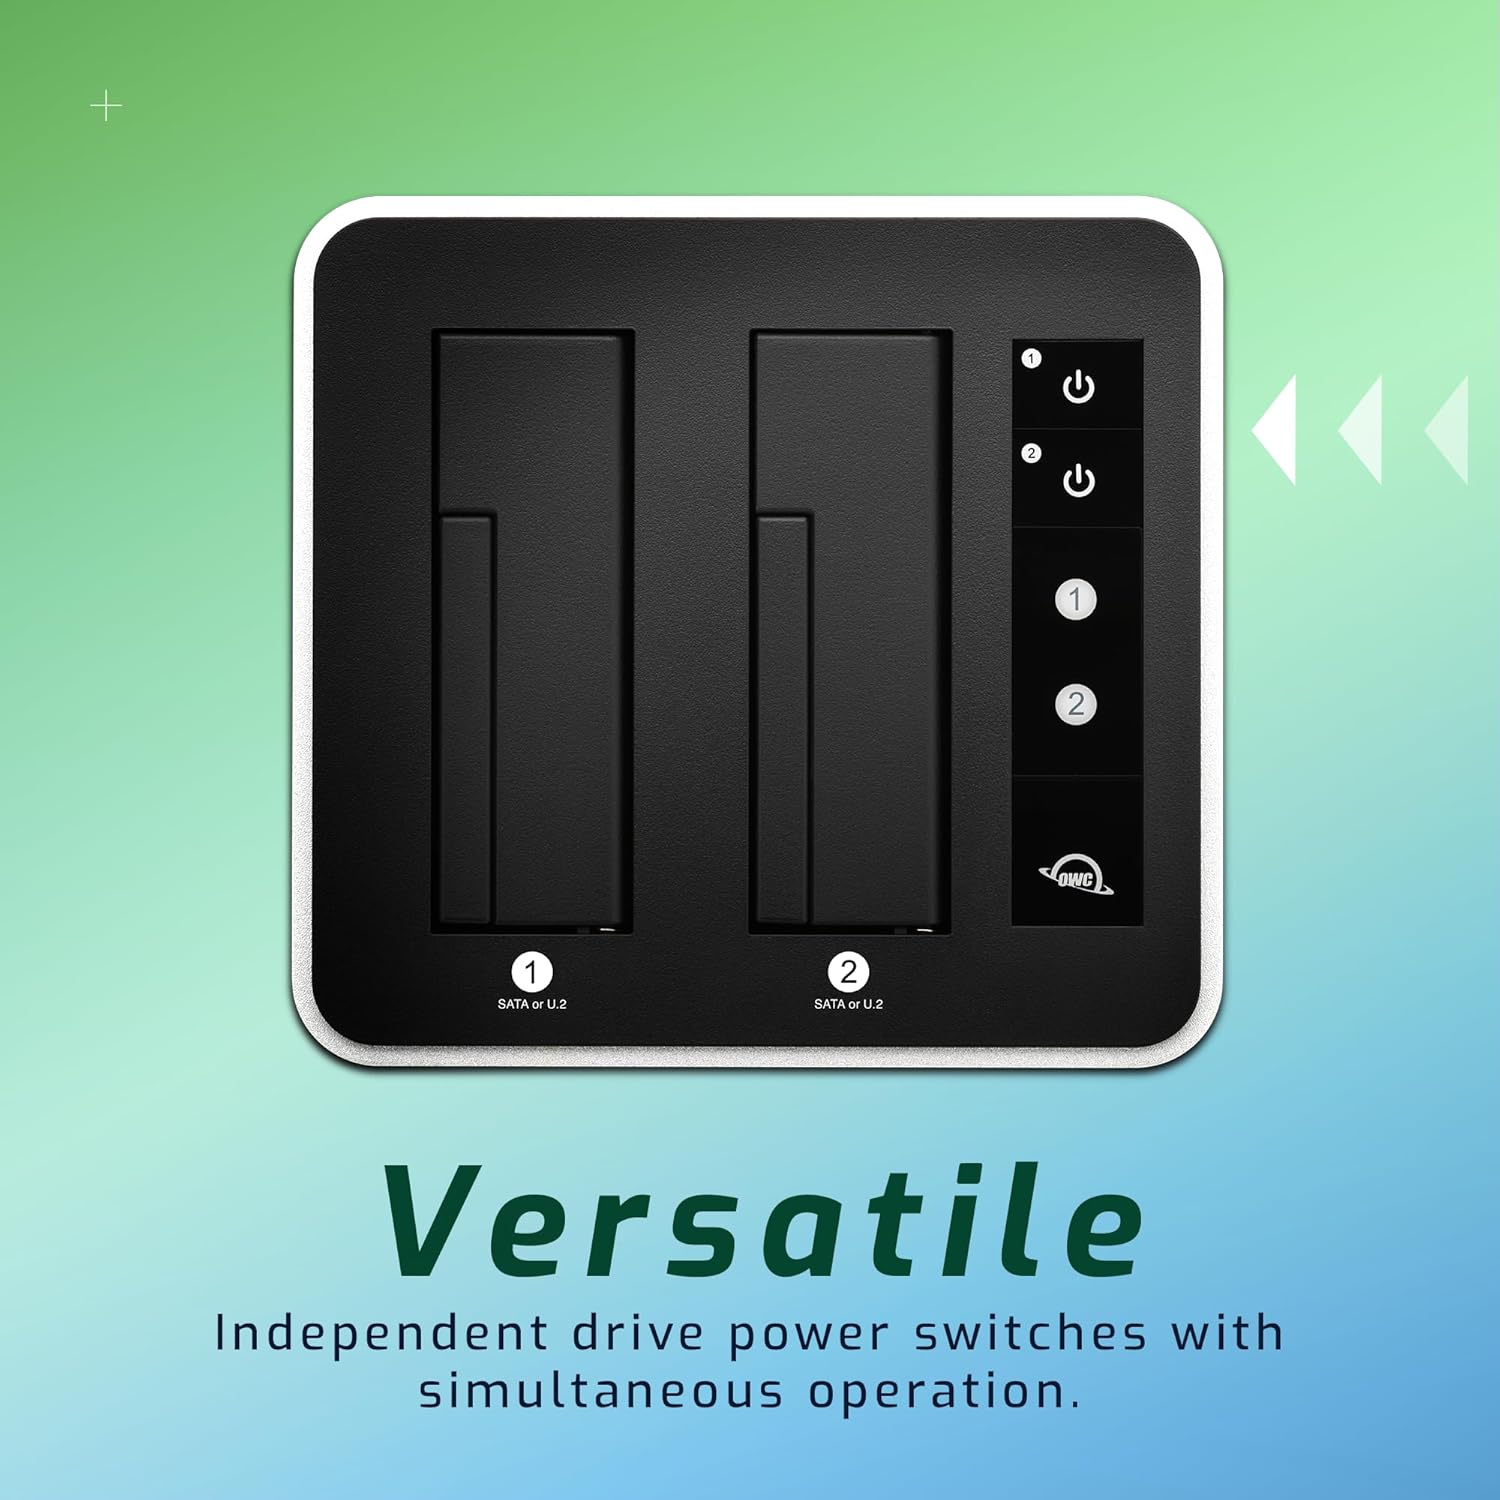
Image: OWC Drive Dock with a 3.5-inch hard drive and a 2.5-inch SSD inserted.
4. Arahan Operasi
4.1. Powering On/Off Drives
Each drive bay on the OWC Drive Dock has an independent power switch. Press the power button corresponding to the bay you wish to activate. The LED indicator next to the button will illuminate to show the drive is powered on. To power off a drive, press its corresponding power button again.

Imej: Atas view of the OWC Drive Dock highlighting independent drive power switches.
4.2. Simultaneous Operation
The OWC Drive Dock supports simultaneous operation of both drives. You can access, read, and write to both drives at the same time without performance degradation, provided your computer's USB port and system resources are adequate.
4.3. Hot Swapping
Drives can be hot-swapped. To safely remove a drive, first ensure all data transfer operations are complete and unmount the drive from your operating system (e.g., Eject on Mac, Safely Remove Hardware on Windows). Then, power off the individual drive bay using its dedicated power switch before physically removing the drive from the dock.
5. Penyelenggaraan
5.1. Pembersihan
Wipe the exterior of the Drive Dock with a soft, dry, lint-free cloth. Avoid using harsh chemicals, solvents, or abrasive materials, as these may damage the finish.
5.2. Pengudaraan
Ensure the Drive Dock is placed in a well-ventilated area to prevent overheating, especially during extended periods of use or when operating with multiple high-performance drives. Do not block the ventilation openings.
6. Penyelesaian masalah
6.1. Pemacu Tidak Dikesan
- Verify the power cable is securely connected to both the Drive Dock and a functional power outlet.
- Ensure the USB cable is firmly connected to both the Drive Dock and your computer's USB port.
- Confirm the individual drive bay's power switch is in the "on" position.
- Try inserting the drive into the other bay to rule out an issue with a specific bay.
- Test with a different USB cable or a different USB port on your computer.
- Check your computer's Disk Management (Windows) or Disk Utility (Mac) to see if the drive is recognized but unformatted or uninitialized. If so, you may need to format the drive.
6.2. Kelajuan Pemindahan Perlahan
- Ensure you are using a USB 3.1 Gen 2 compatible port on your computer for optimal performance (up to 522MB/s).
- Verify the USB cable used is rated for USB 3.1 Gen 2 speeds. Using a lower-spec cable will limit performance.
- Performance can vary based on the specific drives used, the computer's system resources, and the type of data being transferred.
- Tutup sebarang aplikasi yang tidak diperlukan berjalan di latar belakang yang mungkin menggunakan sumber sistem.
7. Spesifikasi

Imej: Jadual spesifikasi produk terperinci.
| Ciri | Perincian |
|---|---|
| Model | OWCTCDRVDCK |
| Antara Muka Perkakasan | USB 3.1 Gen 2 (USB-C) |
| Pemacu yang Disokong | 2.5" and 3.5" SATA 6Gb/s drives |
| Ketersambungan | (1) USB 3.1 Gen 2 Type-C port |
| Kelajuan Pemindahan Maksimum | Up to 522 MB/s (Compressible Data) |
| Keserasian Sistem Pengendalian | OS X 10.6.8 or later, Windows 7 SP1 or later |
| Dimensi (H x W x L) | 85 mm (3.3 inci) x 160 mm (6.3 inci) x 150 mm (5.9 inci) |
| Weight (Without Drives) | 2.20 lb (1.000 kg) |
| Bekalan Kuasa | Internal UL-listed universal auto-switching (AC input: 100-240V, 50/60Hz; DC output: 12V, 4A) |
| Bahan Kepungan | aluminium |
8. Waranti dan Sokongan
8.1. Maklumat Waranti
This OWC Drive Dock includes a 2-Year OWC Limited Warranty. For detailed warranty terms and conditions, including coverage and claim procedures, please refer to the official OWC webtapak atau dokumentasi jaminan yang disertakan dengan pembelian anda.
8.2. Sokongan Pelanggan
For technical assistance, troubleshooting, or further inquiries regarding your OWC Drive Dock, please visit the official OWC support website or contact their customer service department. Contact information can typically be found on the OWC webtapak.