pengenalan
The NAXA NDC-405 is a rugged, waterproof HD action camera designed to capture your adventures in high definition. This manual provides essential information on how to set up, operate, maintain, and troubleshoot your device, ensuring optimal performance and longevity. Please read this manual thoroughly before using your camera.
Produk Selesaiview
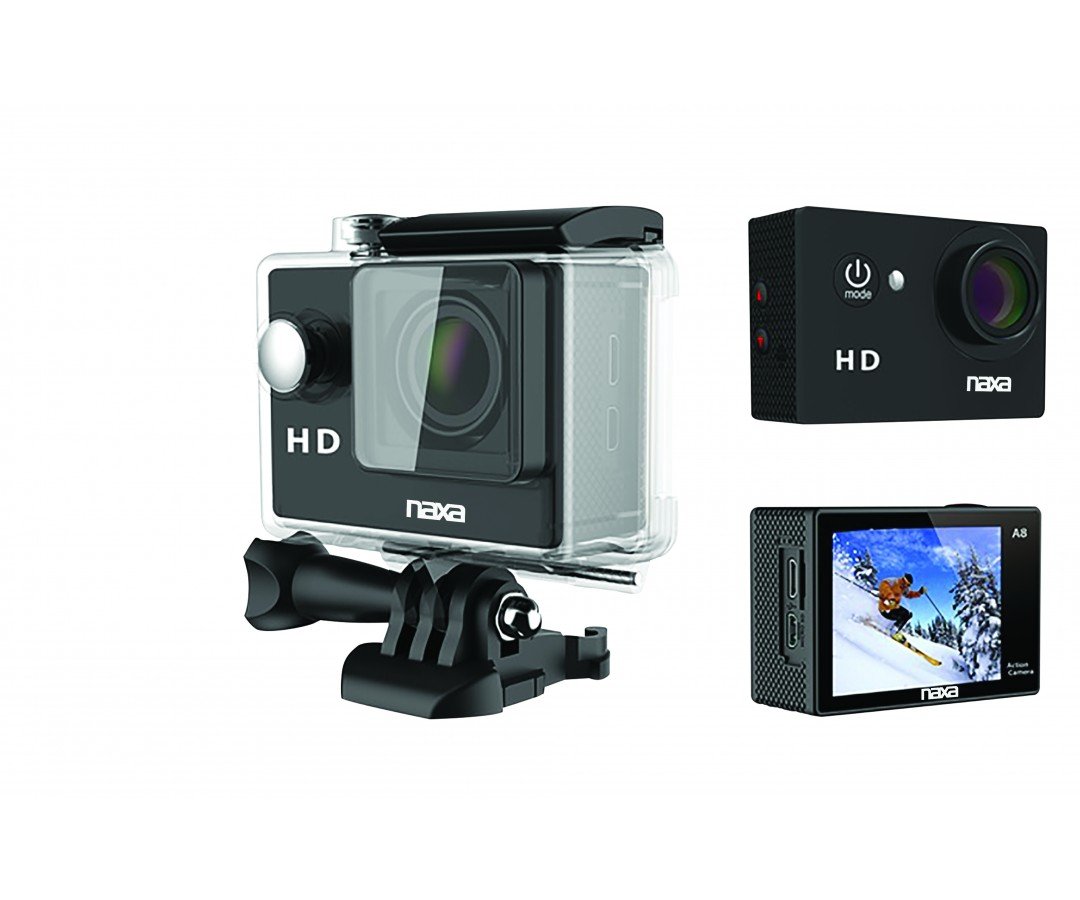
Imej 1: Depan view of the NAXA NDC-405 Waterproof HD Action Camera. This image displays the camera's compact design, lens, and front-facing controls, highlighting its readiness for action.
Bahagian Kamera
A detailed diagram illustrating the various components of the NDC-405 camera, including the lens, power button, mode button, shutter/record button, 2-inch LCD screen, microphone, speaker, USB port, and microSD card slot, would typically be placed here. This visual aid helps users identify each part for easier operation.
Kandungan Pakej
Sahkan bahawa semua item terdapat dalam pakej:
- NAXA NDC-405 Action Camera
- Kabel Pengecas USB
- Assorted Mounting Accessories (e.g., helmet mount, bicycle mount, adhesive mounts)
- Manual Pengguna
Persediaan
Mengecas Bateri
The camera is equipped with a built-in 900mAh rechargeable battery. Before first use, fully charge the battery.
- Sambungkan hujung kecil kabel pengecas USB ke port USB kamera.
- Sambungkan hujung besar kabel USB ke penyesuai kuasa USB (tidak disertakan) atau port USB komputer.
- The charging indicator light will illuminate during charging and turn off once fully charged. Charging typically takes 2-3 hours.
Inserting and Removing the MicroSD Card
A microSD or microSDHC card (up to 32GB, Class 10 recommended) is required to store photos and videos. The card is not included.
- Untuk memasukkan: Locate the microSD card slot on the side of the camera. Gently push the microSD card into the slot with the gold contacts facing the back of the camera until it clicks into place.
- Untuk Alih Keluar: Gently push the microSD card inward until it clicks, then release. The card will spring out slightly, allowing you to pull it out.
Note: Ensure the camera is powered off before inserting or removing the microSD card to prevent data corruption.
Attaching Mounts and Accessories
The NDC-405 comes with various mounting accessories to suit different activities. Refer to the specific accessory instructions for proper attachment. Generally, mounts attach to the camera via a standard tripod screw thread or a clip-on mechanism. Ensure all connections are secure before use.
Mengendalikan Kamera
Menghidupkan dan Mematikan
- Untuk Menghidupkan: Press and hold the Power/Mode button for approximately 3 seconds until the LCD screen illuminates.
- Untuk Mematikan: Press and hold the Power/Mode button for approximately 3 seconds until the LCD screen turns off.
Menukar Mod
After powering on, repeatedly press the Power/Mode button to cycle through the available modes: Video Recording, Photo Capture, and Playback. The current mode icon will be displayed on the LCD screen.
Rakaman Video
- Ensure the camera is in Video Recording mode (indicated by a video camera icon).
- Press the Shutter/Record button once to start recording. A red dot or timer will appear on the screen, indicating recording is in progress.
- Press the Shutter/Record button again to stop recording. The video file will be saved to the microSD card.
Mengambil Foto
- Ensure the camera is in Photo Capture mode (indicated by a camera icon).
- Frame your shot using the 2-inch LCD viewpencari.
- Press the Shutter/Record button once to take a photo. The photo will be saved to the microSD card.
Main balik
- Switch the camera to Playback mode (indicated by a play icon).
- Use the navigation buttons (if available, or cycle through with Mode button) to browse through your recorded videos and photos.
- Press the Shutter/Record button to play a selected video or view gambar.
Menyambung ke Komputer
Untuk memindahkan files, connect the camera to your computer using the provided USB cable. The camera will appear as a removable disk drive, allowing you to access and copy your photos and videos.
Waterproof Usage Guidelines
The NDC-405 is designed to be waterproof up to 30 meters (IP68 rated) without additional housing. Ensure all ports (USB, microSD slot) are securely closed before submerging the camera in water. After use in saltwater, rinse the camera with fresh water and dry thoroughly.
Penyelenggaraan
Membersihkan Kamera
- Gunakan kain lembut dan tidak berbulu untuk membersihkan badan kamera.
- Untuk kanta, gunakan kain dan larutan pembersih kanta khusus. Elakkan bahan yang kasar.
- Do not use strong chemical cleaners, as they may damage the camera's finish or seals.
Penyimpanan
When not in use, store the camera in a cool, dry place away from direct sunlight and extreme temperatures. Remove the microSD card if storing for extended periods.
Menyelesaikan masalah
| Masalah | Penyelesaian yang Mungkin |
|---|---|
| Kamera tidak dihidupkan. | Pastikan bateri dicas sepenuhnya. Sambungkan ke sumber kuasa dan cuba lagi. |
| Tidak boleh merakam video atau mengambil gambar. | Check if a microSD card is inserted and has sufficient free space. Ensure the card is formatted correctly (FAT32). |
| Kualiti video kurang baik. | Ensure the lens is clean. Check lighting conditions. Use a high-speed microSD card (Class 10 or higher). |
| Kamera membeku atau menjadi tidak bertindak balas. | Press and hold the Power/Mode button for 10 seconds to force a shutdown. Restart the camera. |
| Files not recognized on computer. | Ensure the USB cable is properly connected. Try a different USB port or computer. The camera saves files in standard formats (e.g., JPEG, AVI). |
Spesifikasi
| Ciri | Perincian |
|---|---|
| Model | NDC-405 |
| Resolusi Video | 720p pada 30 fps |
| Resolusi Imej Pegun | 12 MP |
| Penderia Optik | CMOS 720p 1/4" |
| Viewpencari | LCD 2 inci |
| Penilaian Kalis Air | IP68 (sehingga 30 meter) |
| Bateri | 900mAh Boleh dicas semula |
| Penyimpanan | Micro SD/SDHC up to 32GB |
| Bidang View | 120 darjah |
| Dimensi | 5.92 x 2.87 x 4.09 cm |
| Berat badan | 127.01 g |
Waranti dan Sokongan
For warranty information and technical support, please refer to the warranty card included with your product or visit the official NAXA Electronics website. Keep your purchase receipt as proof of purchase for any warranty claims. Do not attempt to repair the device yourself, as this may void the warranty.


