
pengenalan
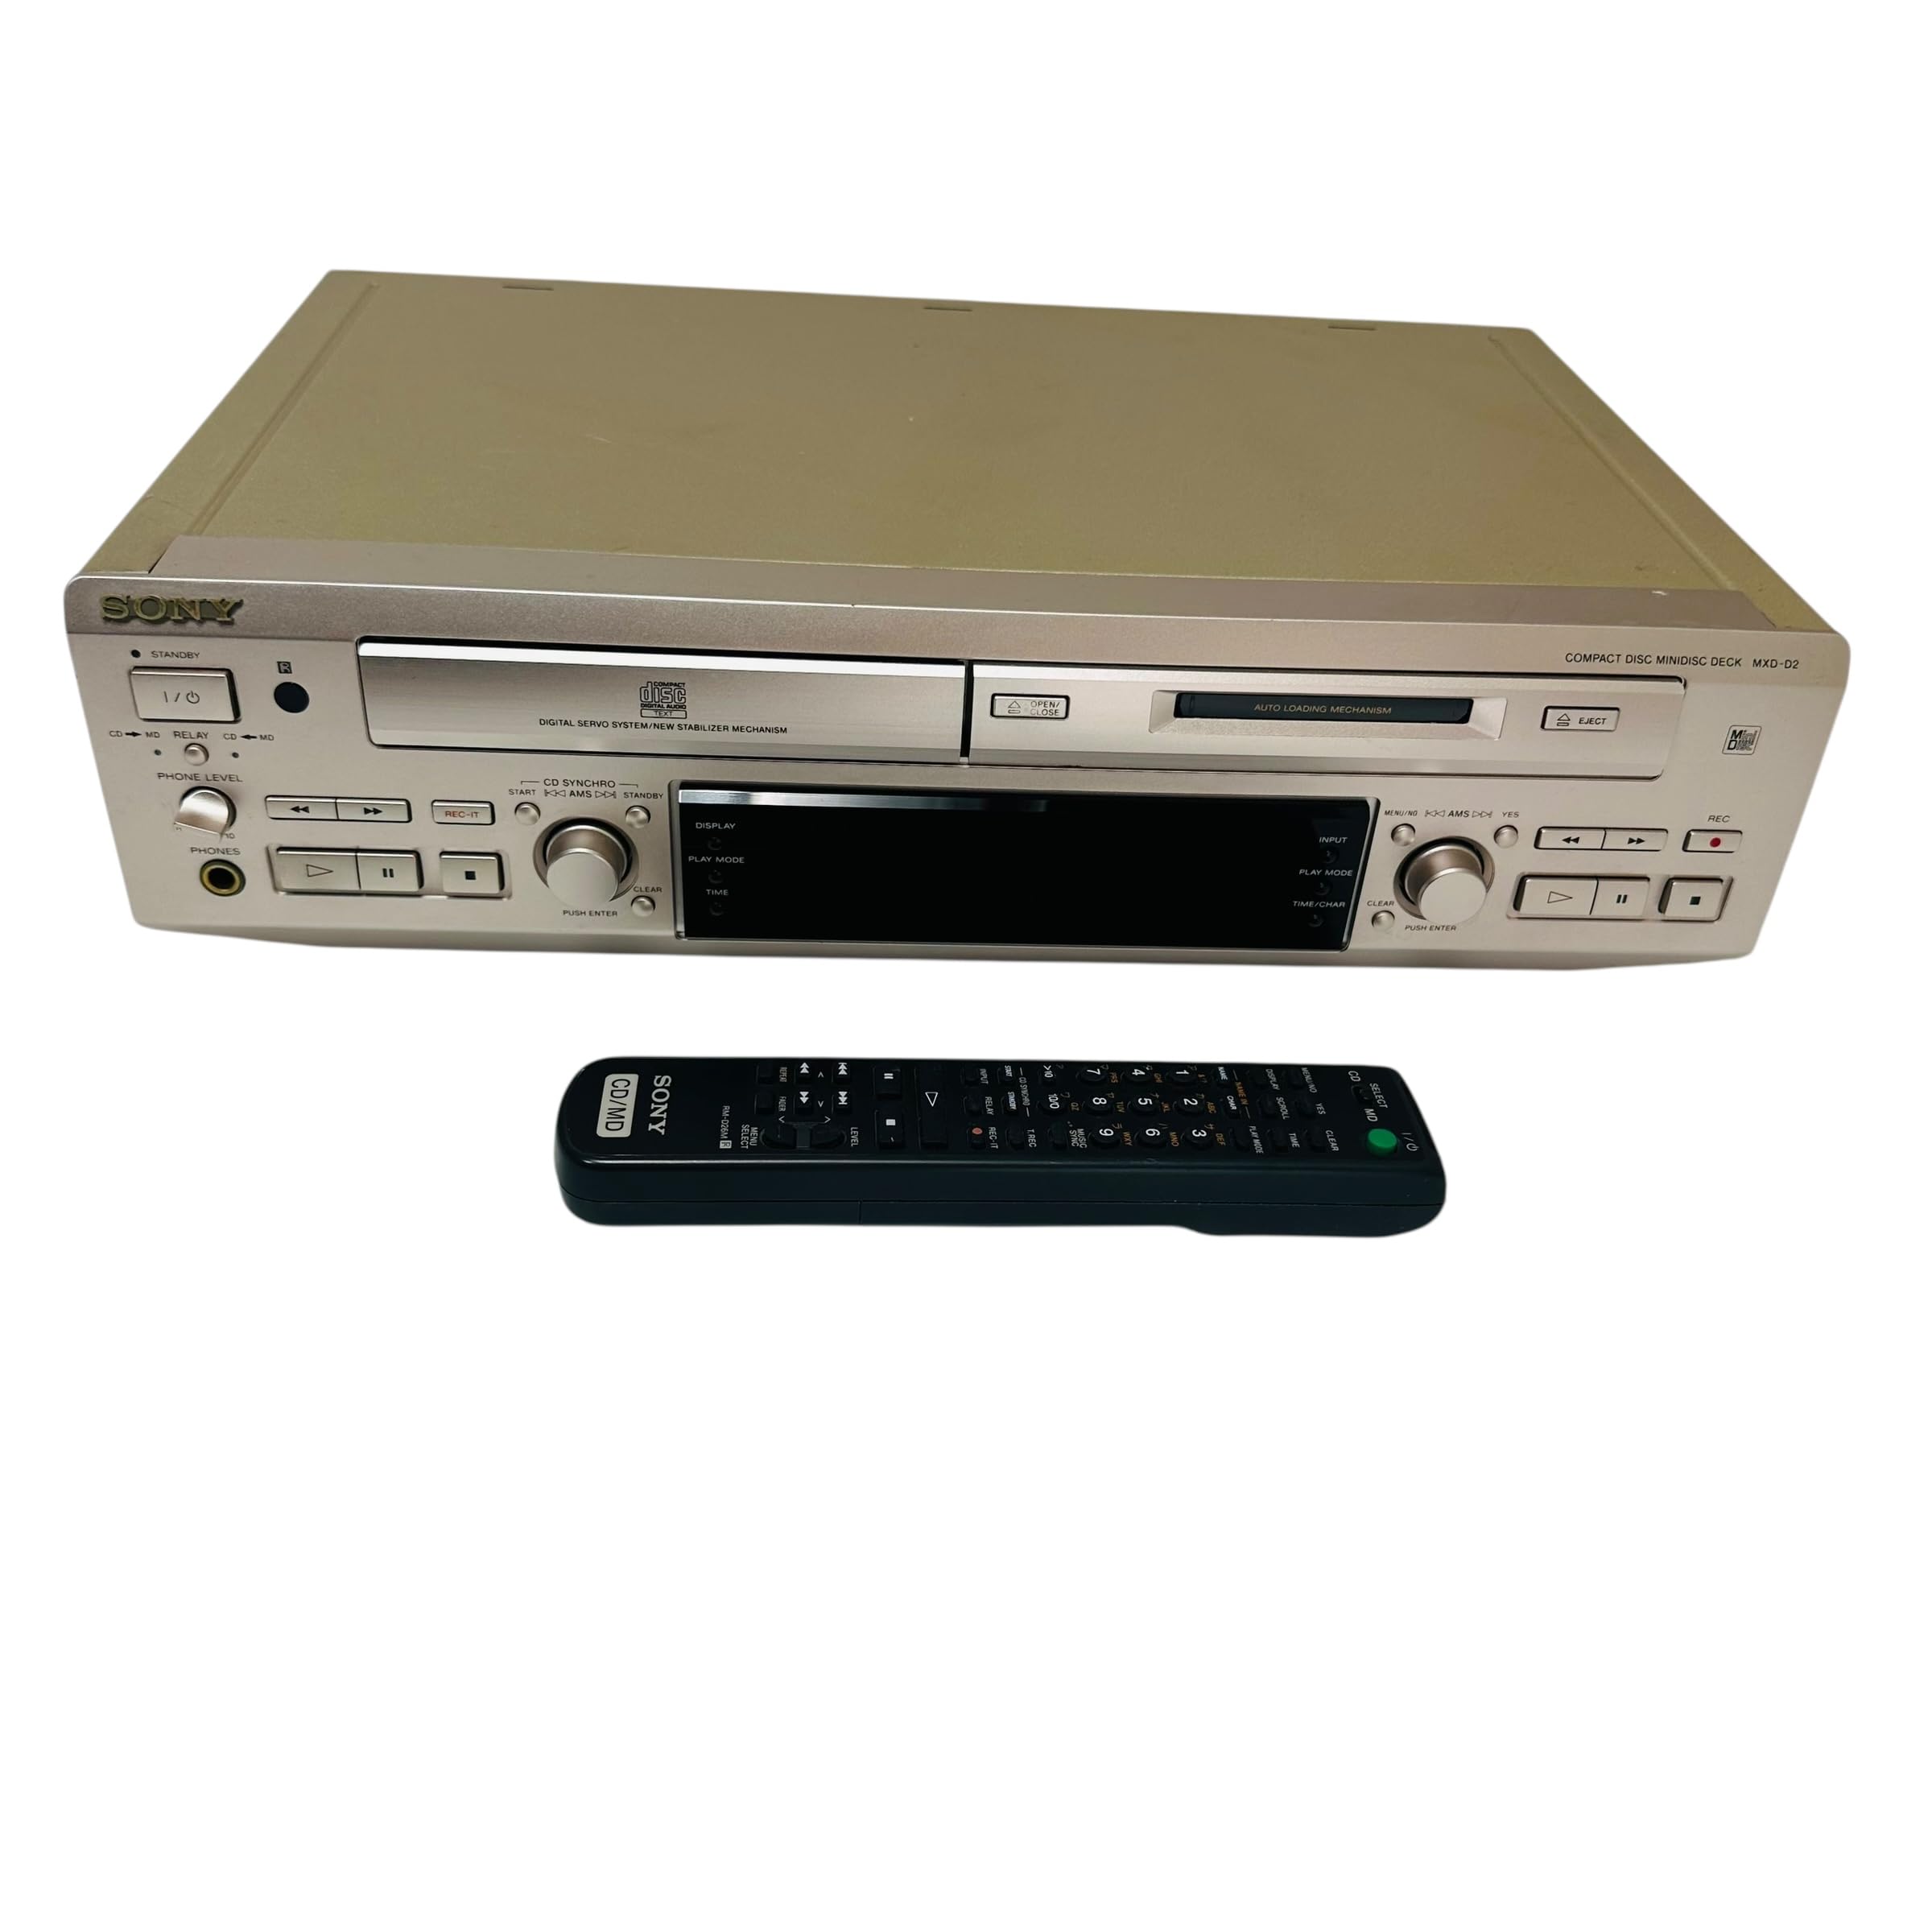
This manual provides essential information for the safe and efficient use of your Sony MXD-D2 MD Recorder/CD Player integrated deck. Please read these instructions thoroughly before operating the unit and retain them for future reference.
Maklumat Keselamatan
Patuhi langkah keselamatan berikut untuk mengelakkan kejutan elektrik, kebakaran atau kerosakan pada unit:
- Sumber Kuasa: Connect the unit only to an AC 100V, 50/60Hz power supply.
- Pengudaraan: Ensure adequate ventilation by not blocking the ventilation openings. Do not place the unit on soft surfaces that may block these openings.
- Kelembapan: Jangan dedahkan unit kepada hujan atau lembapan. Elakkan meletakkan objek yang diisi dengan cecair, seperti pasu, pada unit.
- Objek Asing: Do not insert any metallic objects or liquids into the unit.
- Servis: Jangan cuba menservis unit ini sendiri. Rujuk semua servis kepada kakitangan yang berkelayakan.
Persediaan
Membongkar dan Meletakkan
Carefully remove the unit from its packaging. Place the unit on a stable, level surface, ensuring sufficient space around it for proper ventilation.
Sambungan Panel Belakang
The rear panel of the MXD-D2 provides various input and output terminals for connecting to other audio components. Refer to the image below for a visual guide to the connections.
Imej: Rear panel of the Sony MXD-D2 unit. This view displays the analog RCA input/output, digital coaxial input, optical input/output, and Control 1 port, along with the power cord connection and product information label.
- Sambungan Audio Analog: Use RCA cables to connect the INPUT ANALOG (入力) to the audio output of an external device (e.g., a tape deck or tuner). Connect the OUTPUT ANALOG (出力) to the audio input of your amplifier or receiver. Ensure left (左) and right (右) channels are matched.
- Sambungan Audio Digital:
- Coaxial Digital Input (コアキシャル 入力): Connect a coaxial digital cable from the digital output of an external device.
- Optical Digital Input (オプチカル 入力): Connect an optical digital cable from the digital output of an external device.
- Optical Digital Output (オプチカル 出力): Connect an optical digital cable to the digital input of an external recording device or amplebih hidup.
- Control 1 (コントロール 1): This port is for connecting to other compatible Sony components for synchronized operation. Refer to the manuals of connected components for specific instructions.
- Sambungan Kuasa: After all audio connections are made, plug the power cord into an AC 100V wall outlet.
Arahan Operasi
Hidupkan/Mati Kuasa
Tekan ke KUASA butang pada panel hadapan untuk menghidupkan atau mematikan unit.
Main semula CD
- Tekan ke CD OPEN/CLOSE butang untuk membuka dulang CD.
- Place a CD with the label side up in the tray.
- Tekan ke CD OPEN/CLOSE butang sekali lagi untuk menutup dulang.
- Tekan ke MAIN CD butang untuk memulakan main balik.
- Gunakan JEDA, BERHENTI, SKIP (►►| / |◄◄), and CARIAN butang untuk kawalan main balik.
MD Playback
- Insert a MiniDisc into the MD slot with the arrow pointing inwards.
- Tekan ke MD PLAY butang untuk memulakan main balik.
- Gunakan JEDA, BERHENTI, SKIP (►►| / |◄◄), and CARIAN butang untuk kawalan main balik.
MD Recording
The MXD-D2 allows recording from CD, analog, or digital sources to a MiniDisc.
- Insert a blank or erasable MiniDisc into the MD slot.
- Select the desired input source (CD, ANALOG, DIGITAL COAXIAL, or DIGITAL OPTICAL) using the PEMILIH INPUT butang.
- For CD-to-MD recording, load the CD and select CD as the input source.
- Tekan ke MD REC butang untuk memasuki mod siap sedia rakaman.
- Start playback on the source device (if external) or press MAIN CD (for CD-to-MD recording).
- Tekan MD REC sekali lagi untuk memulakan rakaman.
- Tekan MD STOP untuk menamatkan rakaman.
- Track Marking: The unit can automatically mark tracks during digital recording. For manual marking, press the TANDA button during recording.
Penyelenggaraan
Membersihkan Unit
Lap bahagian luar unit dengan kain lembut dan kering. Untuk kesan degil, gunakan kain ringan dampened with a mild detergent solution, then wipe dry. Do not use abrasive pads, scouring powder, or solvents such as alcohol or benzene.
Penjagaan Cakera
- Handle discs by their edges to avoid fingerprints on the recording surface.
- Keep discs in their cases when not in use to protect them from dust and scratches.
- Jangan dedahkan cakera kepada cahaya matahari langsung atau sumber haba.
Menyelesaikan masalah
If you experience problems with your unit, consult the following table before seeking professional service.
| Masalah | Kemungkinan Punca | Penyelesaian |
|---|---|---|
| Tiada kuasa | Kord kuasa tidak disambungkan dengan selamat. | Check that the power cord is firmly plugged into the unit and the wall outlet. |
| Tiada bunyi | Incorrect input selected; audio cables not connected properly; ampisipadu pengalir terlalu rendah. | Select the correct input source. Check all audio cable connections. Increase the volume on your amplebih hidup. |
| CD/MD does not play or record | Disc inserted incorrectly; disc is dirty or scratched; disc is unrecordable (for MD). | Ensure the disc is inserted correctly. Clean the disc with a soft cloth. Use a recordable MD. |
| Recording level is too low/high | Source device output level is incorrect. | Adjust the output level on the source device or the recording level on the MXD-D2 if available. |
Spesifikasi
| Ciri | Perincian |
|---|---|
| Nombor Model | MXD-D2 |
| Jenama | Sony |
| Keperluan Kuasa | AC 100V, 16W, 50/60Hz |
| Format Media | Compact Disc (CD), MiniDisc (MD) |
| Input analog | RCA (Left/Right) |
| Keluaran Analog | RCA (Left/Right) |
| Input Digital | Coaxial (1), Optical (1) |
| Keluaran Digital | Optik (1) |
| Pelabuhan Kawalan | Kawalan 1 |
| Peranti Serasi | Speakers, Headphones |
| Nombor Siri | 213013 (Example) |
| Negara Asal | Buatan Jepun |
Waranti dan Sokongan
For warranty information and technical support, please refer to the warranty card included with your product or visit the official Sony webtapak untuk wilayah anda. Simpan resit pembelian anda sebagai bukti pembelian.