pengenalan
This document provides essential information and guidance for the installation and care of your replacement LCD display for the Apple iPad Mini. This LCD display is compatible with iPad Mini models A1432, A1454, and A1455. It is crucial to verify your iPad Mini model number before proceeding with any repair.
Nota: This product is the LCD display only and does bukan include the touch screen digitizer. Installation instructions and repair tools are not included with this product. Professional installation is highly recommended due to the delicate nature of the components and the complexity of the repair process.
Maklumat Keselamatan Penting
- Always disconnect the device's power source (battery) before beginning any repair to prevent electrical shock or damage to components.
- Handle all components with care. Flex cables and connectors are fragile and can be easily damaged.
- Use appropriate tools for the repair. Incorrect tools can cause damage to the device or the replacement part.
- Bekerja dalam persekitaran yang bersih, terang dan bebas statik.
- Keep track of all screws and small parts. They are often different sizes and must be returned to their original locations.
Produk Selesaiview
This replacement part is a high-quality LCD display designed for specific Apple iPad Mini models. It provides the visual output for your device. The display features a ribbon cable for connection to the iPad's logic board.
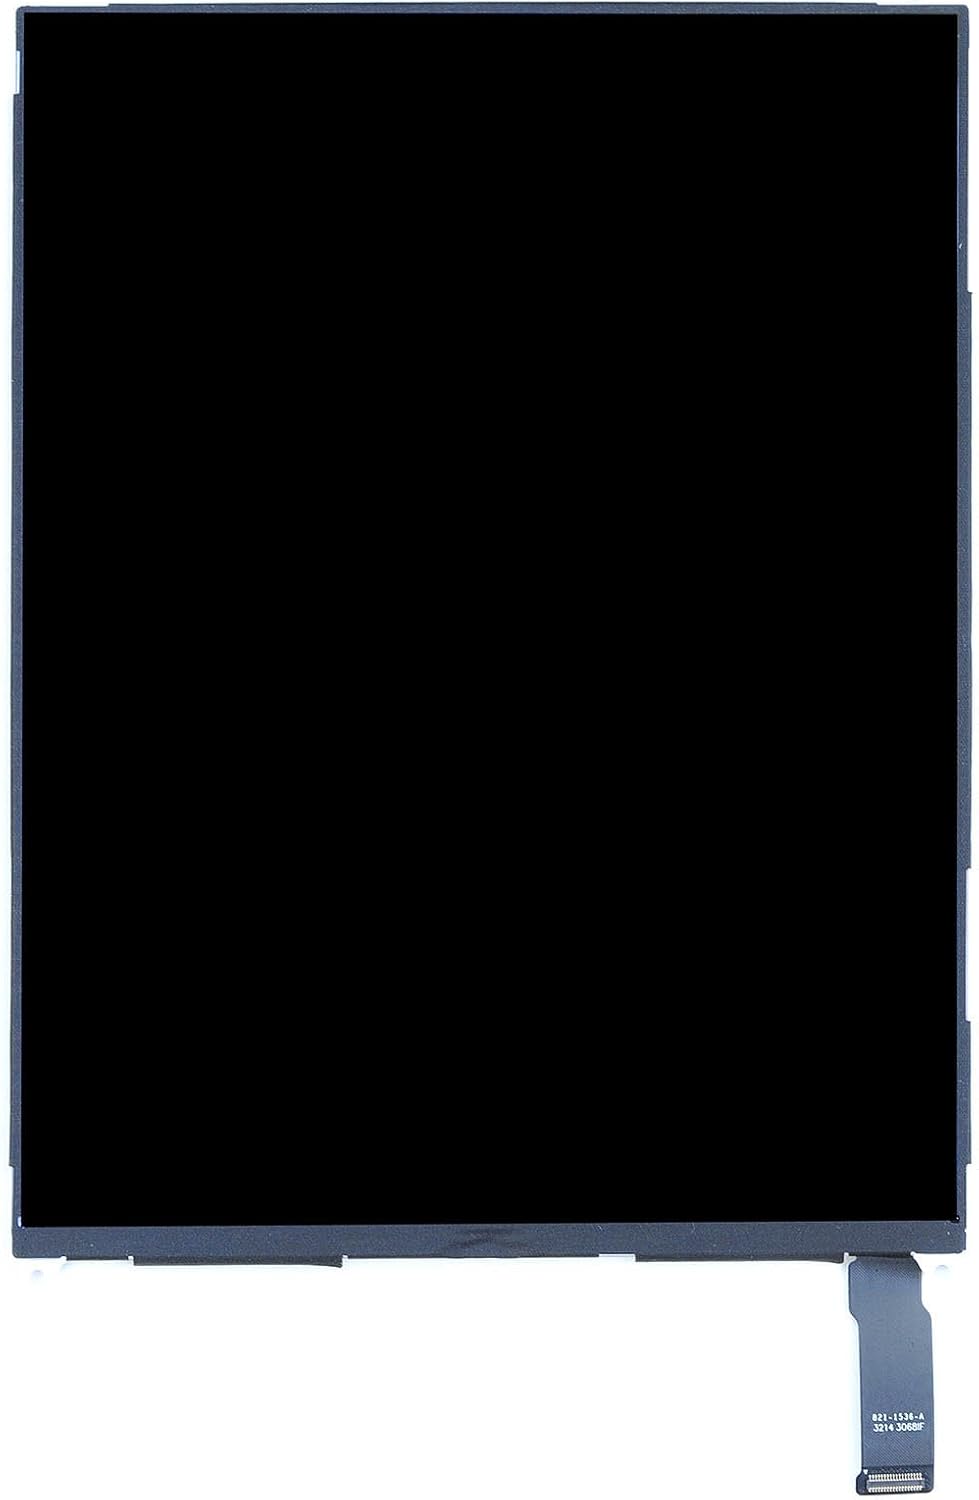
Imej: Depan view of the replacement LCD display for iPad Mini, showing a black screen. This is the component responsible for displaying images and text on your device.
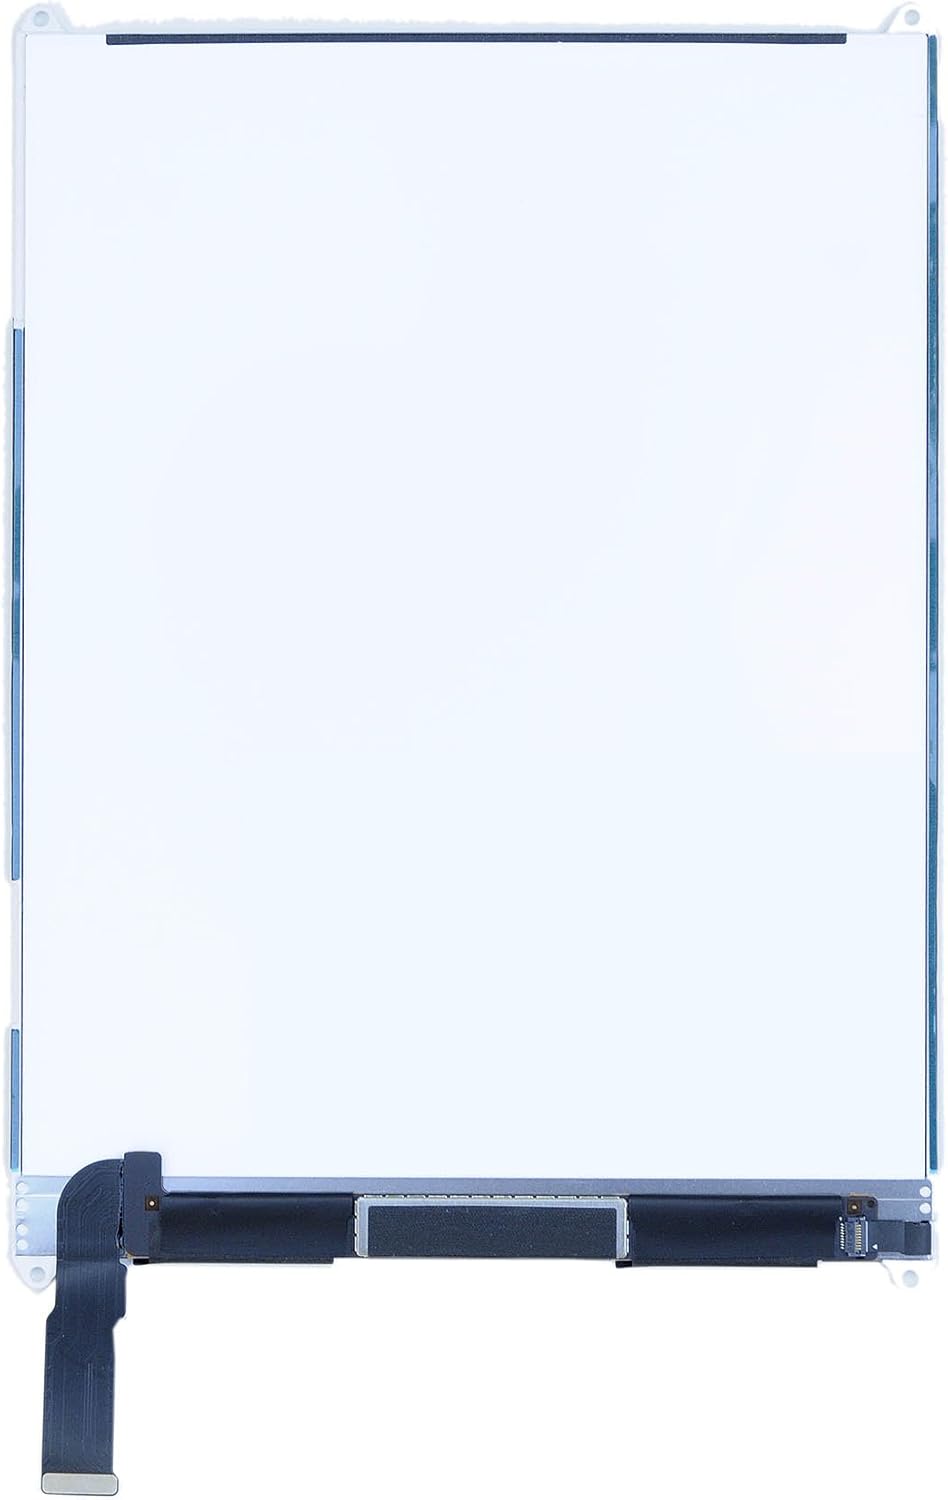
Imej: Depan view of the replacement LCD display for iPad Mini, showing a white screen. This image illustrates the display surface.
Keserasian
This LCD display is specifically designed for the following Apple iPad Mini models:
- iPad Mini Model A1432
- iPad Mini Model A1454
- iPad Mini Model A1455
Penting: This LCD display is TIDAK compatible with the iPad Mini with Retina display (iPad Mini 2) models A1489 or A1490, or any other iPad models. Please verify your device's model number, typically found on the back casing, before attempting installation.
Panduan Pemasangan
The installation of an iPad Mini LCD display requires technical expertise and specialized tools. If you are not confident in your ability to perform this repair, it is strongly recommended to seek assistance from a qualified professional.
Pemeriksaan Prapemasangan:
- Sahkan Keserasian: Double-check that the model number of your iPad Mini matches the compatible models listed above.
- Inspect the Part: Before installation, carefully inspect the new LCD display for any visible damage, scratches, or defects. Do not remove any protective films or stickers until you have fully tested the part.
- Alat Kumpul: Ensure you have all necessary repair tools, such as screwdrivers, prying tools, heat gun/hair dryer, and adhesive. (Note: Tools are not included with this product).
General Installation Steps (Consult a detailed repair guide for your specific model):
- Matikan Peranti: Completely power off your iPad Mini.
- Remove Digitizer: Carefully heat the edges of the iPad to soften the adhesive holding the touch screen digitizer. Use prying tools to gently separate and remove the digitizer.
- Putuskan Sambungan Bateri: Locate and disconnect the battery connector from the logic board to prevent short circuits during the repair.
- Remove Old LCD: Unscrew any retaining brackets or screws holding the old LCD in place. Carefully disconnect the flex cable(s) connecting the old LCD to the logic board and remove the damaged LCD.
- Connect New LCD: Connect the flex cable(s) of the new LCD display to the corresponding connectors on the logic board. Ensure connections are secure and properly seated.
- Paparan Ujian: Before fully reassembling the device, temporarily reconnect the battery and power on the iPad Mini to test the new LCD display. Check for proper functionality, display quality, dead pixels, and touch response (if digitizer is also connected).
- Perhimpunan Akhir: If the test is successful, disconnect the battery again. Secure the new LCD with its retaining brackets and screws. Reconnect the battery. Reattach the digitizer and secure it with new adhesive.
- Pembersihan: Remove any protective films from the new display.

Image: Close-up of the LCD display's ribbon cable connection point. This cable connects the display to the iPad's logic board.

Imej: Belakang view of the LCD display for iPad Mini, showing the ribbon cable and mounting points. This illustrates the rear structure of the display component.
Operating (Post-Installation Test)
After installation, perform the following checks to ensure the new LCD display is functioning correctly:
- Hidupkan kuasa: Turn on your iPad Mini. The Apple logo should appear clearly.
- Kualiti Paparan: Check for any dead pixels, discoloration, lines, or uneven backlighting across the entire screen.
- Kecerahan: Adjust the screen brightness to ensure it responds correctly.
- Pengekalan Imej: Observe if there is any image retention or ghosting.
If any issues are observed during this testing phase, power off the device and re-check all connections. Sometimes, a loose or improperly seated flex cable can cause display anomalies.
Penyelenggaraan
Once installed, the LCD display requires minimal maintenance. Follow these guidelines to prolong its lifespan:
- Pembersihan: Gunakan kain yang lembut dan tidak berbulu, sedikit dampdibilas dengan air atau pembersih khusus skrin, untuk mengelap skrin dengan lembut. Elakkan bahan kimia yang keras atau bahan yang melelas.
- Perlindungan: Consider using a screen protector and a protective case for your iPad Mini to prevent future damage from drops or scratches.
- Suhu: Avoid exposing your device to extreme temperatures, as this can affect display performance and longevity.
Menyelesaikan masalah
If you encounter issues after installing the new LCD display, consider the following troubleshooting steps:
| Masalah | Kemungkinan Punca | Penyelesaian |
|---|---|---|
| No display or black screen | Loose or improperly connected LCD flex cable; disconnected battery; faulty LCD. | Power off, disconnect battery, re-seat LCD flex cable, reconnect battery. Ensure battery is charged. If problem persists, the LCD may be faulty. |
| Lines or discoloration on screen | Damaged LCD flex cable; faulty LCD; pressure damage during assembly. | Power off, re-check LCD flex cable for damage or improper seating. Ensure no pressure is applied to the display during reassembly. |
| Uneven backlighting or bright spots | Pressure on the display from internal components; faulty backlight. | Carefully check internal components for anything pressing against the back of the LCD. Reassemble with care. |
| "E3" or other markings visible on screen | Protective film not removed from the display. | Carefully remove any protective films from the LCD surface. This should be done before final assembly. |
If these steps do not resolve the issue, it is advisable to consult a professional repair service or contact the product vendor for further assistance.
Spesifikasi
- Jenama: Apple (Replacement part for Apple device)
- Nombor Model: LED-IPADMINI-3005
- Compatible iPad Mini Models: A1432, A1454, A1455
- Berat Barang: Kira-kira 7.2 auns
- Dimensi Produk: Approximately 1 x 1 x 1 inches (Note: These dimensions might be generic placeholder values from the source data and may not represent the actual display size accurately.)
- Jenis: LCD Display (Does not include touch screen digitizer)
Waranti dan Sokongan
Specific warranty information for this replacement part may vary depending on the seller. Please refer to your purchase documentation or contact the vendor directly for details regarding warranty coverage and support services.
For technical support or further inquiries, please reach out to the retailer or manufacturer from whom you purchased this product.