pengenalan
This manual provides essential information for the safe operation, maintenance, and troubleshooting of your Central Machinery 4" x 36" Belt 6" Disc Sander. Please read and understand all instructions before operating the tool to ensure personal safety and optimal performance. Keep this manual for future reference.

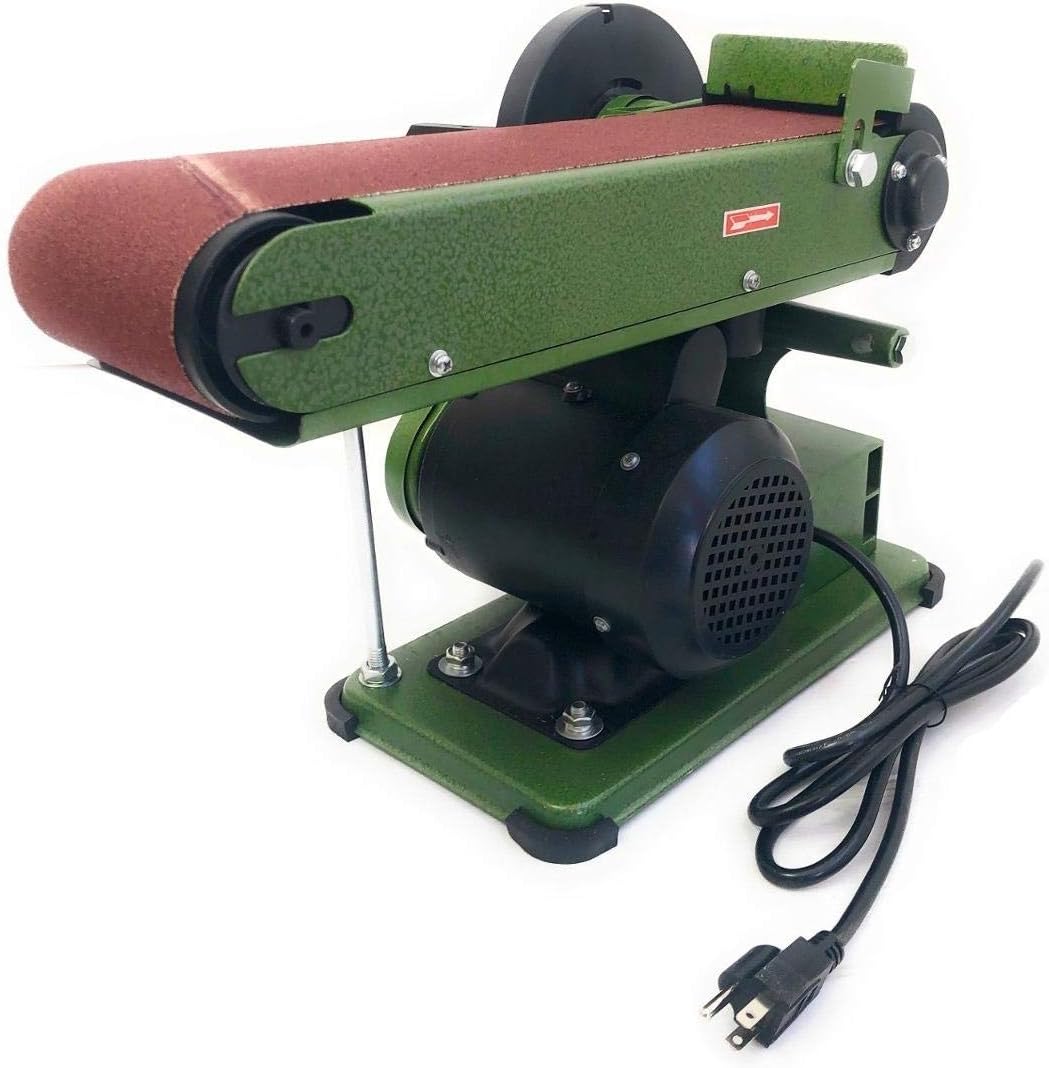
Imej 1: Selesaiview of the Central Machinery Belt and Disc Sander. This image displays the complete unit with both the belt sanding arm and the disc sanding plate visible.
Maklumat Keselamatan Penting
Always follow basic safety precautions when using this power tool to reduce the risk of fire, electric shock, and serious personal injury.
- Baca semua arahan: Biasakan diri anda dengan kawalan dan penggunaan alat yang betul.
- Pakai pelindung mata: Always wear ANSI-approved safety goggles or a face shield.
- Pakai pelindung pendengaran: Gunakan penyumbat telinga atau penutup telinga semasa operasi.
- Bahan kerja selamat: Sentiasa clamp atau sebaliknya selamatkan bahan kerja untuk mengelakkan pergerakan semasa mengampelas.
- Keep guards in place: Never operate the sander without all guards properly installed.
- Avoid loose clothing: Do not wear loose clothing, gloves, neckties, or jewelry that can get caught in moving parts.
- Mengekalkan kawasan kerja yang bersih: Kawasan dan bangku yang berantakan mengundang kemalangan.
- Jangan melampaui batas: Kekalkan pijakan dan keseimbangan yang betul pada setiap masa.
- Putuskan kuasa: Always unplug the sander before making adjustments, changing accessories, or performing maintenance.
- Use proper dust collection: Connect to a dust collection system to minimize airborne dust, especially when sanding wood.
Komponen dan Ciri
The Central Machinery Belt and Disc Sander consists of several key components designed for efficient material removal and finishing.

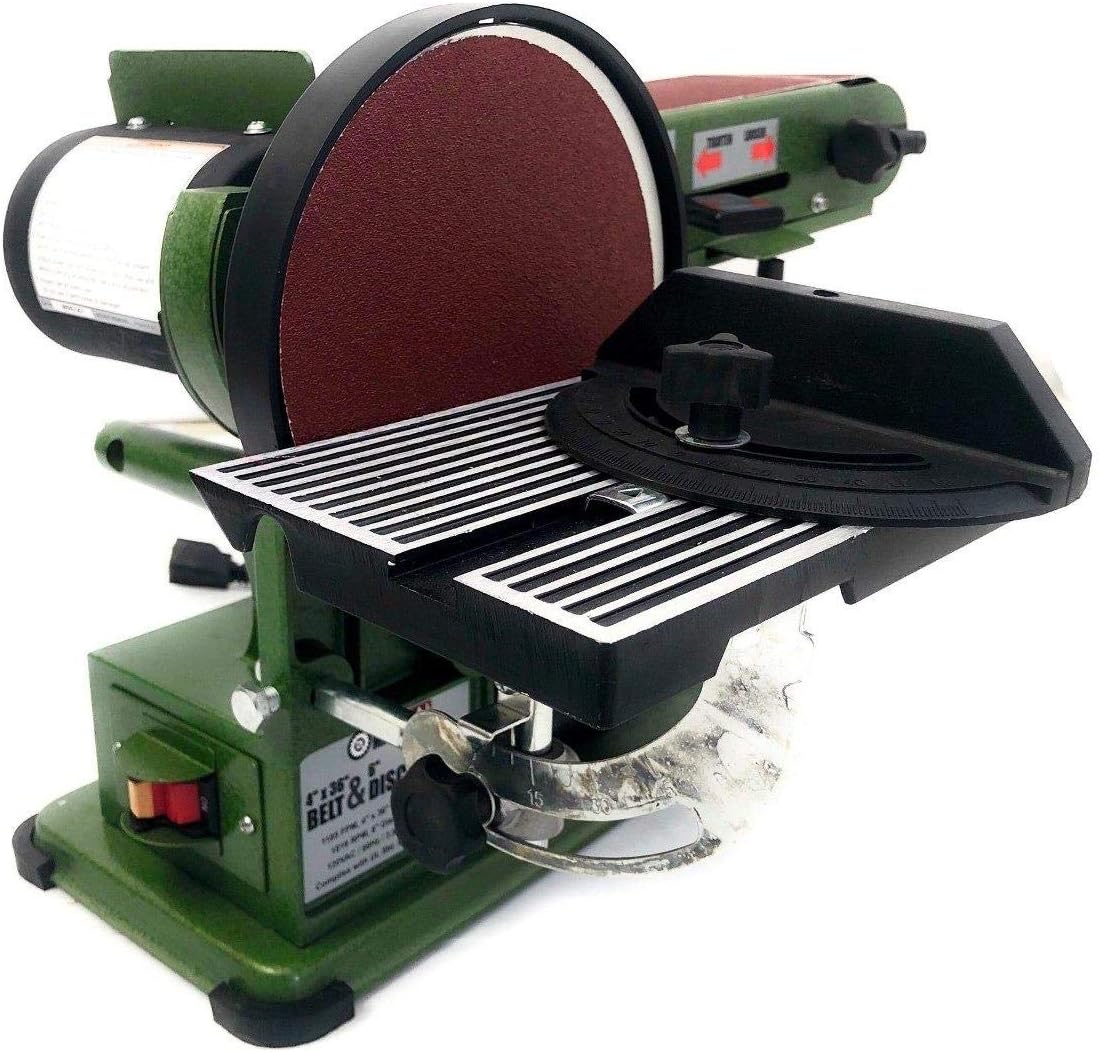
Imej 2: Depan view of the sander, highlighting the belt and disc sanding surfaces. The belt is positioned horizontally, and the disc is on the left side with its work table.
- Belt Sanding Arm: For sanding flat surfaces and edges.
- Disc Sanding Plate: For precise sanding of curves and angles.
- Meja Kerja: Adjustable table for supporting workpieces on the disc sander.
- Tolok Miter: Used with the work table for angled sanding.
- Belt Tracking Knob: Adjusts the alignment of the sanding belt.
- Suis kuasa: Kawalan hidup/mati untuk motor.
- Pelabuhan Debu: Connection point for a dust collection system.
Persediaan dan Perhimpunan
1. Membongkar
Carefully remove all components from the packaging. Inspect the sander for any damage that may have occurred during shipping. Report any damage to your supplier immediately. Ensure all parts listed in the packing list are present.
2. Mounting the Sander
For stable operation, it is recommended to bolt the sander to a workbench or a sturdy stand. Use appropriate hardware (not included) through the mounting holes in the base of the unit.
Imej 3: Sisi view of the sander, showing the sturdy base with mounting points and the power cord connection.
3. Attaching the Work Table and Miter Gauge
- Attach the work table bracket to the disc sander housing using the provided bolts and nuts.
- Slide the work table onto the bracket and secure it with the locking knob. Ensure the table is perpendicular to the disc for most operations, or adjust to the desired angle.
- Insert the miter gauge into the slot on the work table. The miter gauge can be adjusted for precise angle sanding.
Imej 4: Terperinci view of the disc sander work table with the miter gauge inserted into its slot, ready for angled sanding operations.
4. Menyambungkan Pengumpulan Habuk
Connect a suitable dust collection system to the dust port located on the sander. This will help keep your work area clean and reduce exposure to airborne dust particles.
Arahan Operasi
1. Sambungan Kuasa
Ensure the power switch is in the "OFF" position before plugging the sander into a standard 120V, 60Hz grounded electrical outlet. The sander requires a 1.9 Amps (no load) / 8.6 Amps (startup) circuit.

Imej 5: Belakang view of the sander, showing the location of the power switch and the motor housing.
2. Belt Sanding Operation
- Ensure the sanding belt is properly installed and tracked.
- Hidupkan sander menggunakan suis kuasa.
- Apply the workpiece gently to the moving belt. Sand with the grain of the wood for best results.
- Keep the workpiece moving to avoid creating grooves or burning the material.
- The belt can be used in a horizontal or vertical position. To adjust, loosen the locking knob and pivot the belt arm to the desired angle, then re-tighten.

Image 6: The belt sanding arm adjusted to a vertical position, allowing for sanding of longer edges or specific contours.
3. Disc Sanding Operation
- Adjust the work table to the desired angle. For most operations, set it at 90 degrees to the disc.
- Turn on the sander.
- When sanding with the disc, always use the downward rotating side of the disc (left side when facing the disc) to prevent the workpiece from being thrown upwards.
- Apply light, even pressure and move the workpiece across the disc surface.
- Use the miter gauge for accurate angle sanding.
Penyelenggaraan
Regular maintenance ensures the longevity and safe operation of your sander. Always disconnect power before performing any maintenance.
1. Pembersihan
- After each use, clean the sander to remove dust and debris. Use a vacuum cleaner or compressed air.
- Do not use solvents or harsh chemicals, as they may damage plastic parts.
2. Belt and Disc Replacement
- tali pinggang: To replace the sanding belt, release the belt tension lever, remove the old belt, and slide on a new 4" x 36" belt. Re-tension the belt and adjust tracking if necessary.
- Cakera: To replace the sanding disc, carefully peel off the old 6" disc. Ensure the disc plate is clean and dry, then apply a new adhesive-backed sanding disc, aligning it properly.
3. Pelinciran
The motor bearings are sealed and permanently lubricated, requiring no additional lubrication. Periodically check moving parts for smooth operation and apply a light machine oil if necessary to pivot points, avoiding sanding surfaces.
4. Penyimpanan
Store the sander in a clean, dry location, out of reach of children. Protect it from moisture and extreme temperatures.
Menyelesaikan masalah
| Masalah | Kemungkinan Punca | Penyelesaian |
|---|---|---|
| Sander tidak bermula | No power supply; Faulty power switch; Motor overload. | Check power cord and outlet; Test power switch; Allow motor to cool if overheated. |
| Tali pinggang lari di luar trek | Improper belt tracking adjustment; Worn belt. | Adjust belt tracking knob; Replace sanding belt. |
| Prestasi pengamplasan yang lemah | Worn sanding belt/disc; Incorrect grit for material; Excessive pressure. | Replace belt/disc; Use appropriate grit; Apply lighter pressure. |
| Getaran yang berlebihan | Loose mounting; Unbalanced disc; Damaged belt. | Tighten mounting bolts; Inspect disc for damage; Replace belt if damaged. |
Spesifikasi
| Ciri | Perincian |
|---|---|
| Nombor Model | HA97181 |
| Jenama | Jentera Pusat |
| Saiz Tali Pinggang | 4" x 36" |
| Diameter Cakera | 6" |
| Motor Speed (Disc) | 1780 RPM (no load) |
| Kelajuan Tali Pinggang | 1150 FPM (no load) |
| Voltage | 120V, 60 Hz |
| Amppemadam | 1.9 Amps (no load), 8.6 Amps (startup) |
| Kuasa kuda | 0.75 HP |
| Dimensi Keseluruhan | 14" L x 19.87" W x 12.75" H |
| Berat badan | 28.7 paun |
Waranti dan Sokongan
For information regarding warranty coverage, technical support, or replacement parts, please contact Central Machinery customer service. Keep your purchase receipt and model number (HA97181) readily available when contacting support.
Note: Specific warranty terms may vary. Refer to the documentation included with your purchase or contact the manufacturer directly for the most current warranty information.