
1. Pengenalan
This manual provides instructions for the installation, operation, maintenance, and troubleshooting of the Juniper EX3200-24T Layer 3 Switch. The EX3200-24T is a fixed-configuration switch designed for access-layer deployments in various network environments, offering comprehensive Layer 2 and Layer 3 switching capabilities.
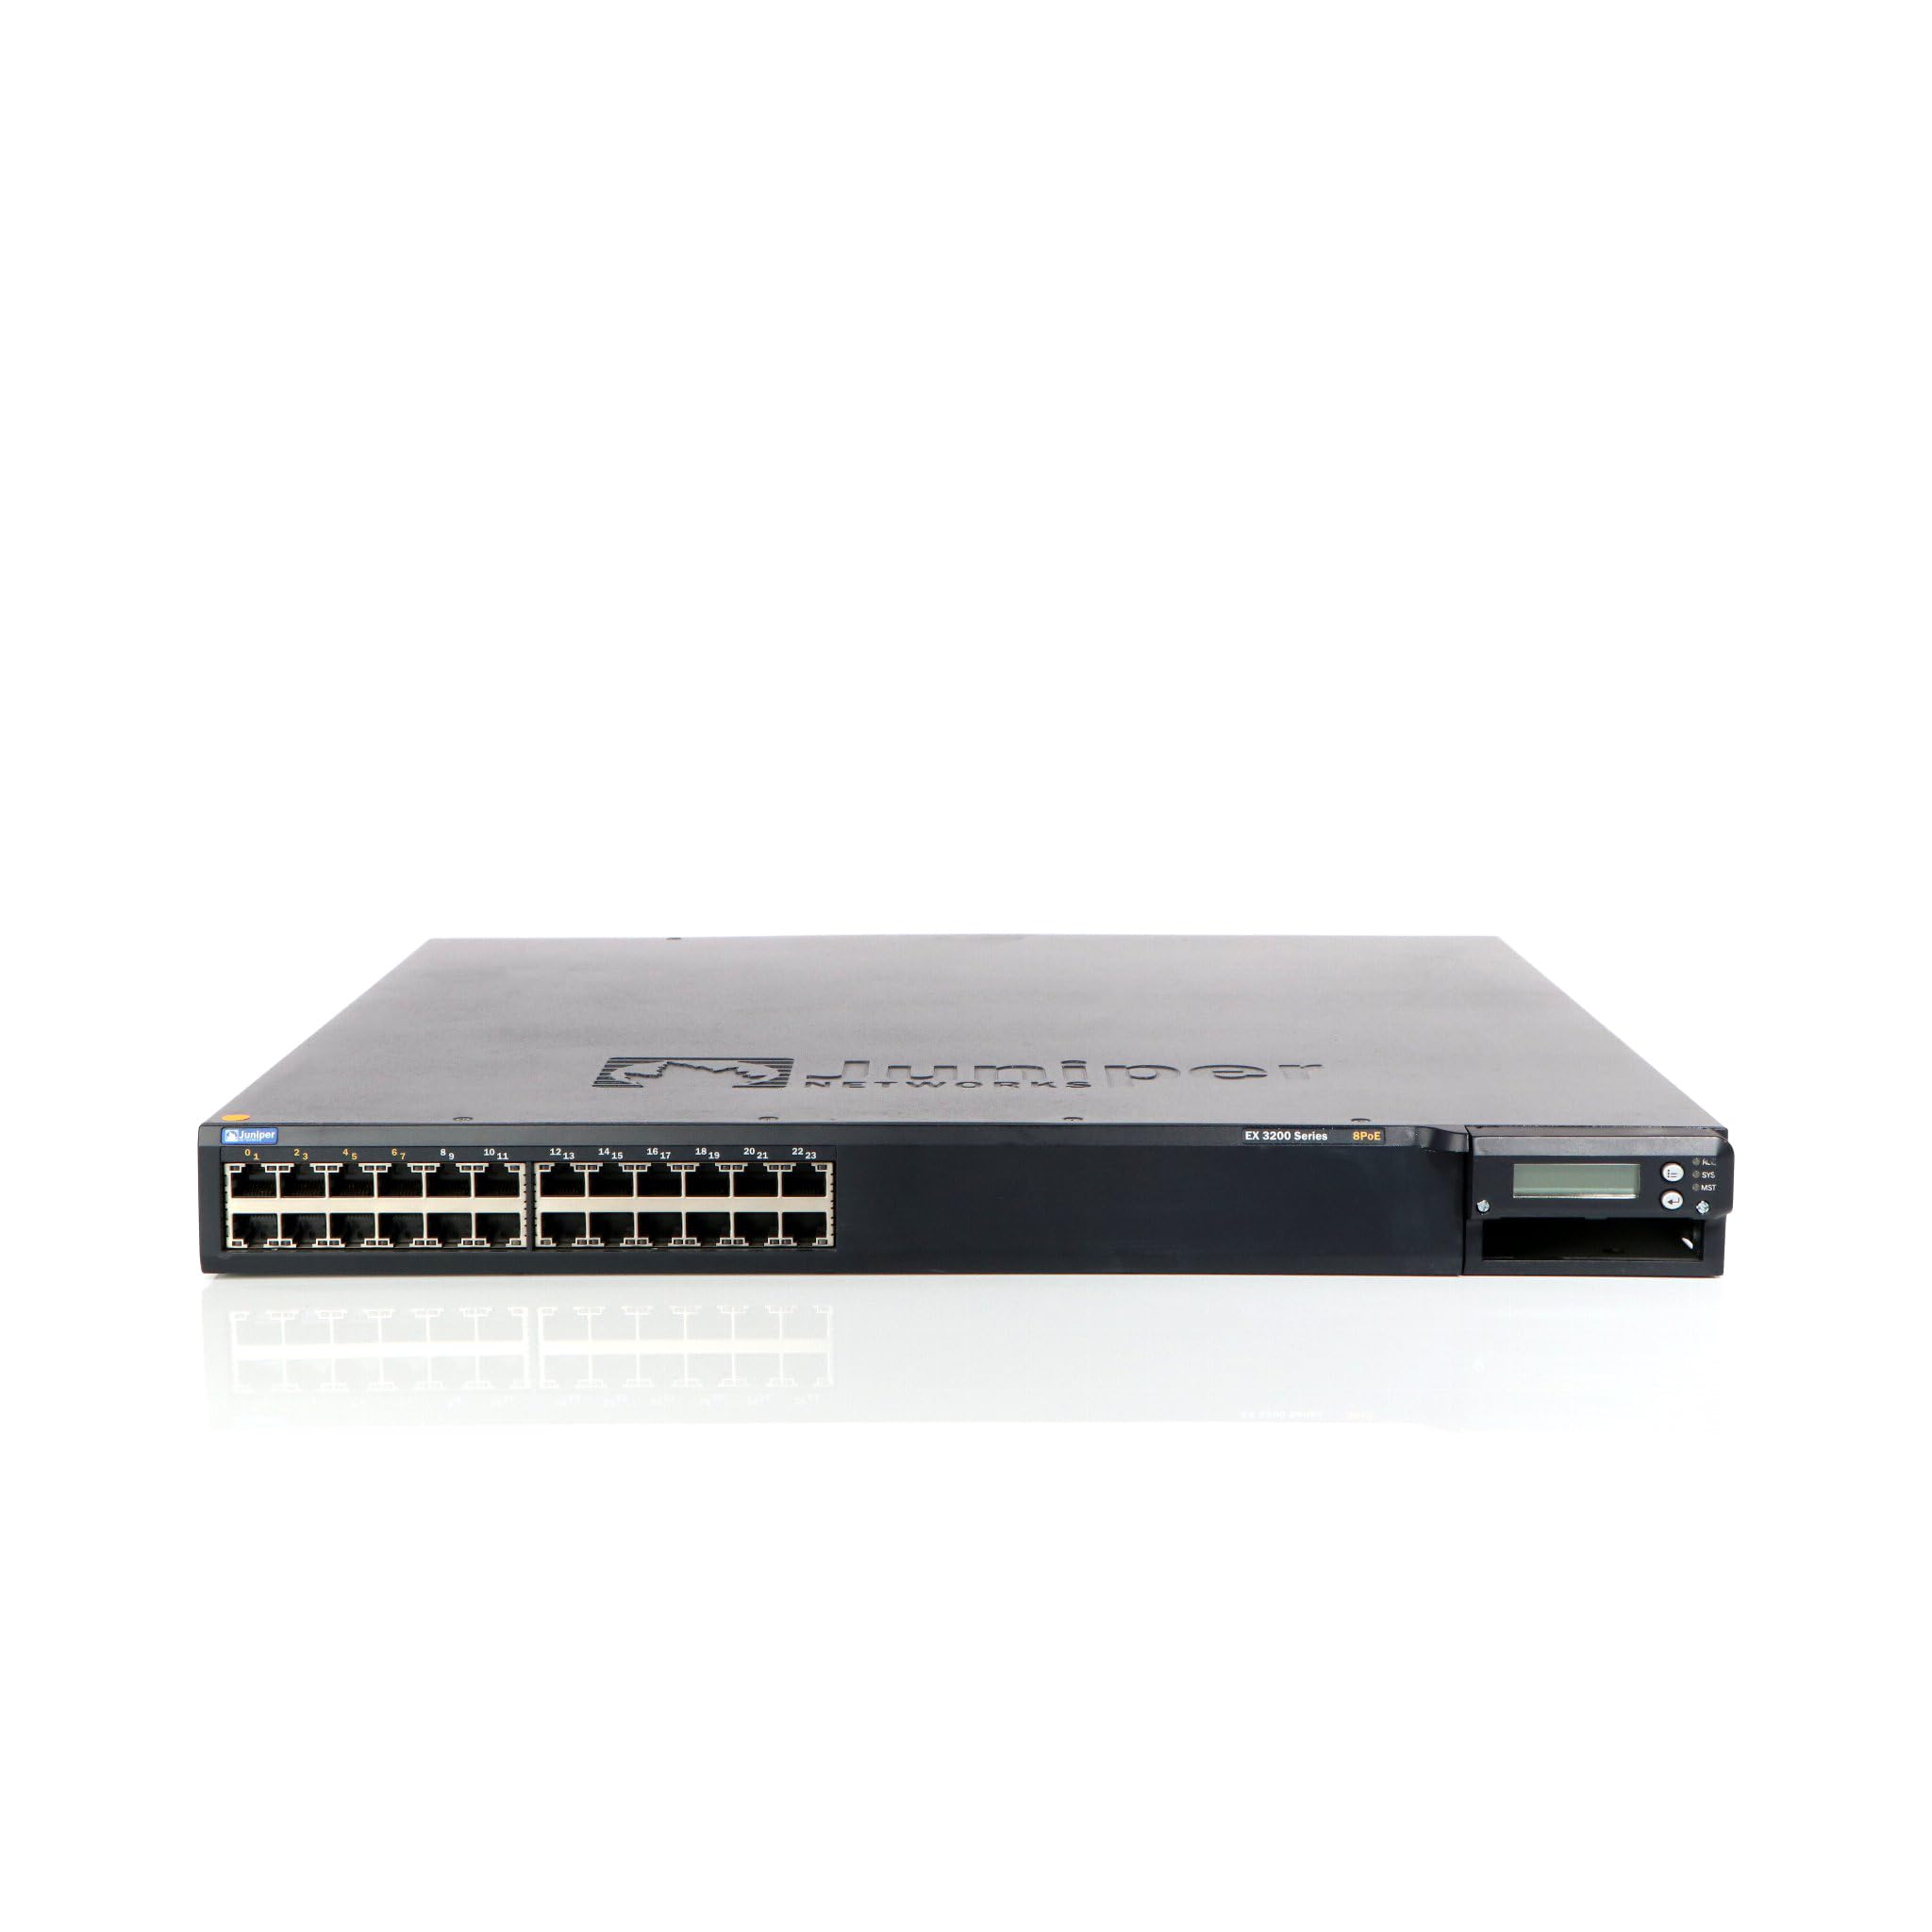
Rajah 1: Depan view of the Juniper EX3200-24T Layer 3 Switch. This image displays the 24 Ethernet ports, along with various status indicator lights and the Juniper Networks branding.
2. Persediaan
Follow these steps to properly set up your Juniper EX3200-24T switch.
2.1 Membongkar dan Pemeriksaan
- Keluarkan suis dengan berhati-hati dari pembungkusannya.
- Periksa suis untuk sebarang tanda kerosakan fizikal. Jika kerosakan ditemui, hubungi vendor anda dengan segera.
- Sahkan bahawa semua komponen yang disenaraikan dalam senarai pembungkusan ada.
2.2 Pemasangan Rak (Pilihan)
The EX3200-24T can be mounted in a standard 19-inch equipment rack. Use the provided rack-mount kit and follow the instructions included with the kit for secure installation.
2.3 Kuasa Penyambung
- Ensure the power switch on the rear panel of the switch is in the OFF position.
- Connect the provided AC power cord to the power inlet on the rear of the switch.
- Palamkan hujung kord kuasa yang lain ke dalam salur keluar elektrik yang dibumikan.
2.4 Menyambung Kabel Rangkaian
Connect Ethernet cables from your network devices (computers, servers, other switches) to the 10/100/1000Base-T ports on the front panel of the EX3200-24T switch. Ensure cables are securely seated.
3. Arahan Operasi
This section outlines the basic operation of the Juniper EX3200-24T switch.
3.1 Menghidupkan Suis
After connecting the power cord, flip the power switch on the rear panel to the ON position. The system status LEDs on the front panel will illuminate during the boot process.
3.2 Understanding Status LEDs
The front panel features various LEDs to indicate the operational status of the switch and its ports:
- LED SYS: Indicates system status (e.g., green for normal operation, amber for warning, red for critical error).
- LED ALM: Menunjukkan status penggera.
- PPM LED: Indicates power supply module status.
- LED Port: Each port has LEDs indicating link status and activity (e.g., green for link, blinking green for activity).
3.3 Initial Configuration (Console Access)
Untuk konfigurasi awal, sambungkan kabel konsol (RJ-45 ke DB-9) dari stesen kerja pengurusan anda ke port konsol pada suis. Gunakan program emulasi terminal (cth., PuTTY, Tera Term) dengan tetapan berikut:
- Kadar baud: 9600
- Bit data: 8
- Pariti: Tiada
- Bit henti: 1
- Kawalan aliran: Tiada
Refer to the Juniper Networks documentation for detailed configuration procedures.
4. Penyelenggaraan
Regular maintenance ensures optimal performance and longevity of your EX3200-24T switch.
4.1 Pembersihan
- Periodically clean the exterior of the switch with a soft, dry, lint-free cloth.
- Ensure ventilation openings are free from dust and obstructions to prevent overheating. Do not use liquid or aerosol cleaners directly on the switch.
4.2 Kemas Kini Perisian Tegar
Juniper Networks periodically releases firmware updates to improve performance, add features, and address security vulnerabilities. It is recommended to keep the switch firmware updated. Refer to the official Juniper Networks support website for the latest firmware and update procedures.
4.3 Pertimbangan Alam Sekitar
Operate the switch within its specified environmental limits (temperature, humidity) to prevent damage and ensure reliable operation. Avoid exposing the switch to direct sunlight, excessive heat, or moisture.
5. Penyelesaian masalah
This section provides solutions to common issues you might encounter with your EX3200-24T switch.
5.1 Tiada Kuasa
- Gejala: No LEDs are illuminated, and the switch does not power on.
- Tindakan:
- Verify the power cord is securely connected to both the switch and the electrical outlet.
- Pastikan suis kuasa pada panel belakang berada dalam kedudukan ON.
- Check the electrical outlet with another device to confirm it is functional.
- If using a power strip or UPS, ensure it is powered on and functioning correctly.
5.2 Tiada Kesambungan Rangkaian
- Gejala: Devices connected to the switch cannot access the network.
- Tindakan:
- Check the port LEDs on the switch for the connected device. A solid green LED indicates a link. If no link, try a different port or cable.
- Verify the network cable is securely connected at both ends (switch and device).
- Pastikan penyesuai rangkaian peranti yang disambungkan didayakan dan dikonfigurasikan dengan betul.
- If multiple devices are affected, check the uplink connection from the EX3200-24T to your core network.
- Consult the switch's configuration for VLANs, IP addressing, and other network settings.
5.3 System Alarm LED (ALM) is Amber/Red
- Gejala: The ALM LED is illuminated amber or red.
- Tindakan:
- Log in to the switch via the console or network management interface.
- Check system logs and alarm messages for details on the specific issue.
- Common causes include power supply issues, fan failures, or high temperature.
- Address the root cause as indicated by the logs.
6. Spesifikasi
Key technical specifications for the Juniper EX3200-24T Layer 3 Switch:
| Ciri | Spesifikasi |
|---|---|
| Jenama | Rangkaian Juniper |
| Nombor Model | EX3200-24T |
| Bilangan Pelabuhan | 24 (16 x 10/100/1000Base-T, 8 x 10/100/1000Base-T) |
| Slot Pengembangan | 1 x Expansion Slot |
| Kadar Pemindahan Data | 1 Gigabit Sesaat |
| Sokongan Lapisan | Lapisan 3 |
| Berat Barang | 14.9 paun |
| warna | Hitam |
| Peranti Serasi | Desktop |
| UPC | 832938037793 |
7. Waranti dan Sokongan
7.1 Waranti Produk
The Juniper EX3200-24T Layer 3 Switch is covered by a standard manufacturer's warranty. For detailed information regarding warranty terms, duration, and coverage, please refer to the warranty card included with your product or visit the official Juniper Networks webtapak.
7.2 Sokongan Teknikal
For technical assistance, troubleshooting beyond this manual, or to report issues, please contact Juniper Networks technical support. Support resources, including documentation, FAQs, and contact information, are available on the official Juniper Networks support portal: