pengenalan
Welcome to the user manual for your SINGER 3116 Simple 18 Stitch Sewing Machine. This machine is designed for ease of use, making it ideal for new sewers while offering features that enhance your sewing experience. It includes 18 built-in stitches, an automatic needle threader, and a fully automatic one-step buttonhole. Please read this manual thoroughly before operating your machine to ensure safe and efficient use.
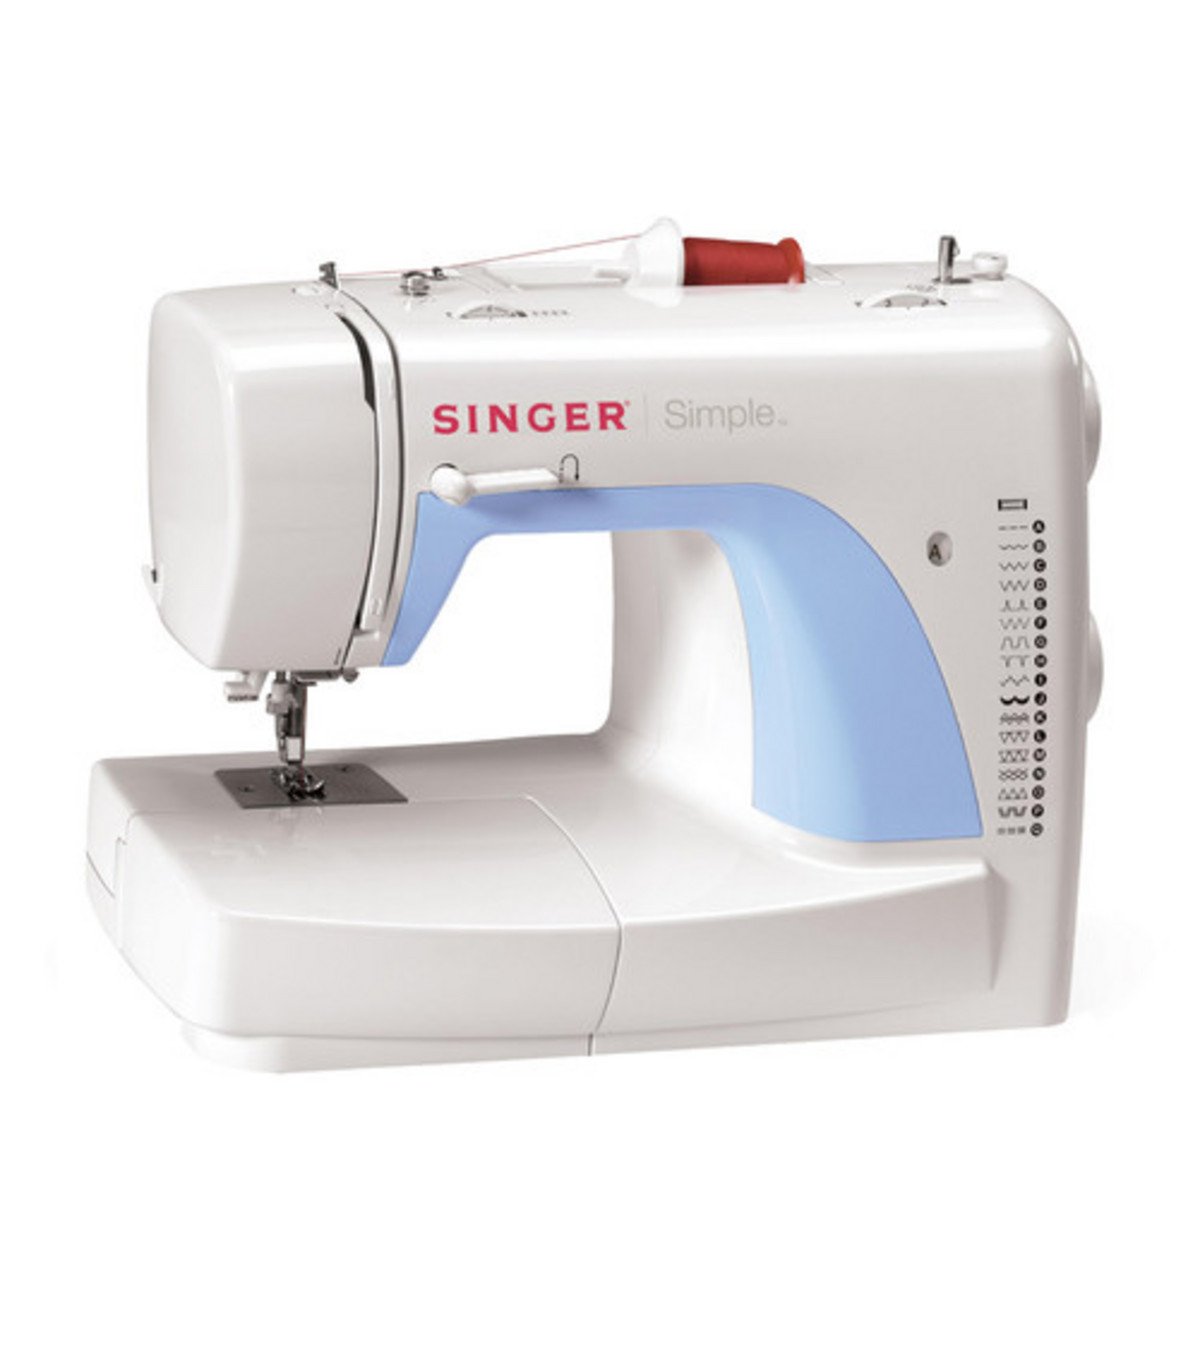
Rajah 1: SINGER 3116 Simple 18 Stitch Sewing Machine. This image displays the front view of the sewing machine, highlighting its compact design and stitch selection dial.
Persediaan
1. Membongkar dan Meletakkan
Carefully remove the machine from its packaging. Place the machine on a stable, flat surface. Ensure there is adequate lighting and space for your sewing projects.
2. Sambungan Kuasa
- Masukkan palam mesin ke dalam soket kuasa mesin.
- Sambungkan kord kuasa ke salur keluar elektrik yang sesuai.
- The machine is designed for corded electric operation.
3. Menggulung Bobbin
- Letakkan gelendong benang pada pin gelendong.
- Pandu benang melalui panduan benang atas dan di sekeliling cakera tegangan penggulungan gelendong.
- Place an empty Class 15 bobbin onto the bobbin winder spindle.
- Lilitkan benang beberapa kali secara manual di sekeliling gelendong.
- Tolak gelendong penggulung gelendong ke kanan.
- Press the foot controller gently to start winding. The machine will stop automatically when the bobbin is full.
- Cut the thread and return the bobbin winder spindle to the left.
4. Memasukkan Bobbin
- Buka plat penutup gelendong.
- Masukkan gelendong lilit ke dalam bekas gelendong, pastikan benang terurai ke arah yang betul (biasanya lawan arah jam).
- Guide the thread through the tension spring and into the thread guide.
- Tutup plat penutup gelendong.
5. Menjahit Benang Atas
- Naikkan jarum ke kedudukan tertinggi menggunakan roda tangan.
- Letakkan gelendong benang pada pin gelendong.
- Pandu benang melalui panduan benang atas.
- Bring the thread down through the right threading channel.
- Loop the thread up through the left threading channel and over the take-up lever.
- Bring the thread down through the needle bar thread guide.
- Use the automatic needle threader (refer to the "Automatic Needle Threader" section for detailed instructions) or manually thread the needle from front to back.
- Tarik kira-kira 6 inci benang melalui lubang jarum.
Arahan Operasi
1. Pemilihan Jahitan
Turn the stitch selector dial to choose one of the 18 built-in stitches. The machine offers basic, stretch, and decorative stitches. Refer to the stitch chart on the machine for visual guidance.
2. Jahitan Asas
- Letakkan kain anda di bawah kaki penekan.
- Turunkan tuas kaki penekan.
- Tekan pengawal kaki dengan lembut untuk mula menjahit. Kelajuan menjahit dikawal oleh tekanan yang dikenakan pada pengawal kaki.
- To reverse stitch, press and hold the reverse lever/button.
- When finished, raise the needle to its highest position, lift the presser foot, and remove the fabric. Cut the threads using the thread cutter.
3. Automatic Needle Threader
The automatic needle threader simplifies threading the needle. Ensure the needle is in its highest position. Lower the threader mechanism, hook the thread, and release. The thread will be pulled through the needle eye.
4. One-Step Buttonhole
- Attach the one-step buttonhole foot.
- Place the button you intend to use into the buttonhole foot's holder.
- Select the buttonhole stitch on the dial.
- Lower the presser foot and begin sewing. The machine will automatically sew the buttonhole to the correct size.
Penyelenggaraan
1. Membersihkan Mesin
- Sentiasa cabut plag mesin sebelum membersihkan.
- Tanggalkan plat jarum dan bekas gelendong.
- Use the small brush provided (or a soft brush) to remove lint and dust from the feed dogs and bobbin area.
- Wipe the exterior of the machine with a soft, dry cloth. Do not use liquid cleaners.
2. Penggantian Jarum
- Replace the needle regularly, especially if it becomes bent, dull, or if you notice skipped stitches.
- Longgarkan jarum clamp screw, remove the old needle, and insert a new one with the flat side facing the back of the machine.
- Ketatkan jarum clamp skru dengan selamat.
Menyelesaikan masalah
| Masalah | Kemungkinan Punca | Penyelesaian |
|---|---|---|
| Mesin tidak dihidupkan | Power cord not connected; machine switched off. | Ensure power cord is securely plugged in; turn on the power switch. |
| Jahitan yang dilangkau | Incorrect needle; bent needle; improper threading. | Replace needle with the correct type and size; re-thread the machine correctly. |
| Pemutusan benang | Improper threading; tension too tight; poor quality thread; bent needle. | Re-thread machine; adjust tension; use good quality thread; replace needle. |
| Fabrik tidak menyusu | Feed dogs lowered; lint accumulation. | Raise feed dogs; clean feed dog area. |
| Looped stitches (bottom) | Upper thread not correctly threaded through tension discs. | Re-thread the upper thread, ensuring it is seated correctly in the tension discs with the presser foot raised. |
Spesifikasi
- model: SINGER 3116CL Simple
- Bilangan Jahitan: 18 Built-in Stitches (Basic, Stretch, Decorative)
- Jenis Lubang Butang: 1-Step (Unistyle)
- Bobbin Class: 15
- Thread Delivery: Mendatar
- Tekanan boleh laras: ya
- Storan Aksesori: terbina dalam
- Dimensi Produk: 18.2 x 10.5 x 13.8 inci
- Berat Barang: 3 paun
- Sumber Kuasa: Elektrik Bertali
- Bahan: plastik
- warna: putih
- UPC: 037431881069
Waranti dan Sokongan
For specific warranty information, please refer to the warranty card included with your product or visit the official SINGER website. For technical support, replacement parts, or service inquiries, please contact SINGER customer service. Keep your purchase receipt as proof of purchase for warranty claims.
Pengeluar: Penyanyi