
pengenalan
Welcome to your Sharper Image Travel Soother 20 Radio/Alarm Clock. This manual provides detailed instructions for the proper setup, operation, and maintenance of your device. Please read this manual thoroughly before use and retain it for future reference.
Maklumat Keselamatan
- Jangan dedahkan unit kepada suhu yang melampau, cahaya matahari langsung atau kelembapan yang tinggi.
- Elakkan daripada menjatuhkan unit atau terkena impak yang kuat.
- Jangan buka unit ini. Rujuk semua servis kepada kakitangan yang berkelayakan.
- Use only the specified power adapter (DC 6V) or batteries (4x AA 1.5V).
- Jauhkan unit daripada air atau cecair lain.
Kandungan Pakej
- Sharper Image Travel Soother 20 Unit
- Manual Pengguna
Produk Selesaiview
Familiarize yourself with the various parts of your Travel Soother 20 unit.
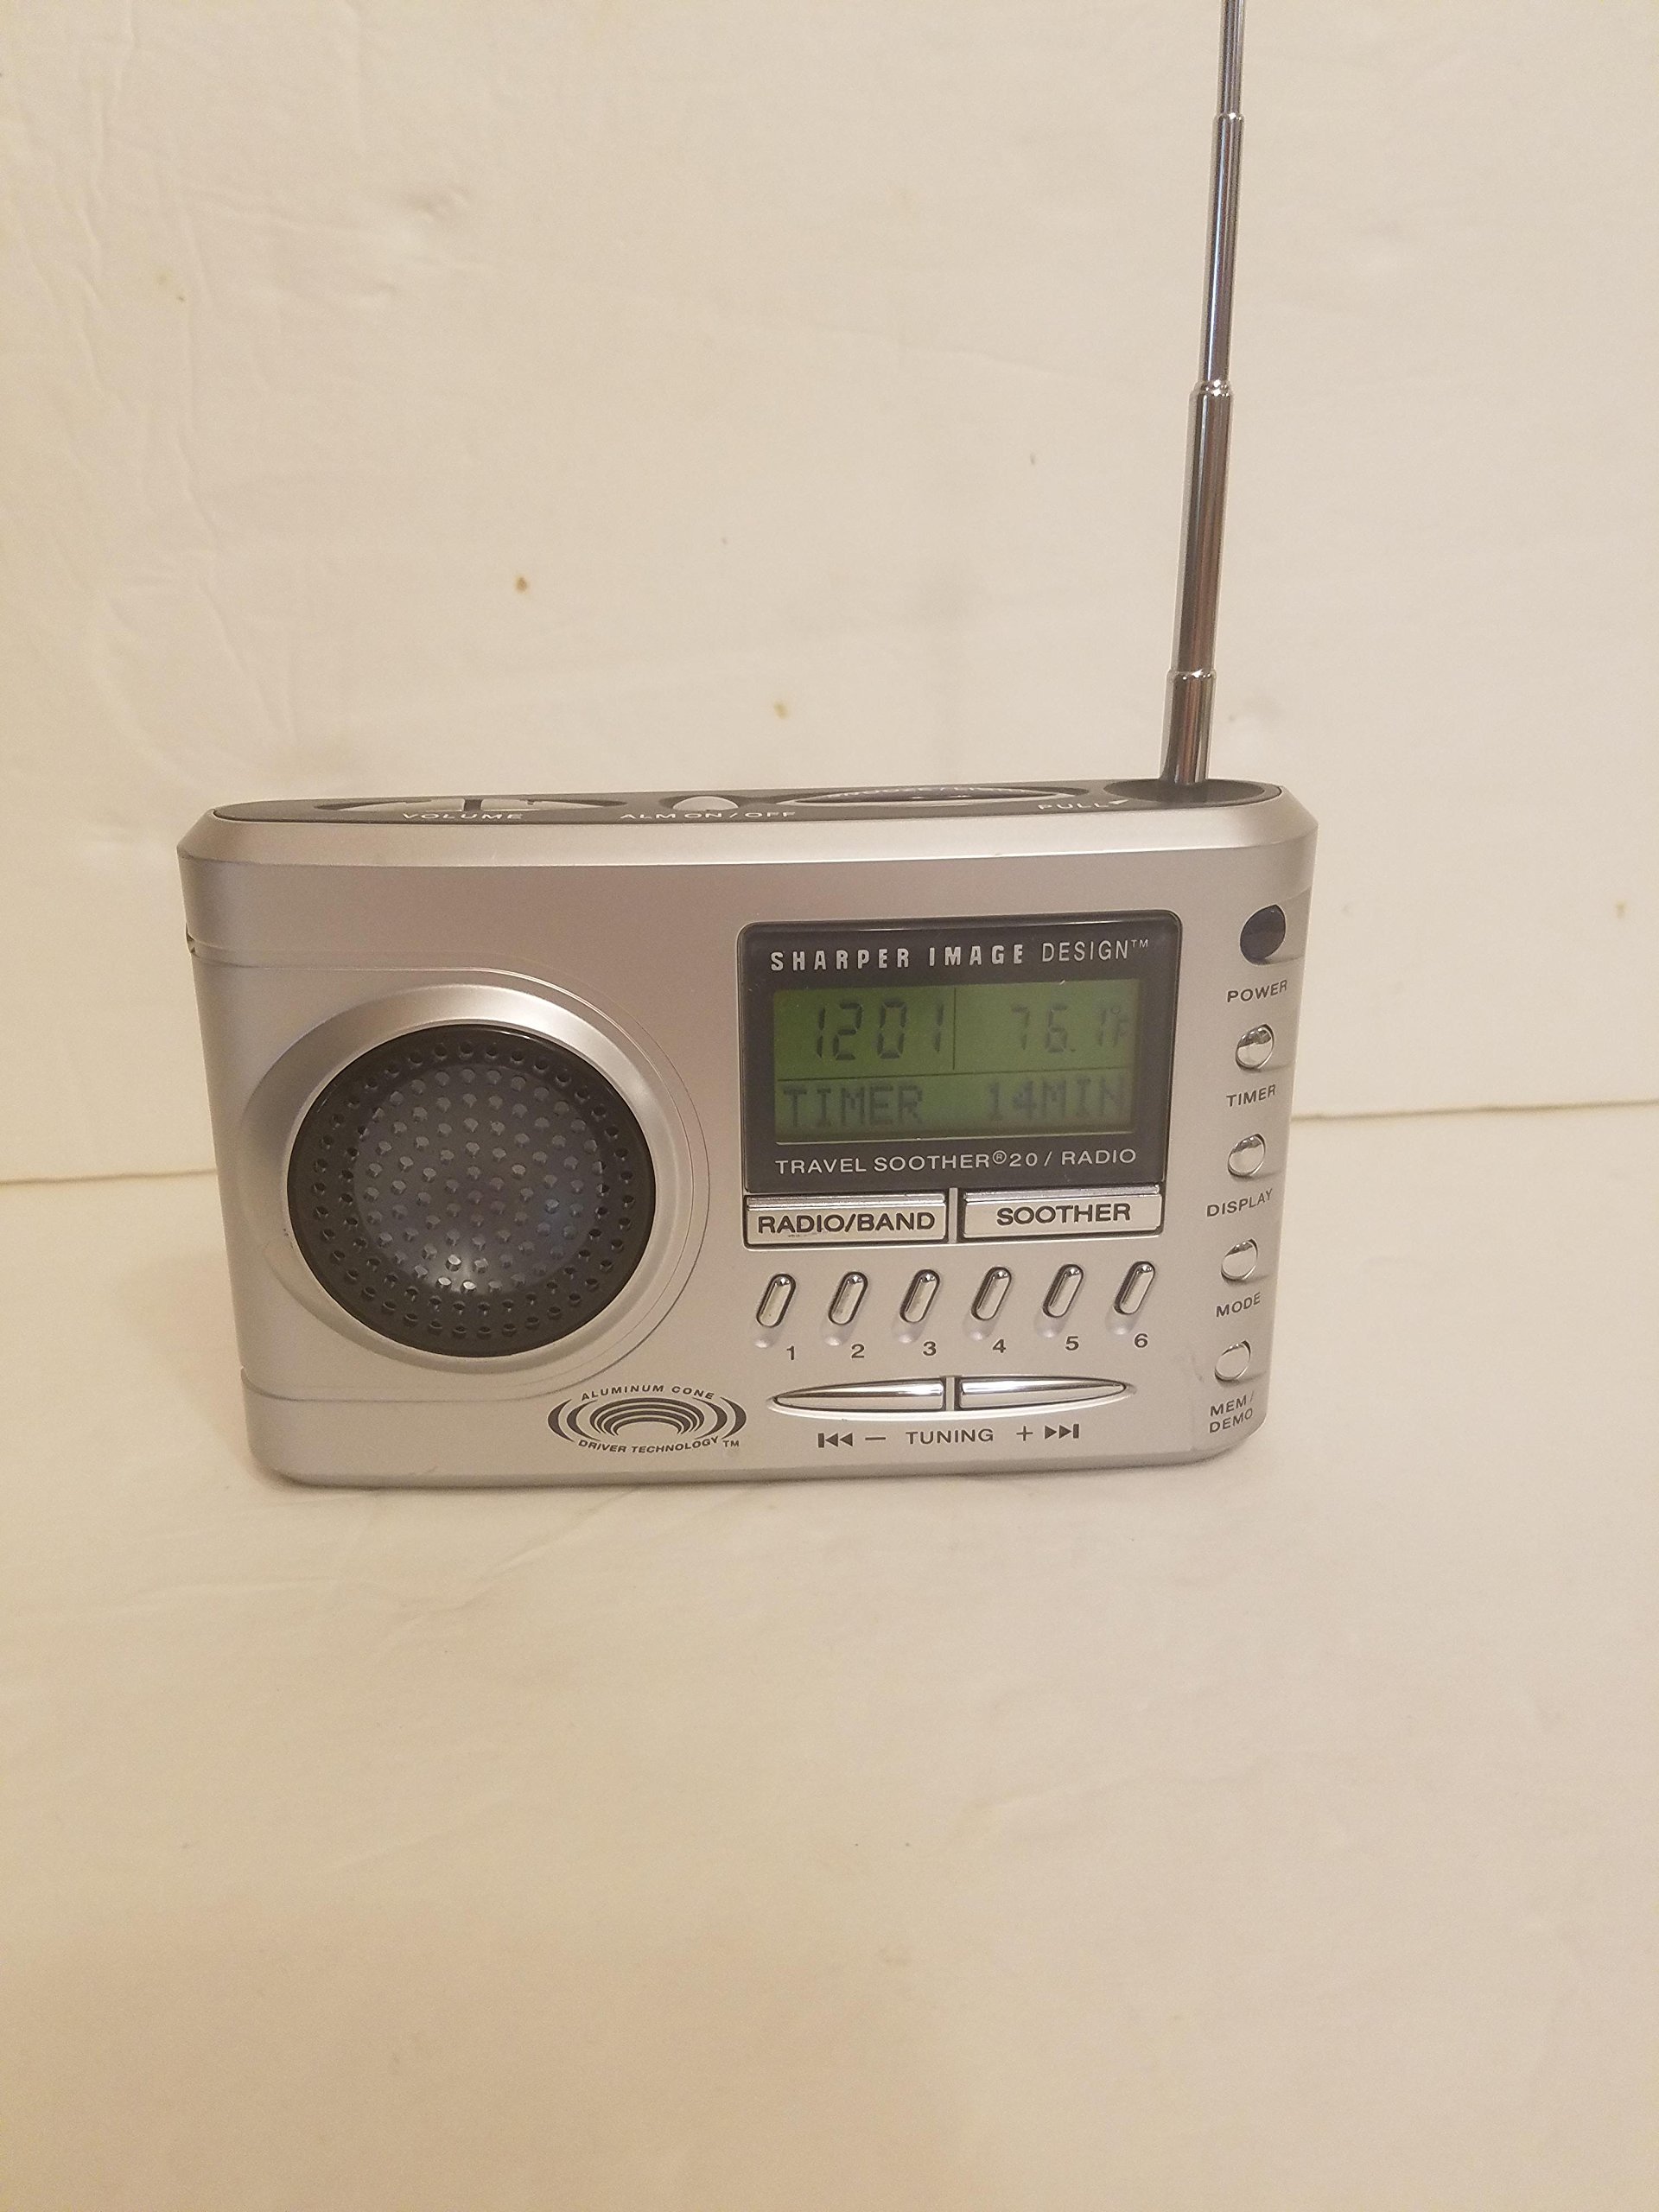
Imej: Depan view of the Sharper Image Travel Soother 20 Radio/Alarm Clock. This shows the display, speakers, and control buttons.
The back panel of the unit features the battery compartment, power input, and regulatory information. Specifically, it indicates the model number SI621, requires a DC 6V adapter, and uses four AA 1.5V batteries.
Persediaan
Mengkuasakan Peranti
Your Travel Soother 20 can be powered by either batteries or an AC adapter.
- Pemasangan Bateri: Open the battery compartment on the back of the unit. Insert four (4) AA 1.5V batteries, ensuring correct polarity (+/-). Close the compartment securely.
- Sambungan Penyesuai AC: Connect a DC 6V power adapter (not always included) to the DC IN jack on the back of the unit. Plug the adapter into a standard wall outlet.
Note: When both batteries and AC adapter are connected, the unit will primarily draw power from the AC adapter.
Menetapkan Masa
- Tekan dan tahan butang MASA DITETAPKAN butang.
- Sambil pegang MASA DITETAPKAN, gunakan JAM dan MINIT buttons to adjust the current time.
- Lepaskan MASA DITETAPKAN butang untuk mengesahkan.
Arahan Operasi
Operasi Radio
- Tekan ke RADIO butang untuk menghidupkan radio.
- Tekan AM/FM to select the desired band.
- Gunakan TULA +/- butang untuk menala secara manual ke stesen, atau tekan dan tahan untuk mengimbas automatik bagi stesen yang tersedia seterusnya.
- To save a preset: Tune to the desired station, then press and hold a PRESET button (e.g., 1-5) until the display flashes.
- To recall a preset: Briefly press the corresponding PRESET butang.
Fungsi Jam Penggera
- Menetapkan Penggera: Tekan dan tahan butang SET ALARM button. While holding, use the JAM dan MINIT buttons to set the alarm time. Release to confirm.
- Mengaktifkan/Menyahaktifkan Penggera: Tekan ke ALARM ON / OFF butang untuk menukar penggera. Ikon penggera akan muncul pada paparan apabila aktif.
- Fungsi Tunda: Apabila penggera berbunyi, tekan MENGEJUTKAN butang untuk menyenyapkan ia buat sementara waktu selama beberapa minit.
- Menghentikan Penggera: Tekan mana-mana butang selain daripada MENGEJUTKAN to stop the alarm for the day. It will reactivate the next day if still enabled.
Sound Soother Functions
- Tekan ke SOOTHER button to activate the sound soother.
- Tekan ke SOOTHER button repeatedly to cycle through available sound options (e.g., Rain, Thunderstorm, Summer Night, City).
- Gunakan JILID +/- butang untuk melaraskan tahap bunyi.
- Tekan ke SOOTHER button until the display shows 'OFF' to deactivate.
Penyelenggaraan
- Pembersihan: Lap unit dengan kain lembut dan kering. Jangan gunakan pembersih atau pelarut yang melelas.
- Penggantian Bateri: Replace all four AA batteries simultaneously when the display dims or the unit malfunctions on battery power. Do not mix old and new batteries.
- Storan: Jika menyimpan unit untuk tempoh yang lama, keluarkan bateri untuk mengelakkan kebocoran.
Menyelesaikan masalah
| Masalah | Penyelesaian |
|---|---|
| Unit tidak dihidupkan. | Check battery installation and polarity. Ensure AC adapter is securely connected and the outlet is functional. |
| Penerimaan radio yang lemah. | Extend the antenna fully. Reposition the unit for better signal. Try tuning manually. |
| Penggera tidak berbunyi. | Ensure the alarm is activated (alarm icon visible). Verify alarm time is set correctly. Check volume level. |
| Sound soother not working. | Ensure the sound soother is turned on and a sound is selected. Check volume level. |
Spesifikasi
- model: SI621
- Input Kuasa: DC 6V (adapter, not always included)
- Bateri: 4x AA 1.5V (UM-3)
- Dimensi Pakej: 6.4 x 6.3 x 3.7 inci
- Berat Barang: 15.7 auns
- ASIN: B00013891I
- Tarikh Mula-mula Tersedia: 26 Februari 2010
Penyata Pematuhan FCC
PERANTI INI MEMATUHI BAHAGIAN 15 PERATURAN FCC. OPERASI TERTAKLUK KEPADA DUA SYARAT BERIKUT: (1) PERANTI INI MUNGKIN TIDAK MENYEBABKAN GANGGUAN MEmudaratkan, DAN (2) PERANTI INI MESTI MENERIMA SEBARANG GANGGUAN YANG DITERIMA, TERMASUK GANGGUAN YANG MUNGKIN MENYEBABKAN OPERASI YANG TIDAK DIINGINKAN.
Waranti dan Sokongan
For warranty information or technical support, please refer to the original product packaging or contact Sharper Image customer service. Keep your purchase receipt as proof of purchase.